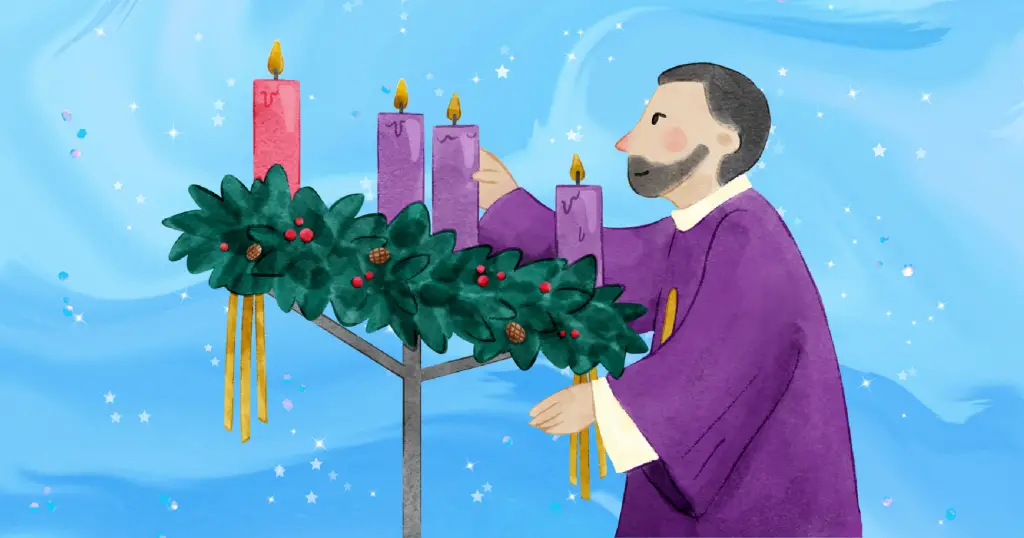
The Advent season is a time of joy, reflection, and anticipation, and it offers a wonderful opportunity for aged care communities to engage in meaningful activities. This season, Memory Lane Therapy is excited to introduce a new tradition that combines creativity and Christian spirituality – the Advent Wreath Craft Activity, specially designed for seniors.
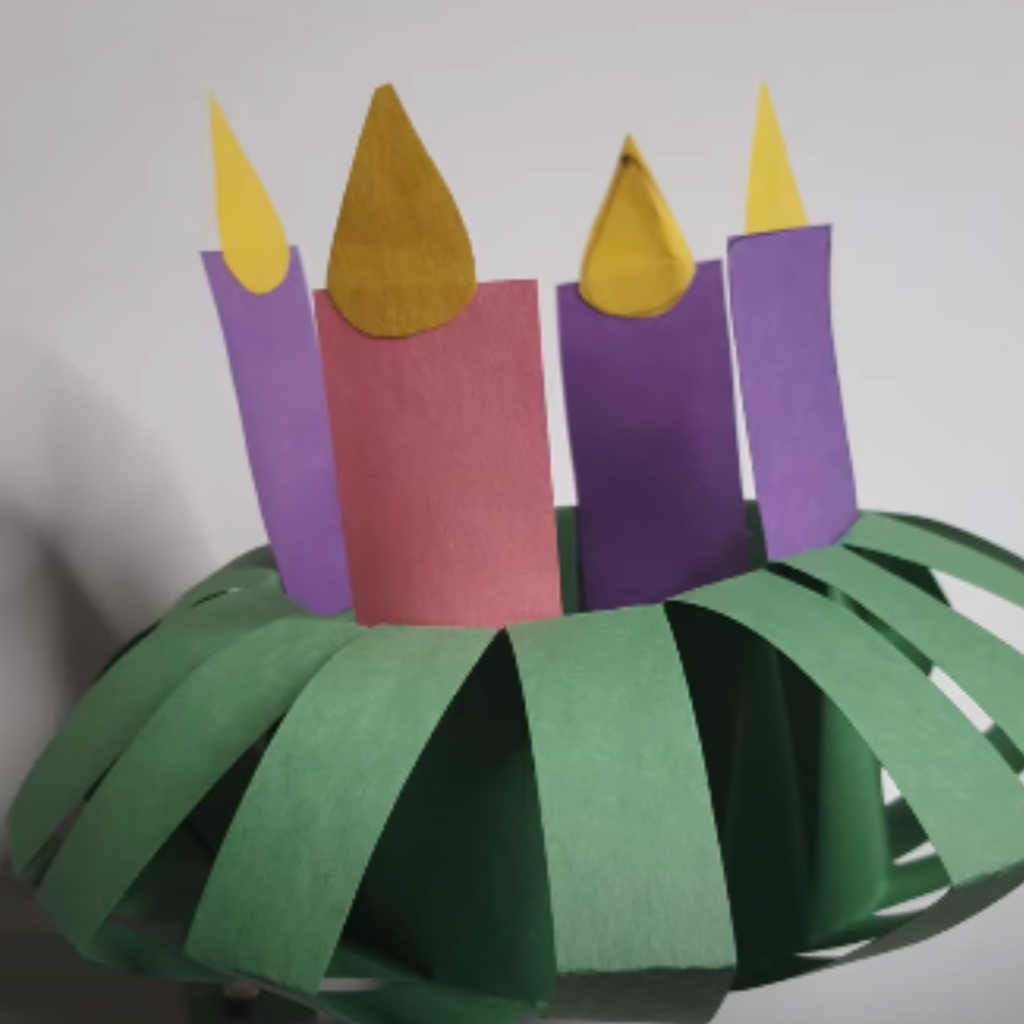
In this delightful craft for seniors, you’ll create your very own evergreen wreath, adorned with four candles, each symbolizing a week of Advent. It’s a wonderful tradition that families have cherished for generations, and now, it’s your turn to experience the magic.
A FREE printable PDF of this blog can be downloaded at the bottom of this page.
Crafting the Advent Wreath
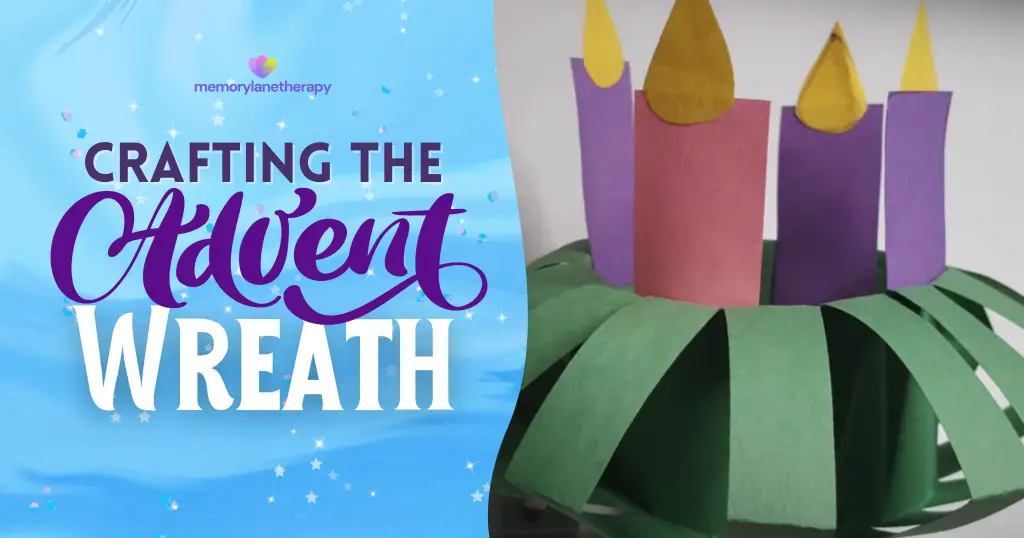
As the event marks into our hearts, a fun crafting activity will make it even more memorable. Here’s how to create an Advent Wreath with our Seniors in aged care:
Materials Needed:
- Construction Papers (Green, Purple, Blue, Pink, and Yellow)
- Glue
- Scissors
- Pencil
- Ruler
Step-by-step Process of the Advent Wreath Craft Activity
Follow these steps to create your own Advent Wreath. Let the fun crafting begin!
Making the Wreath
1. Take the green construction paper and fold it in half. Then, fold it again from the bottom all the way to the top. You can look at the picture for help.
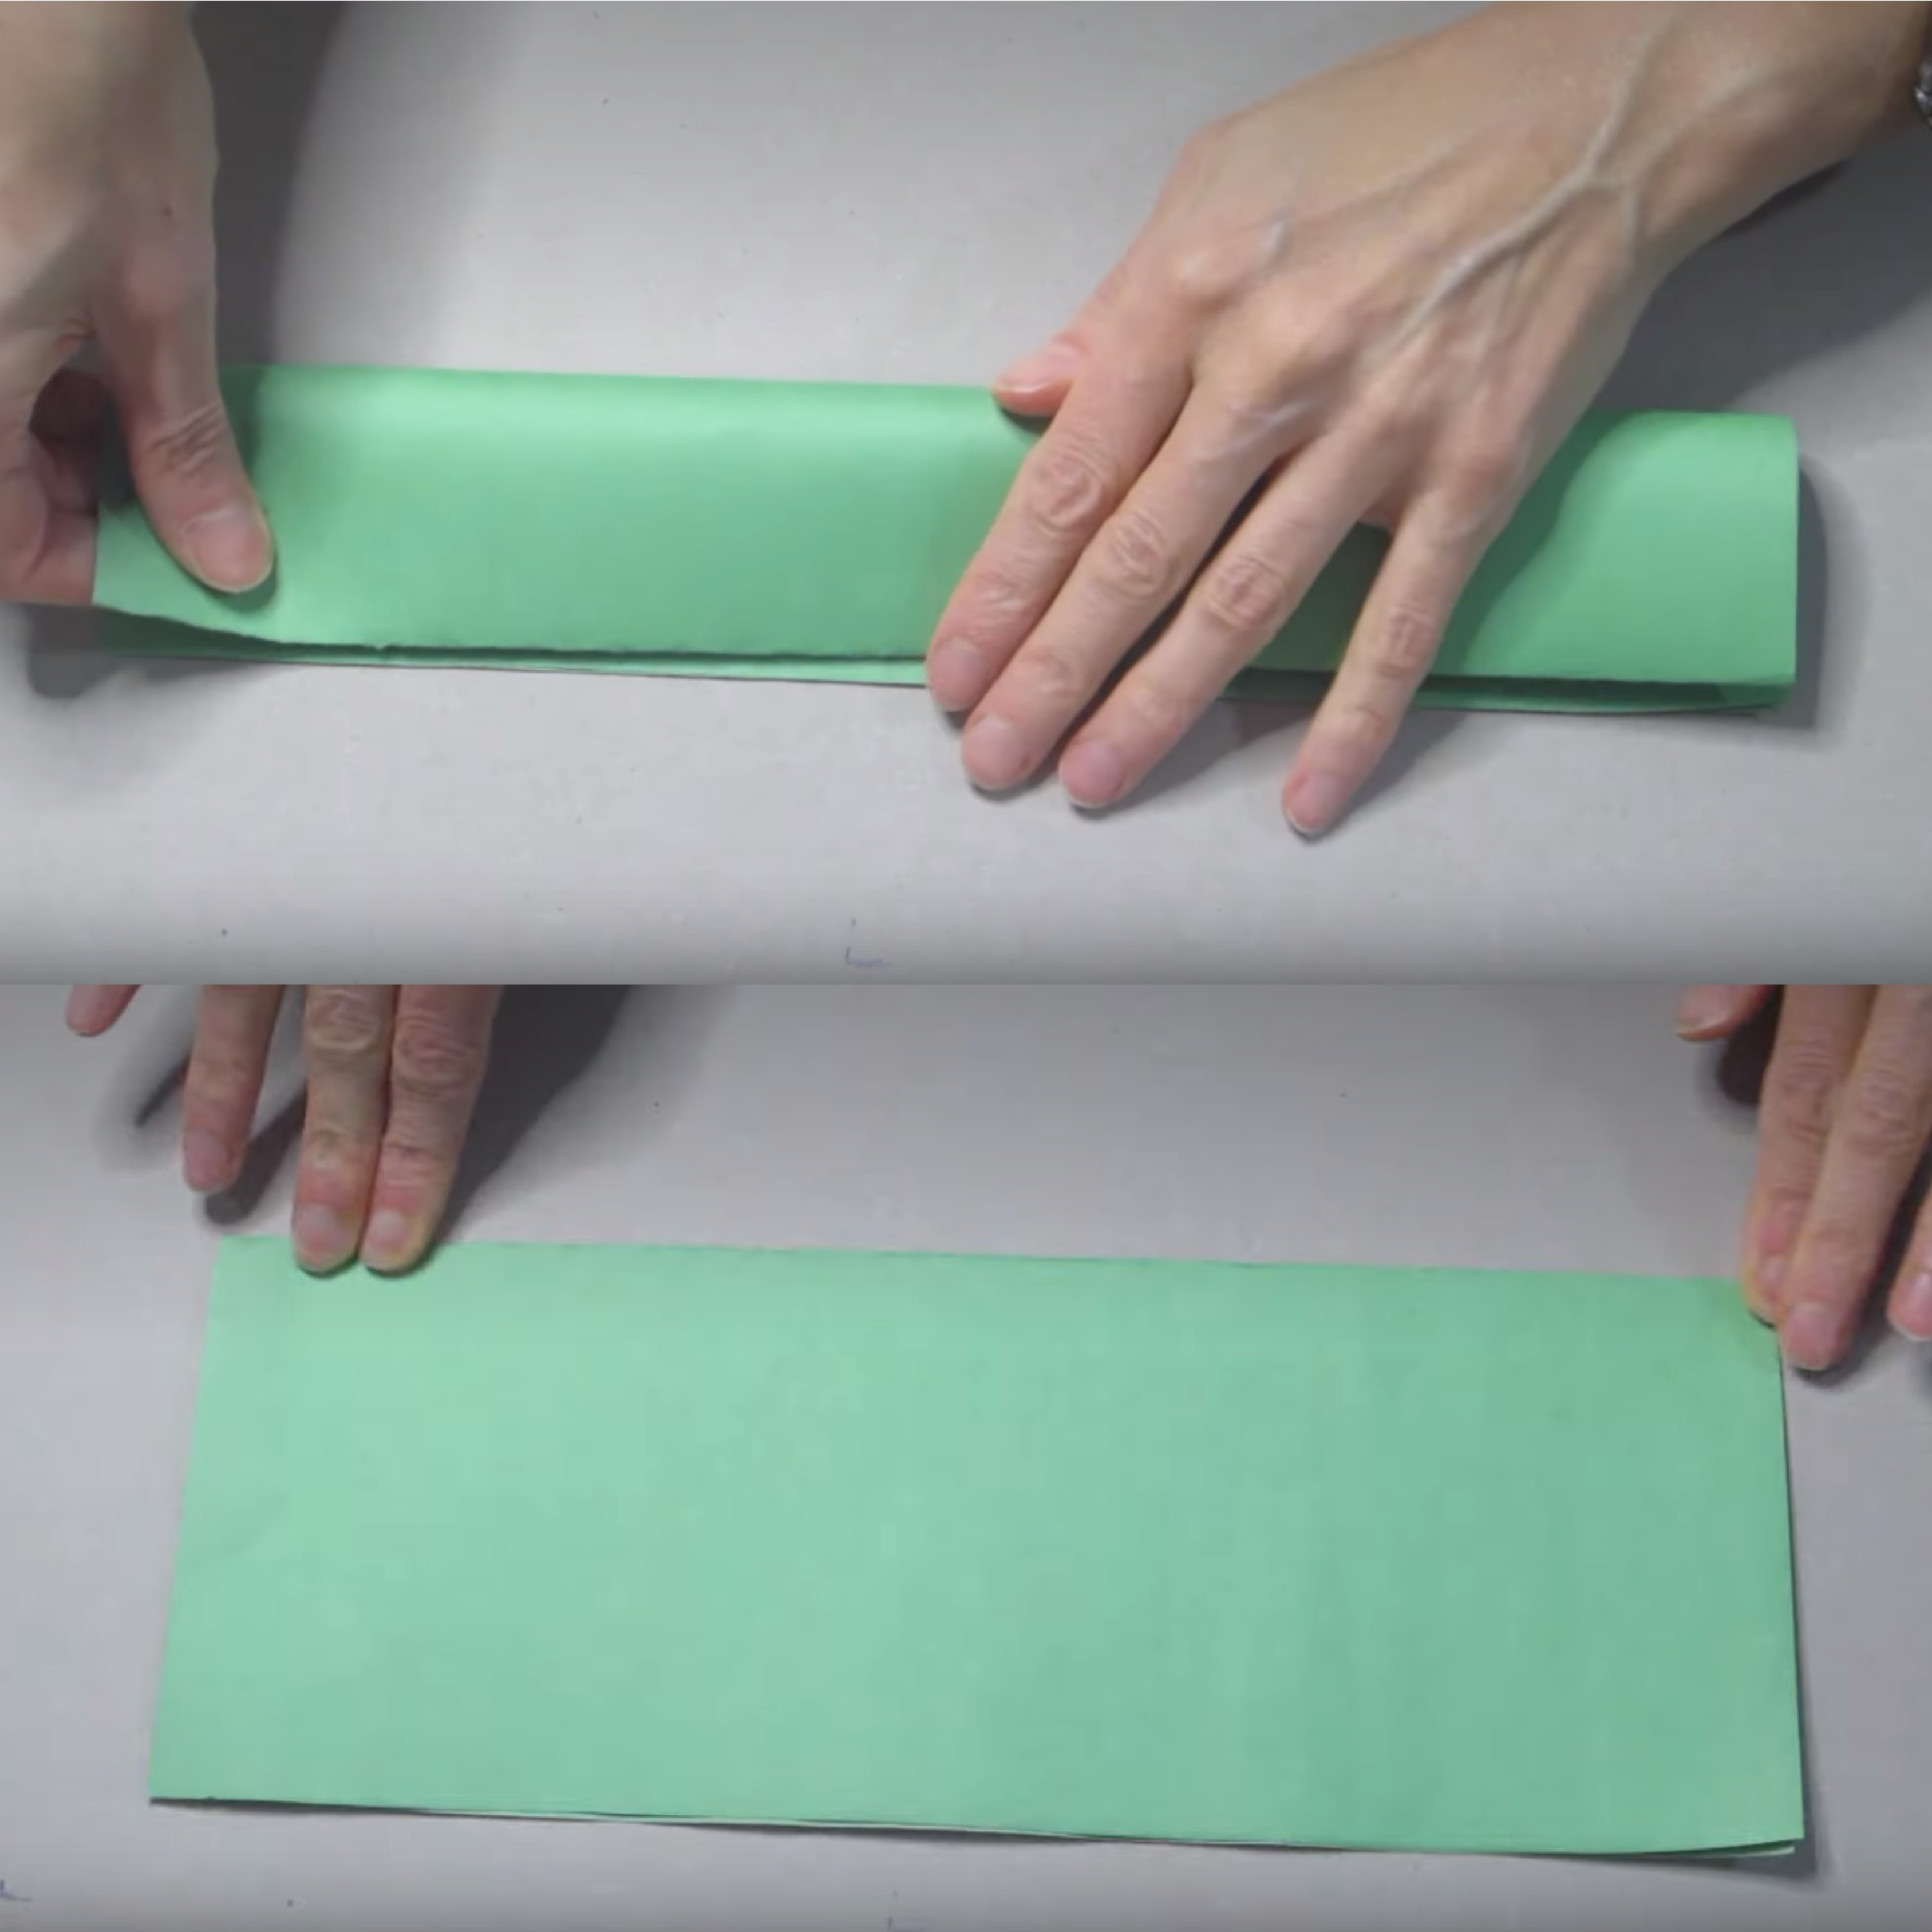
2. When you unfold the paper, you’ll see a line where it was folded. Use a ruler to trace along this line.
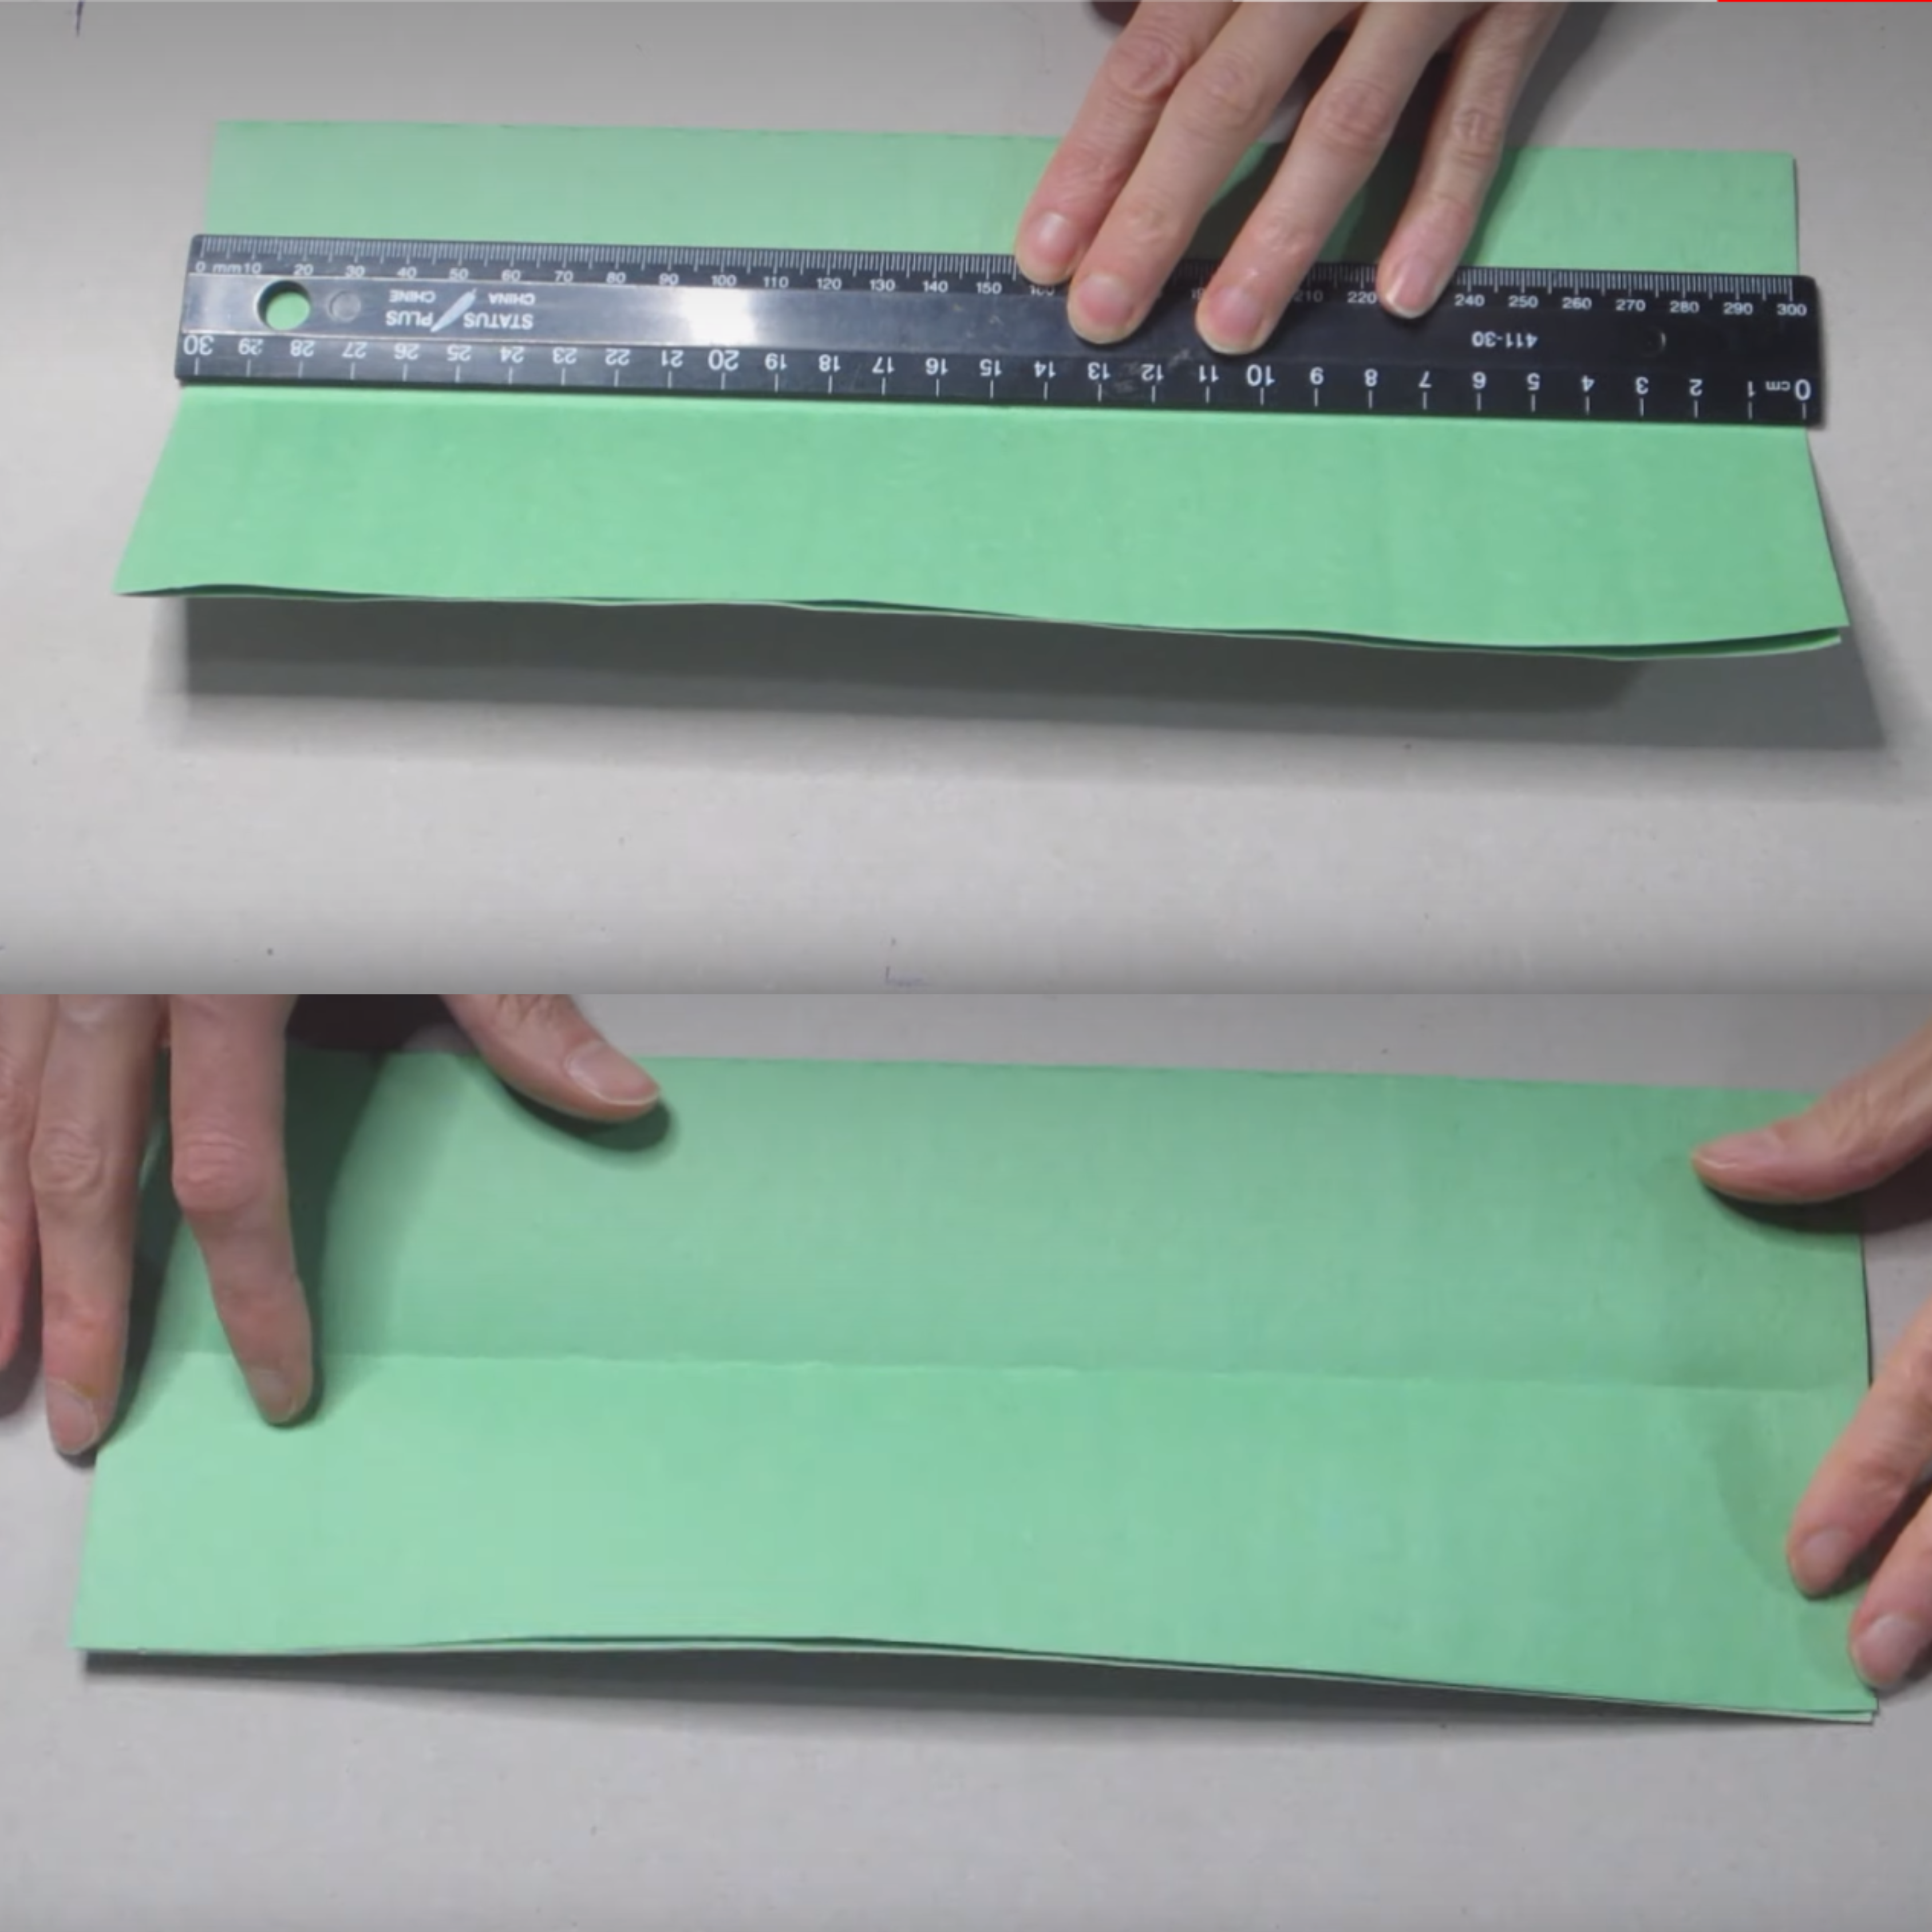
3. After you’ve traced the fold, put a dot on every inch.
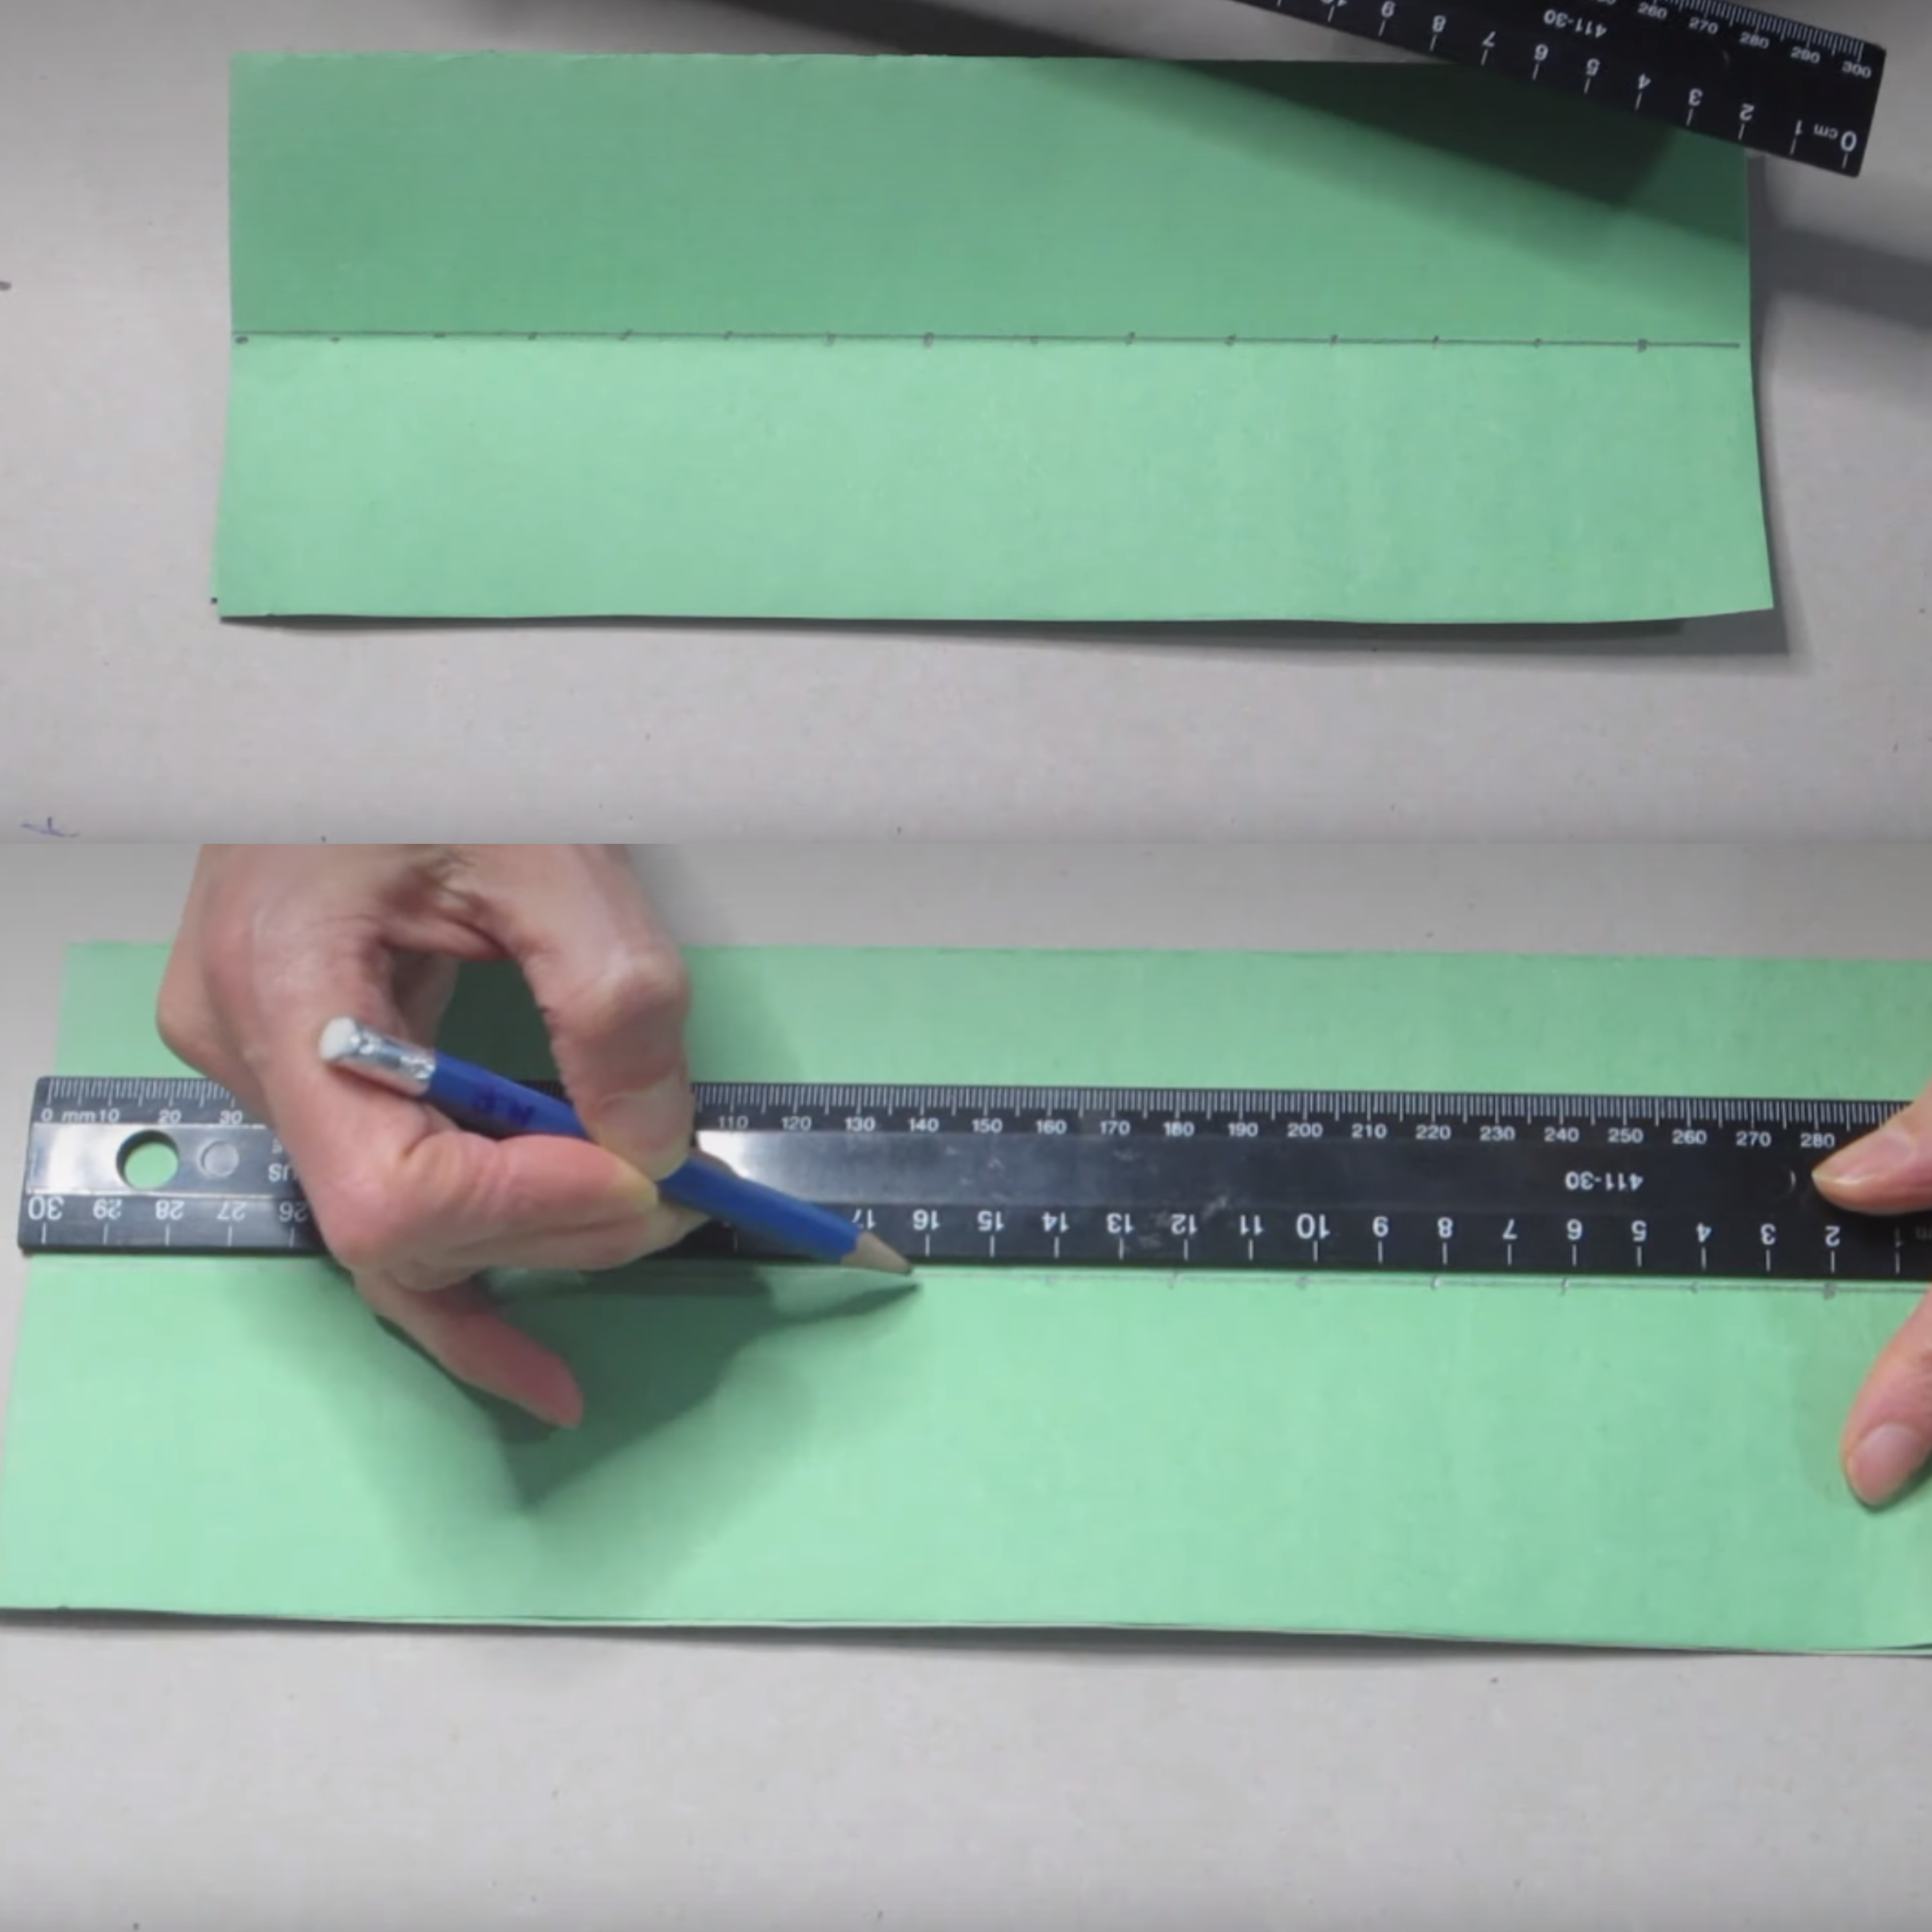
4. On each dot, draw a line from the center fold down to the bottom. You can look at the picture for help.
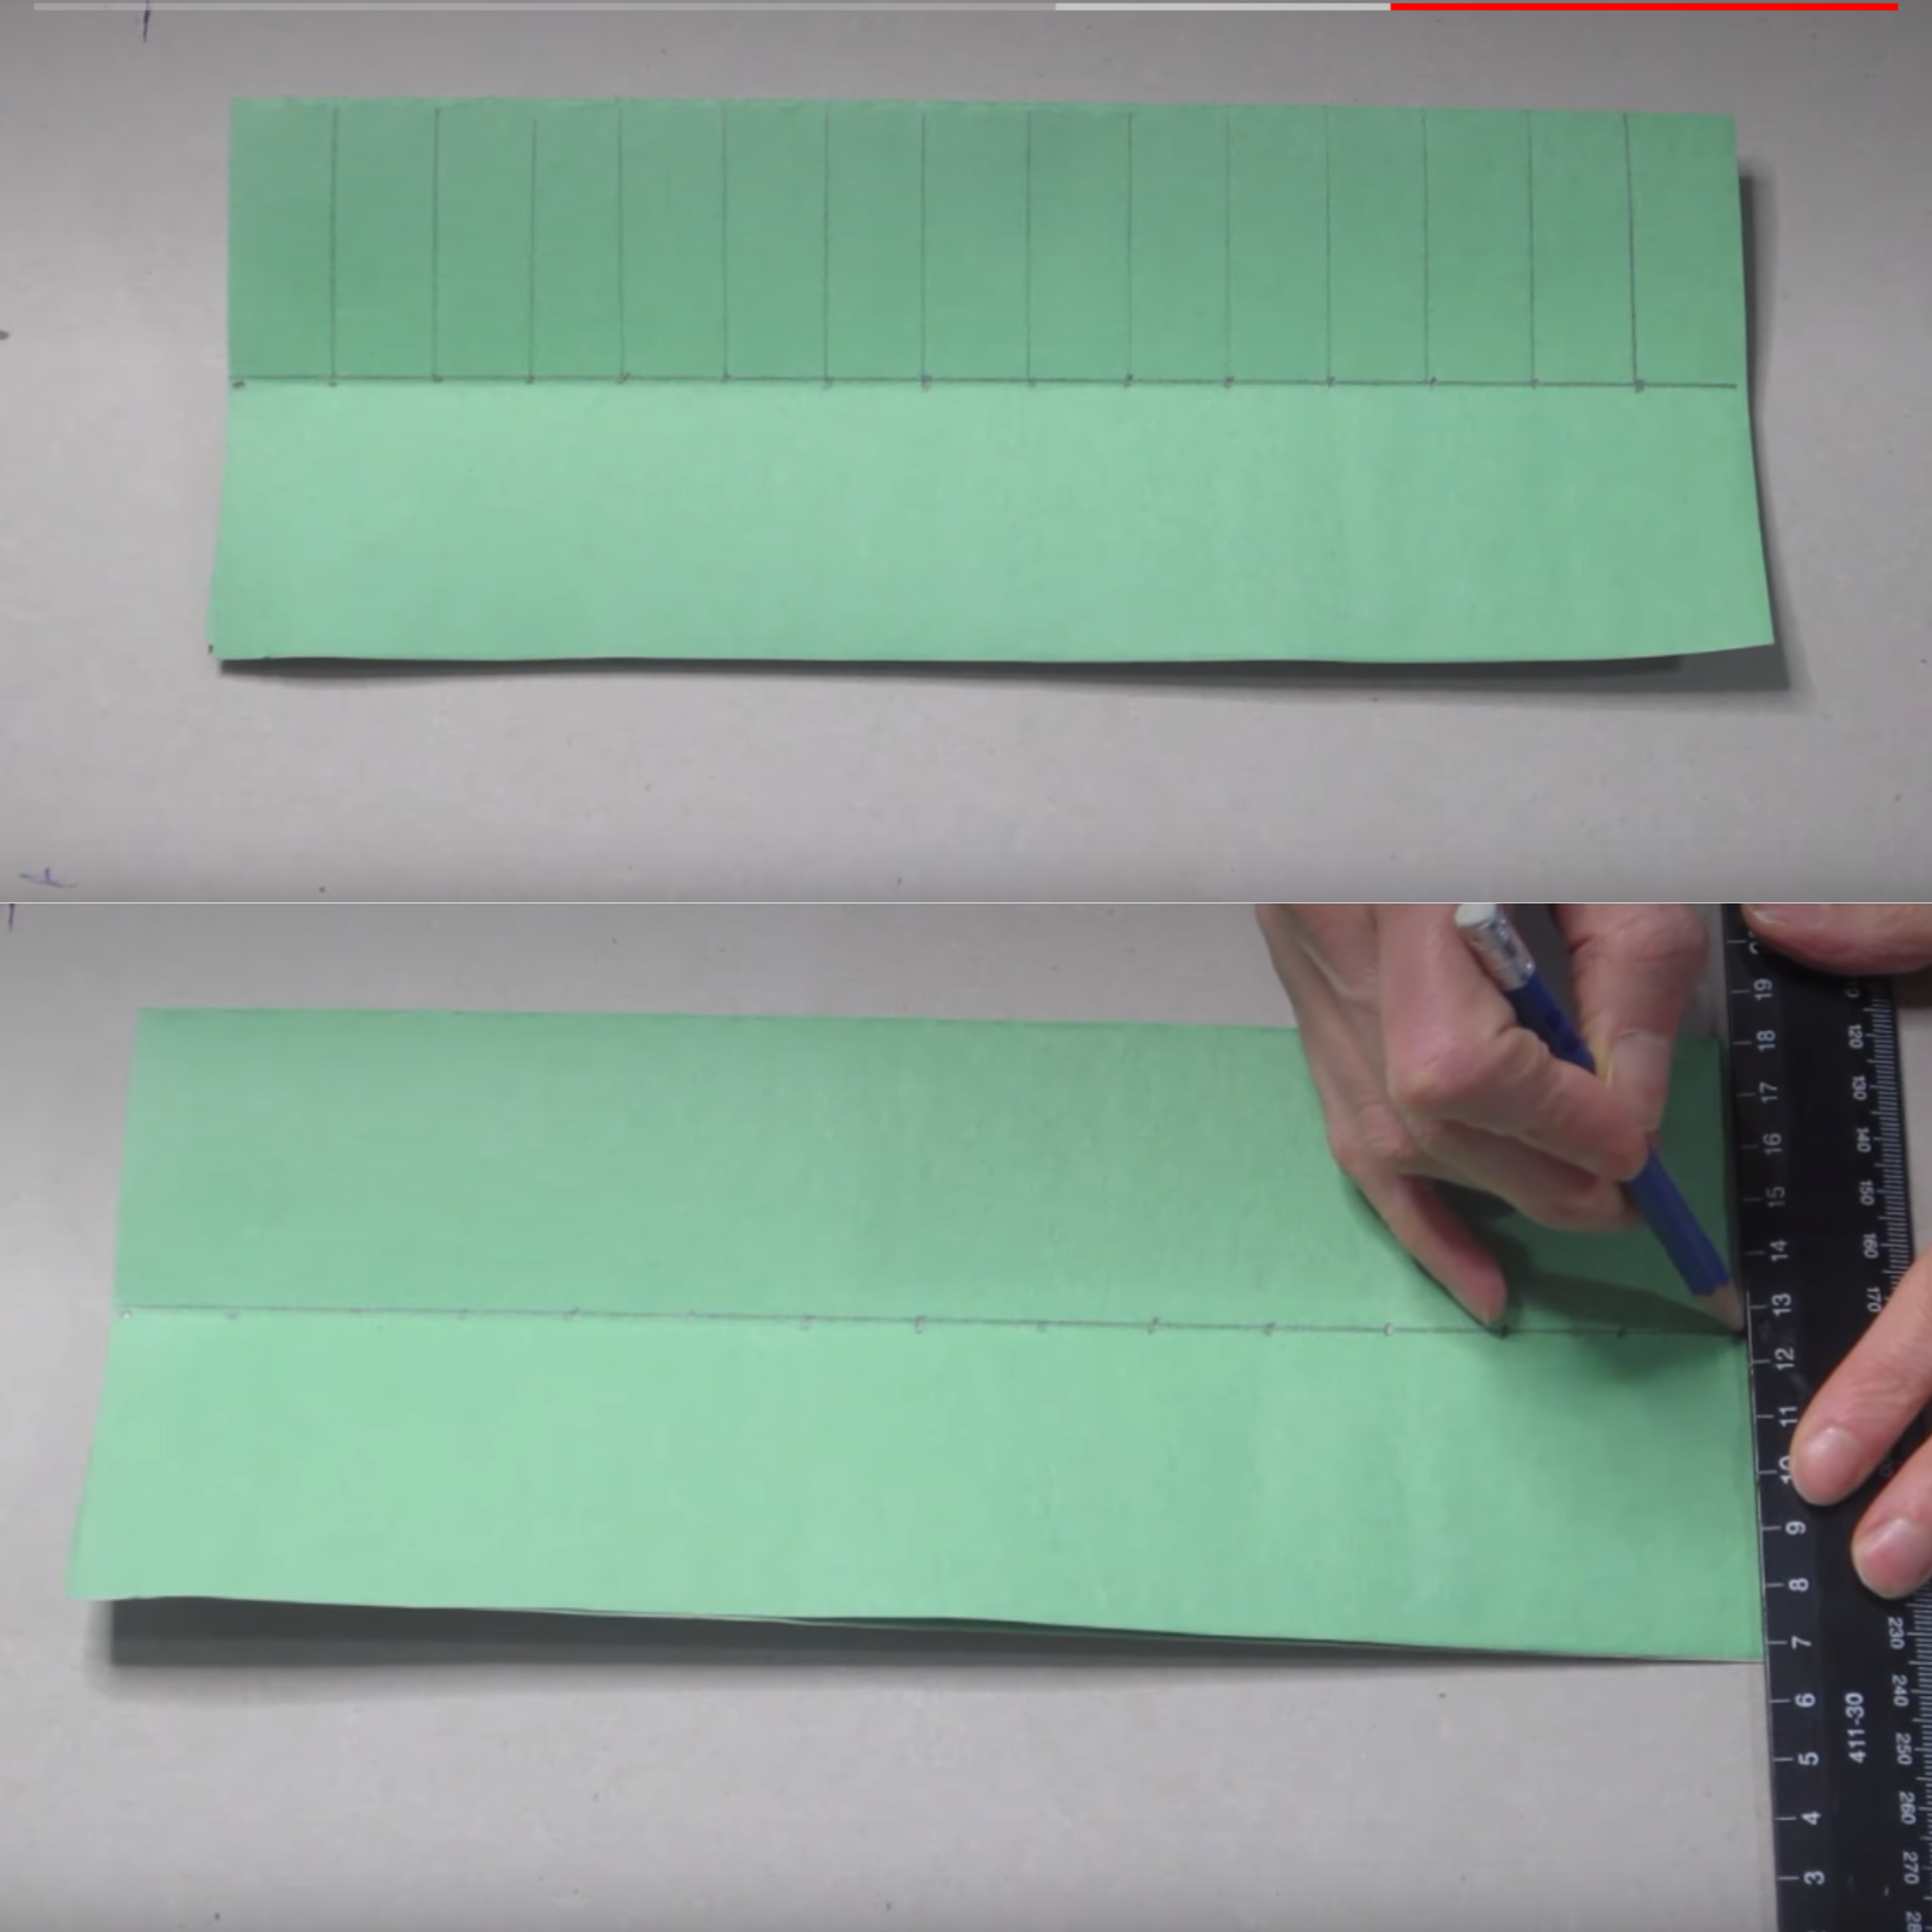
5. Now, when you have all your lines, carefully cut along them until you reach the fold line. Do this again for another line until you see cuts in the middle when you open the whole construction paper.
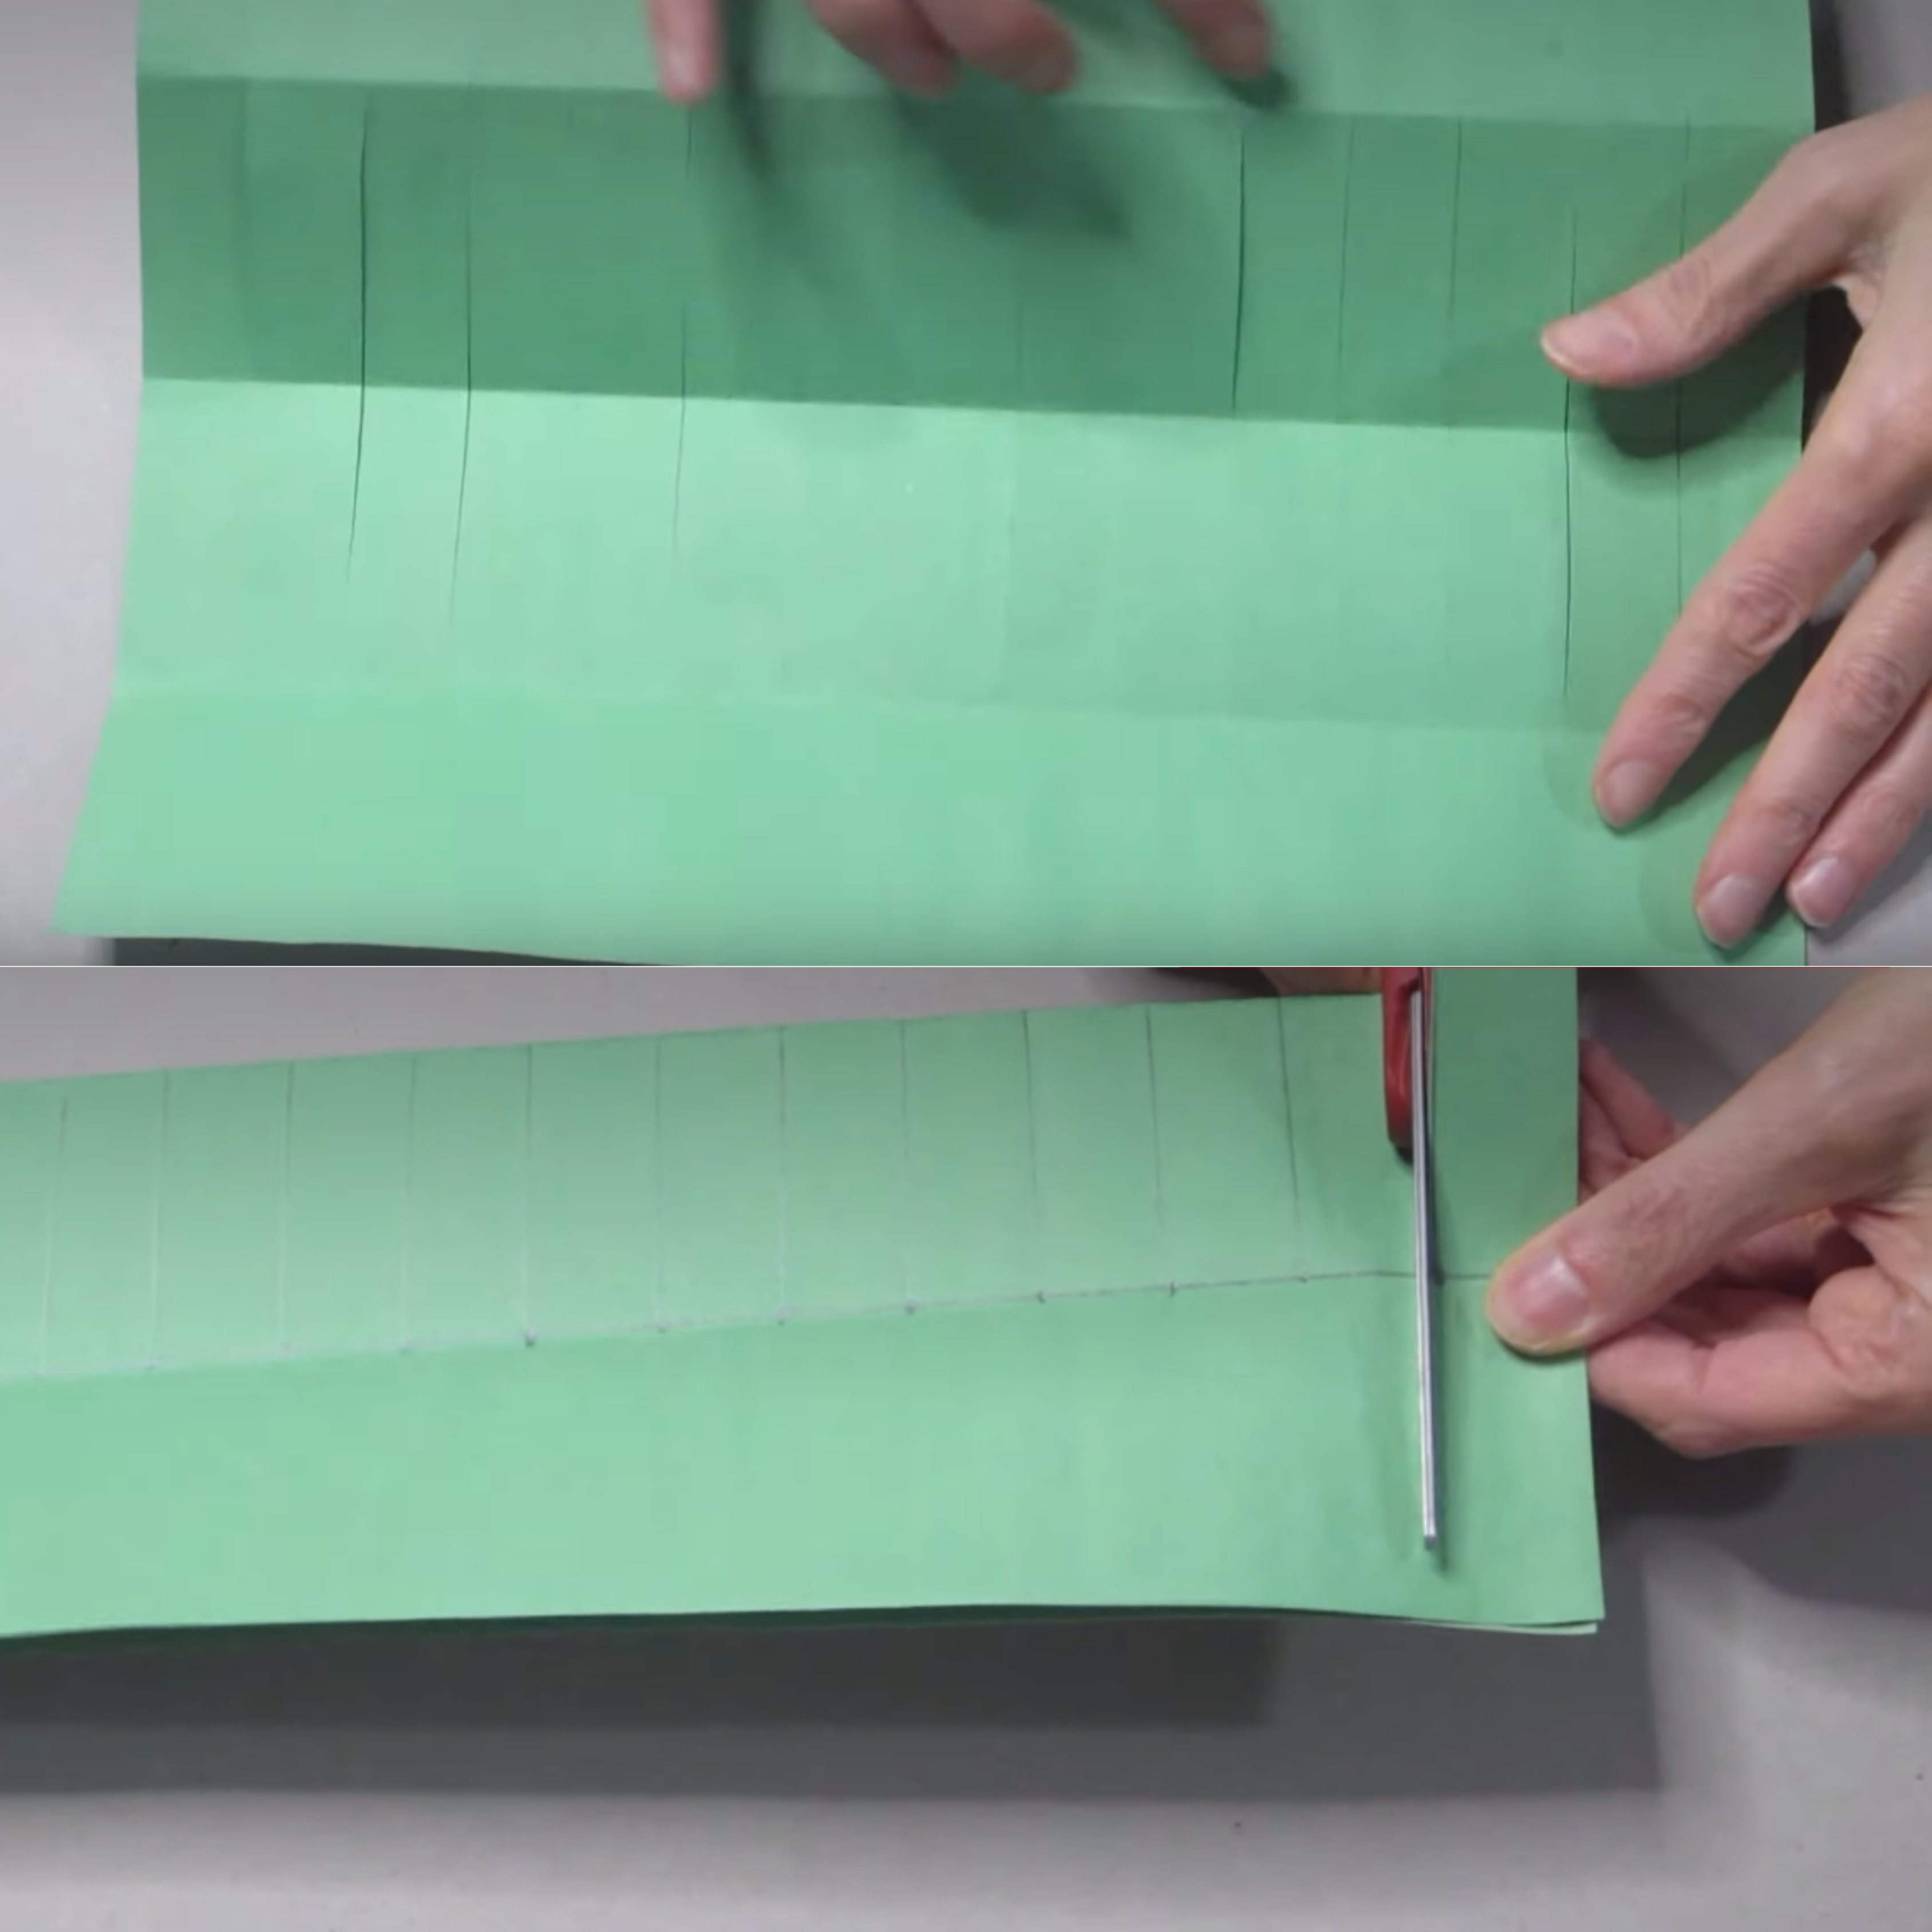
6. Open up the whole paper and fold the bottom flap. Once it’s folded, put some glue on top of the flap.
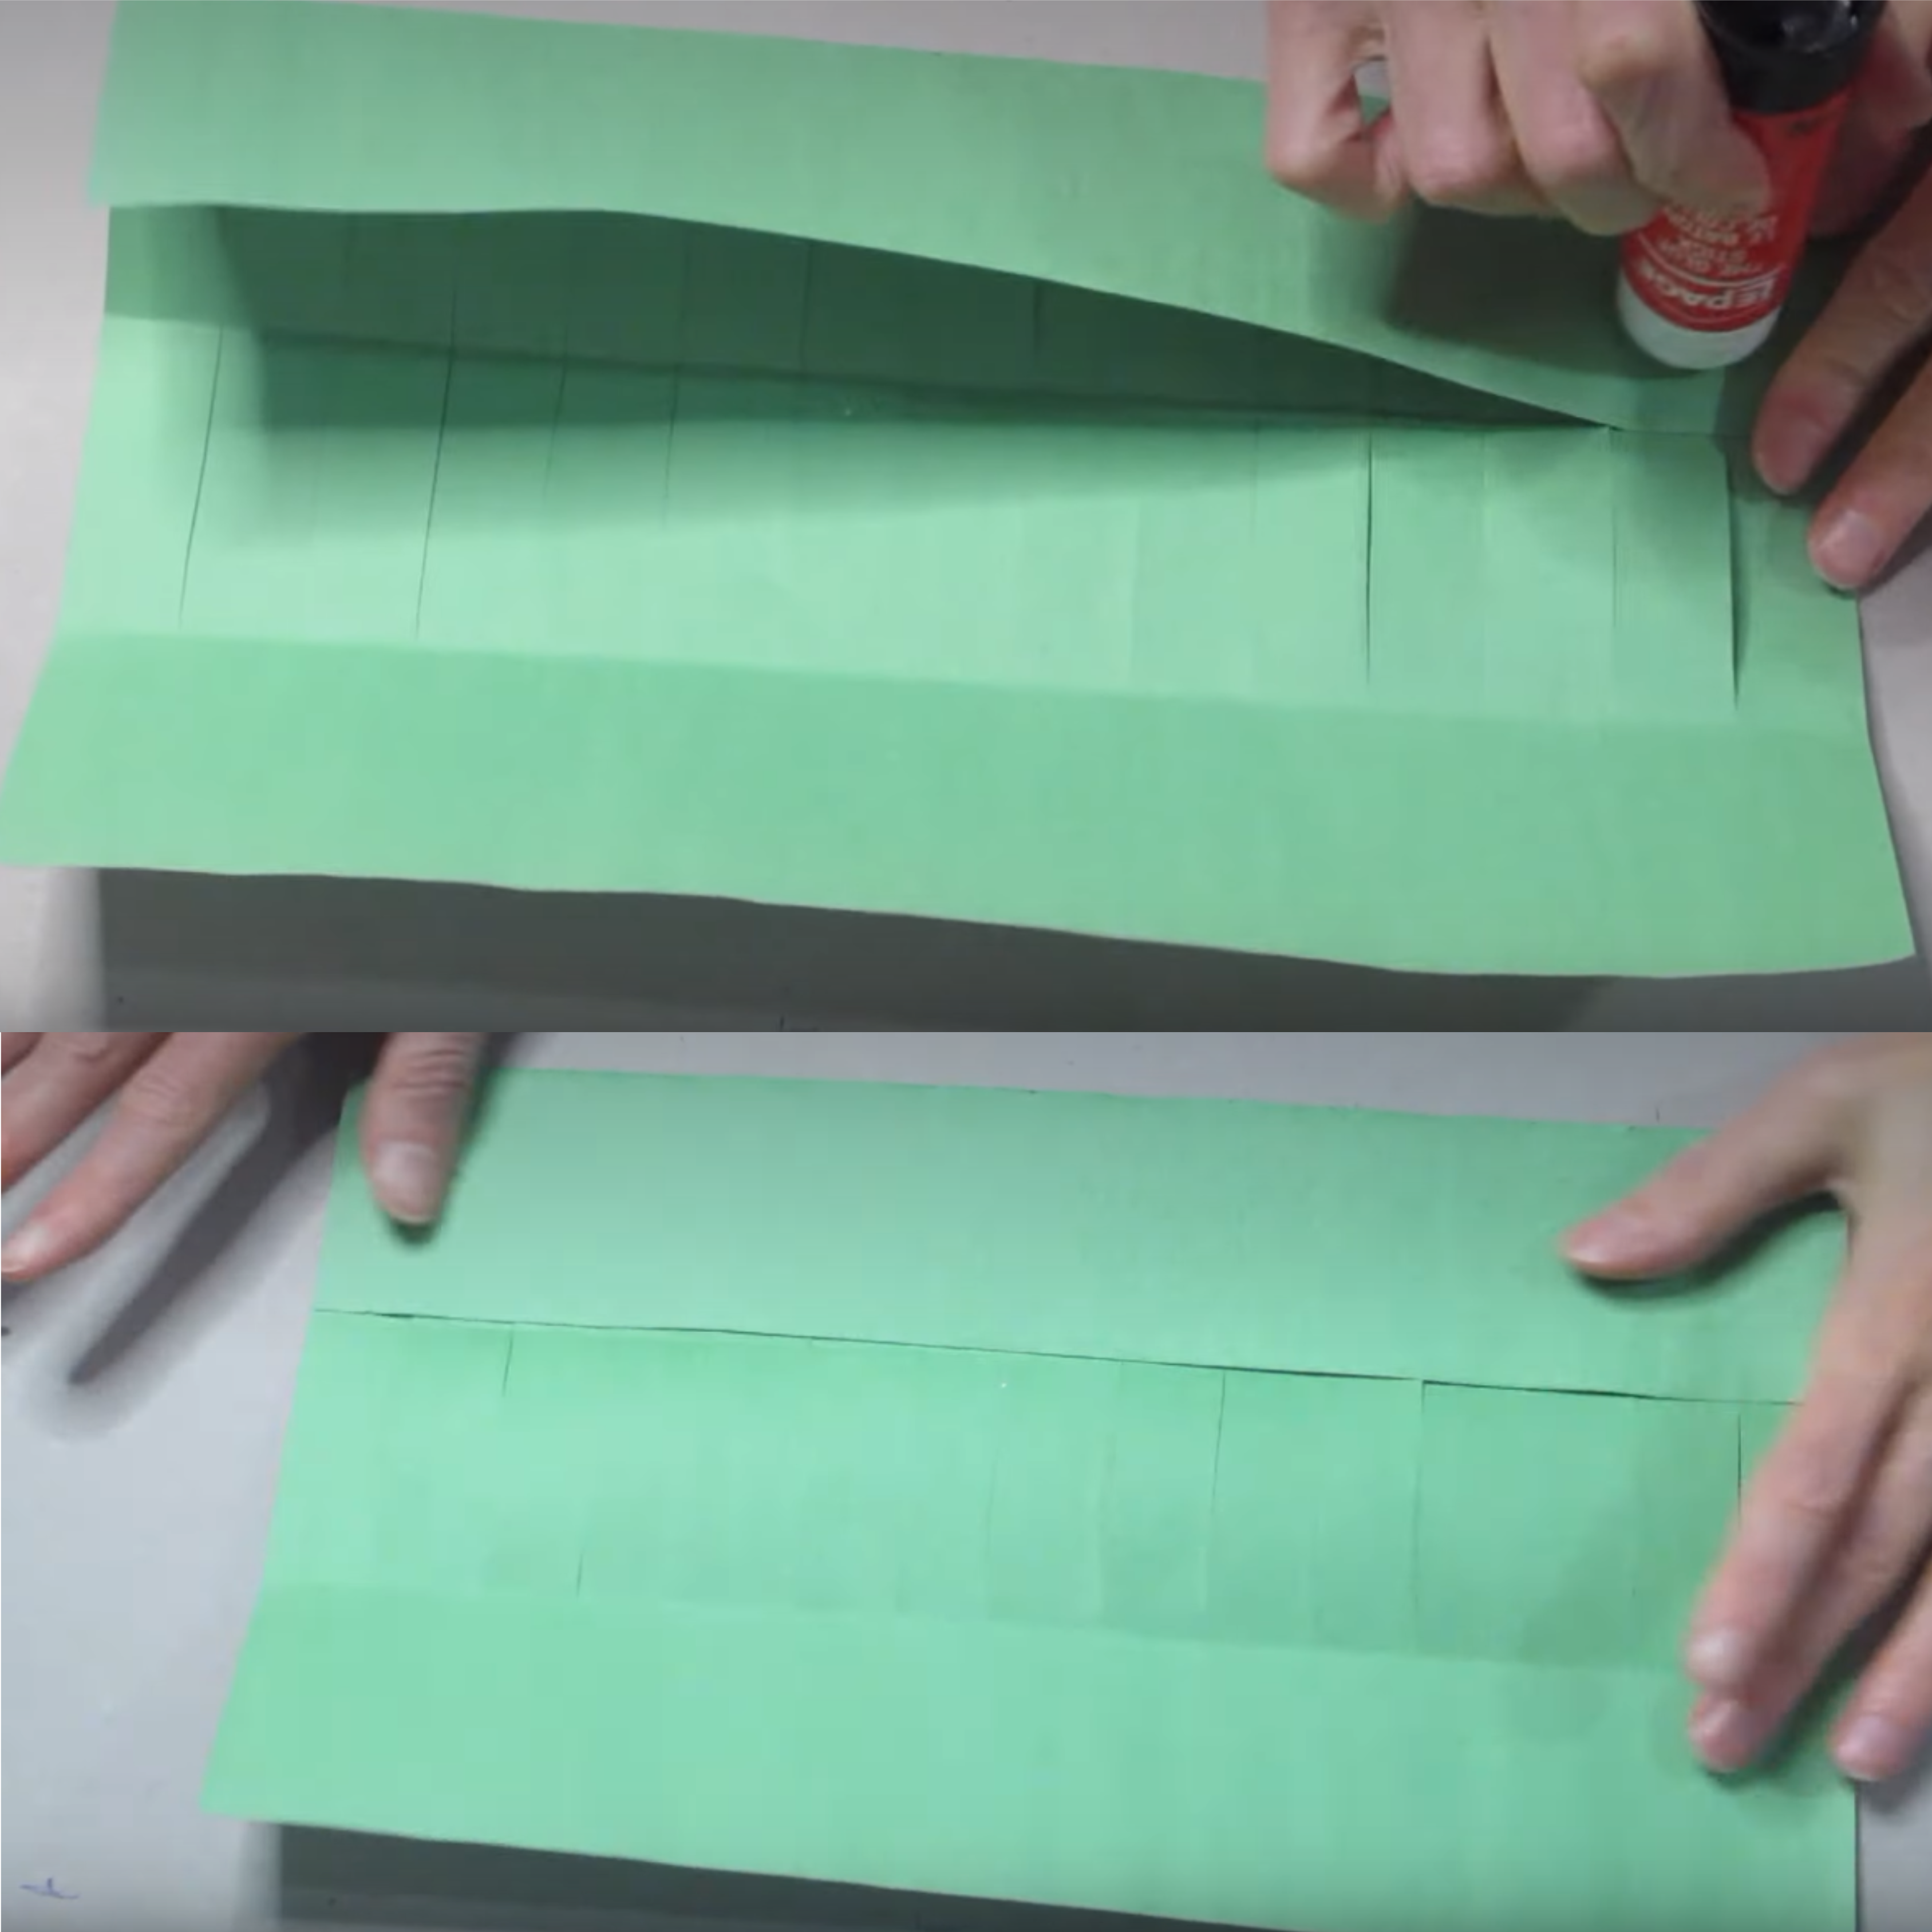
7. After you’ve put on the glue, fold the bottom flap all the way to the top flap. Make sure they stick together.
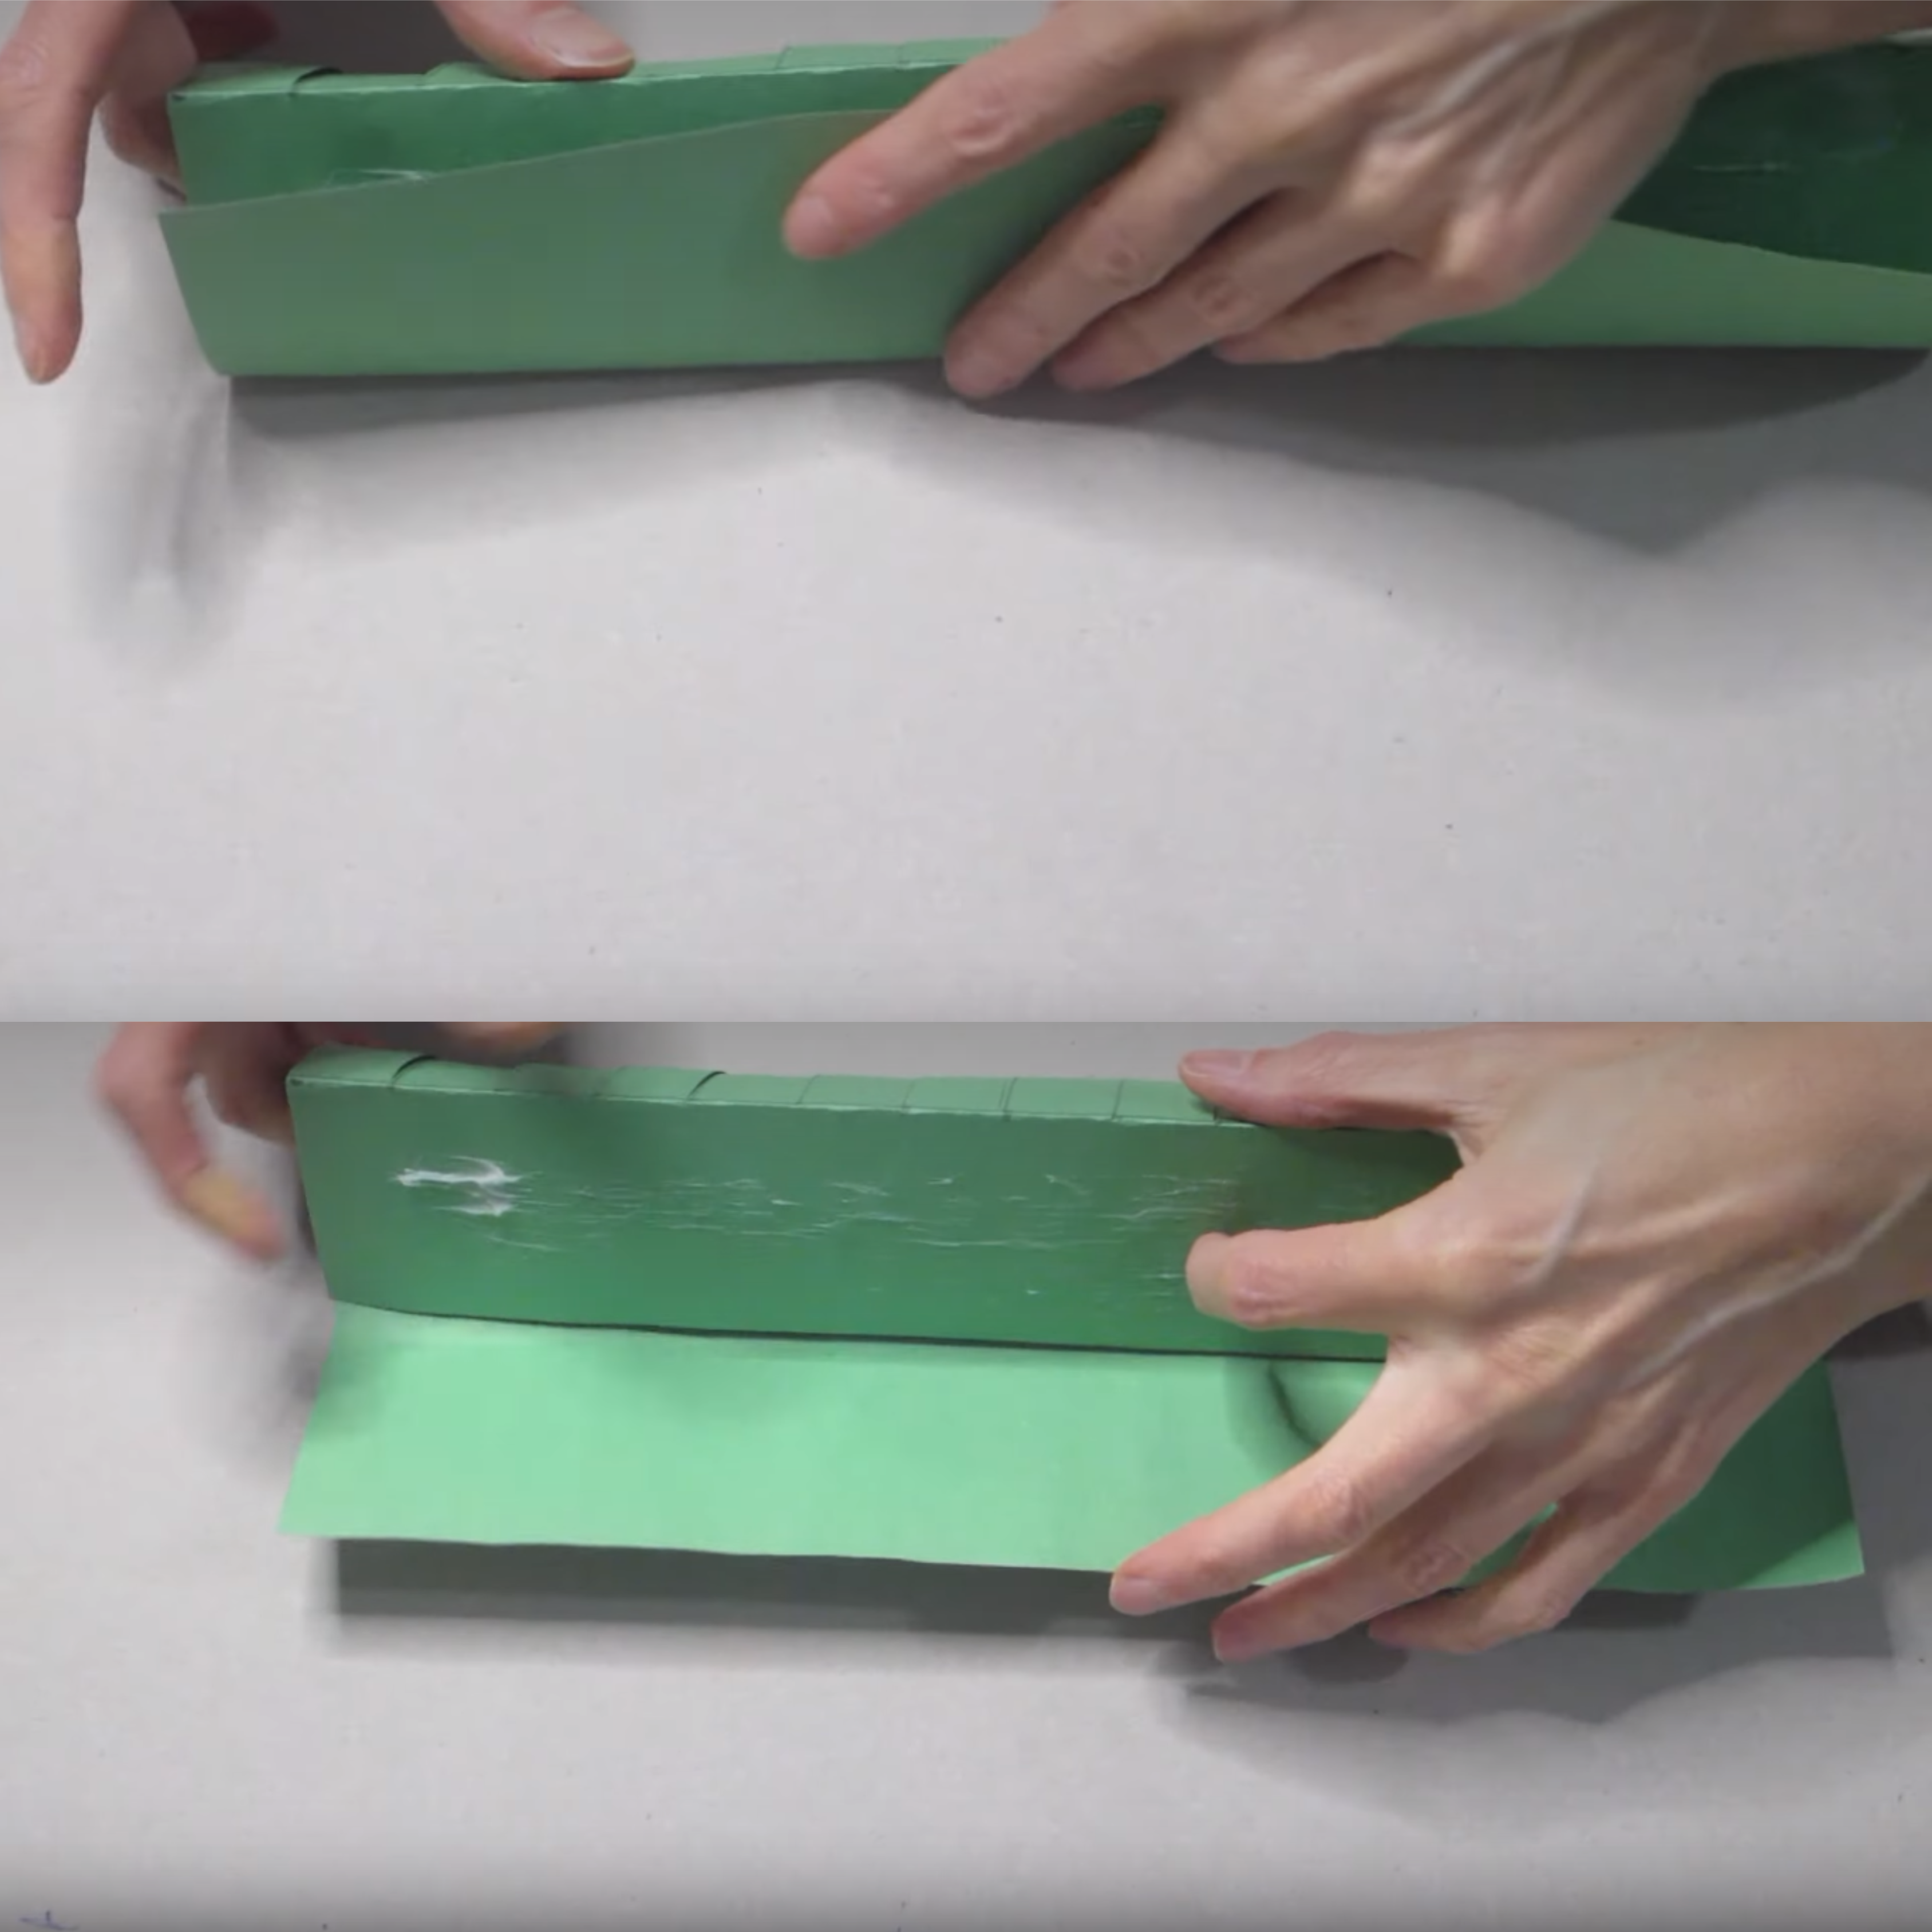
8. Roll up the paper and add some glue to one end. Press it together to seal it. You’ve made a wreath!
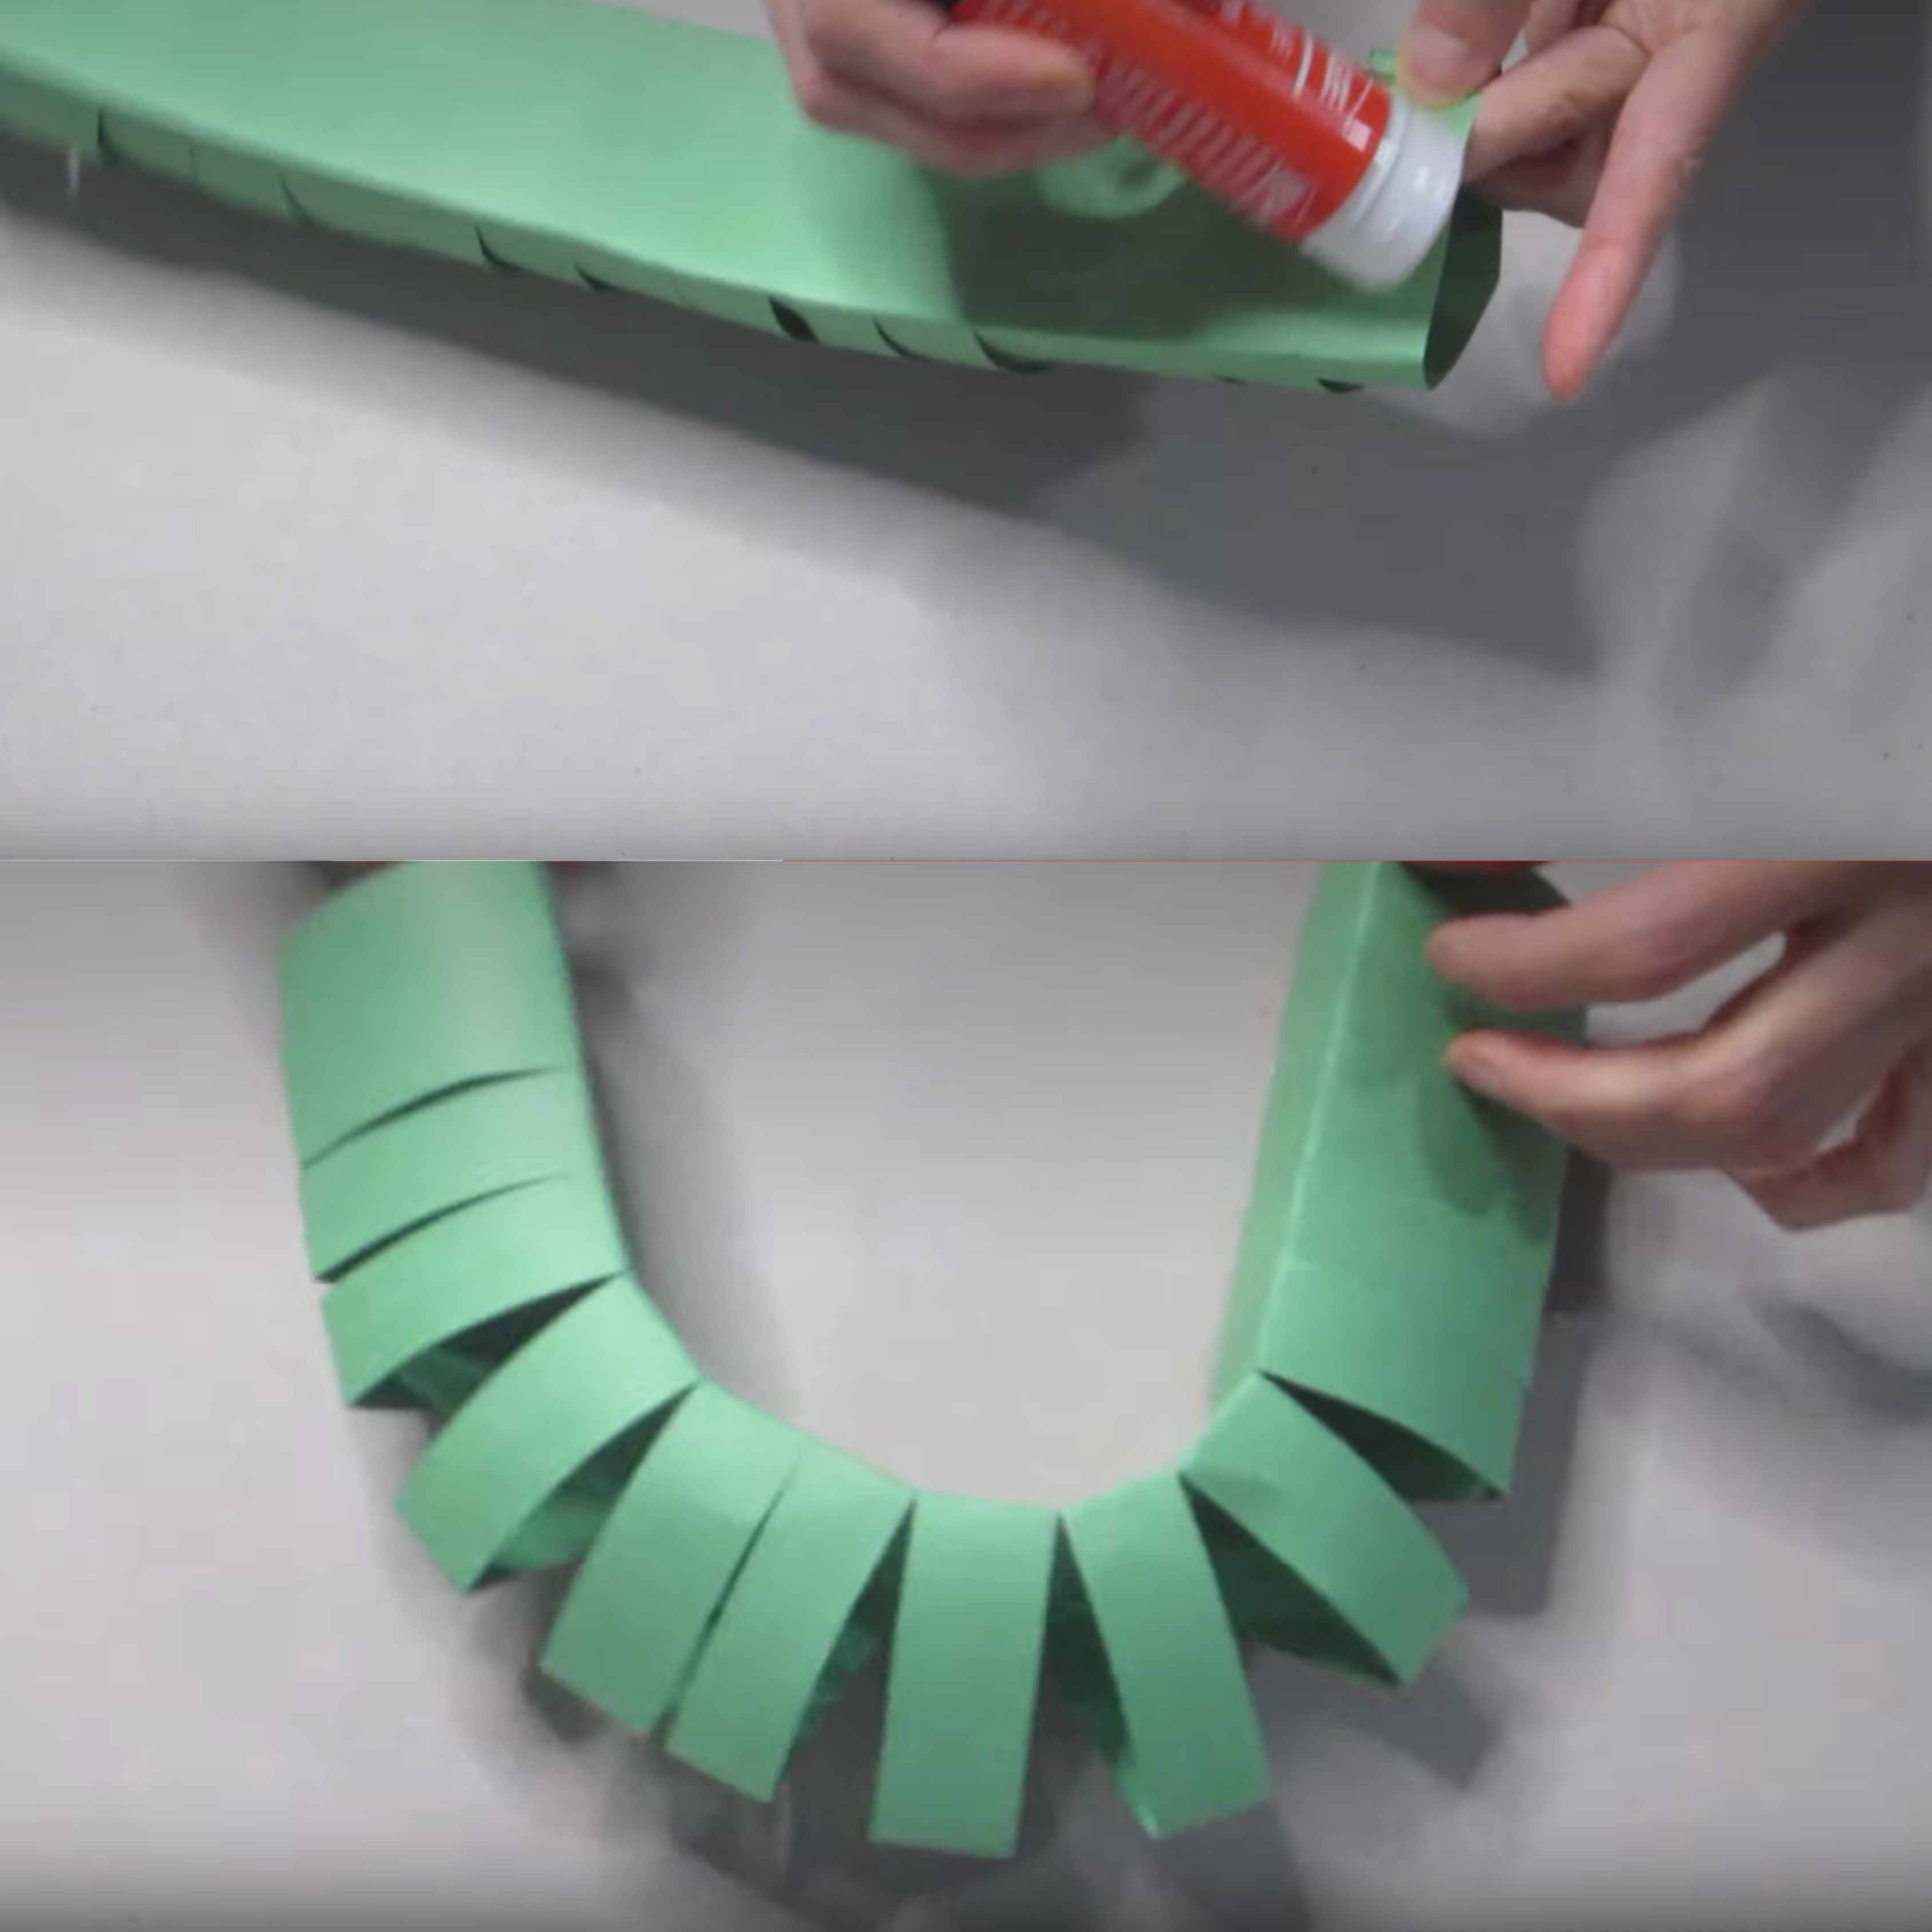
Making the Candles
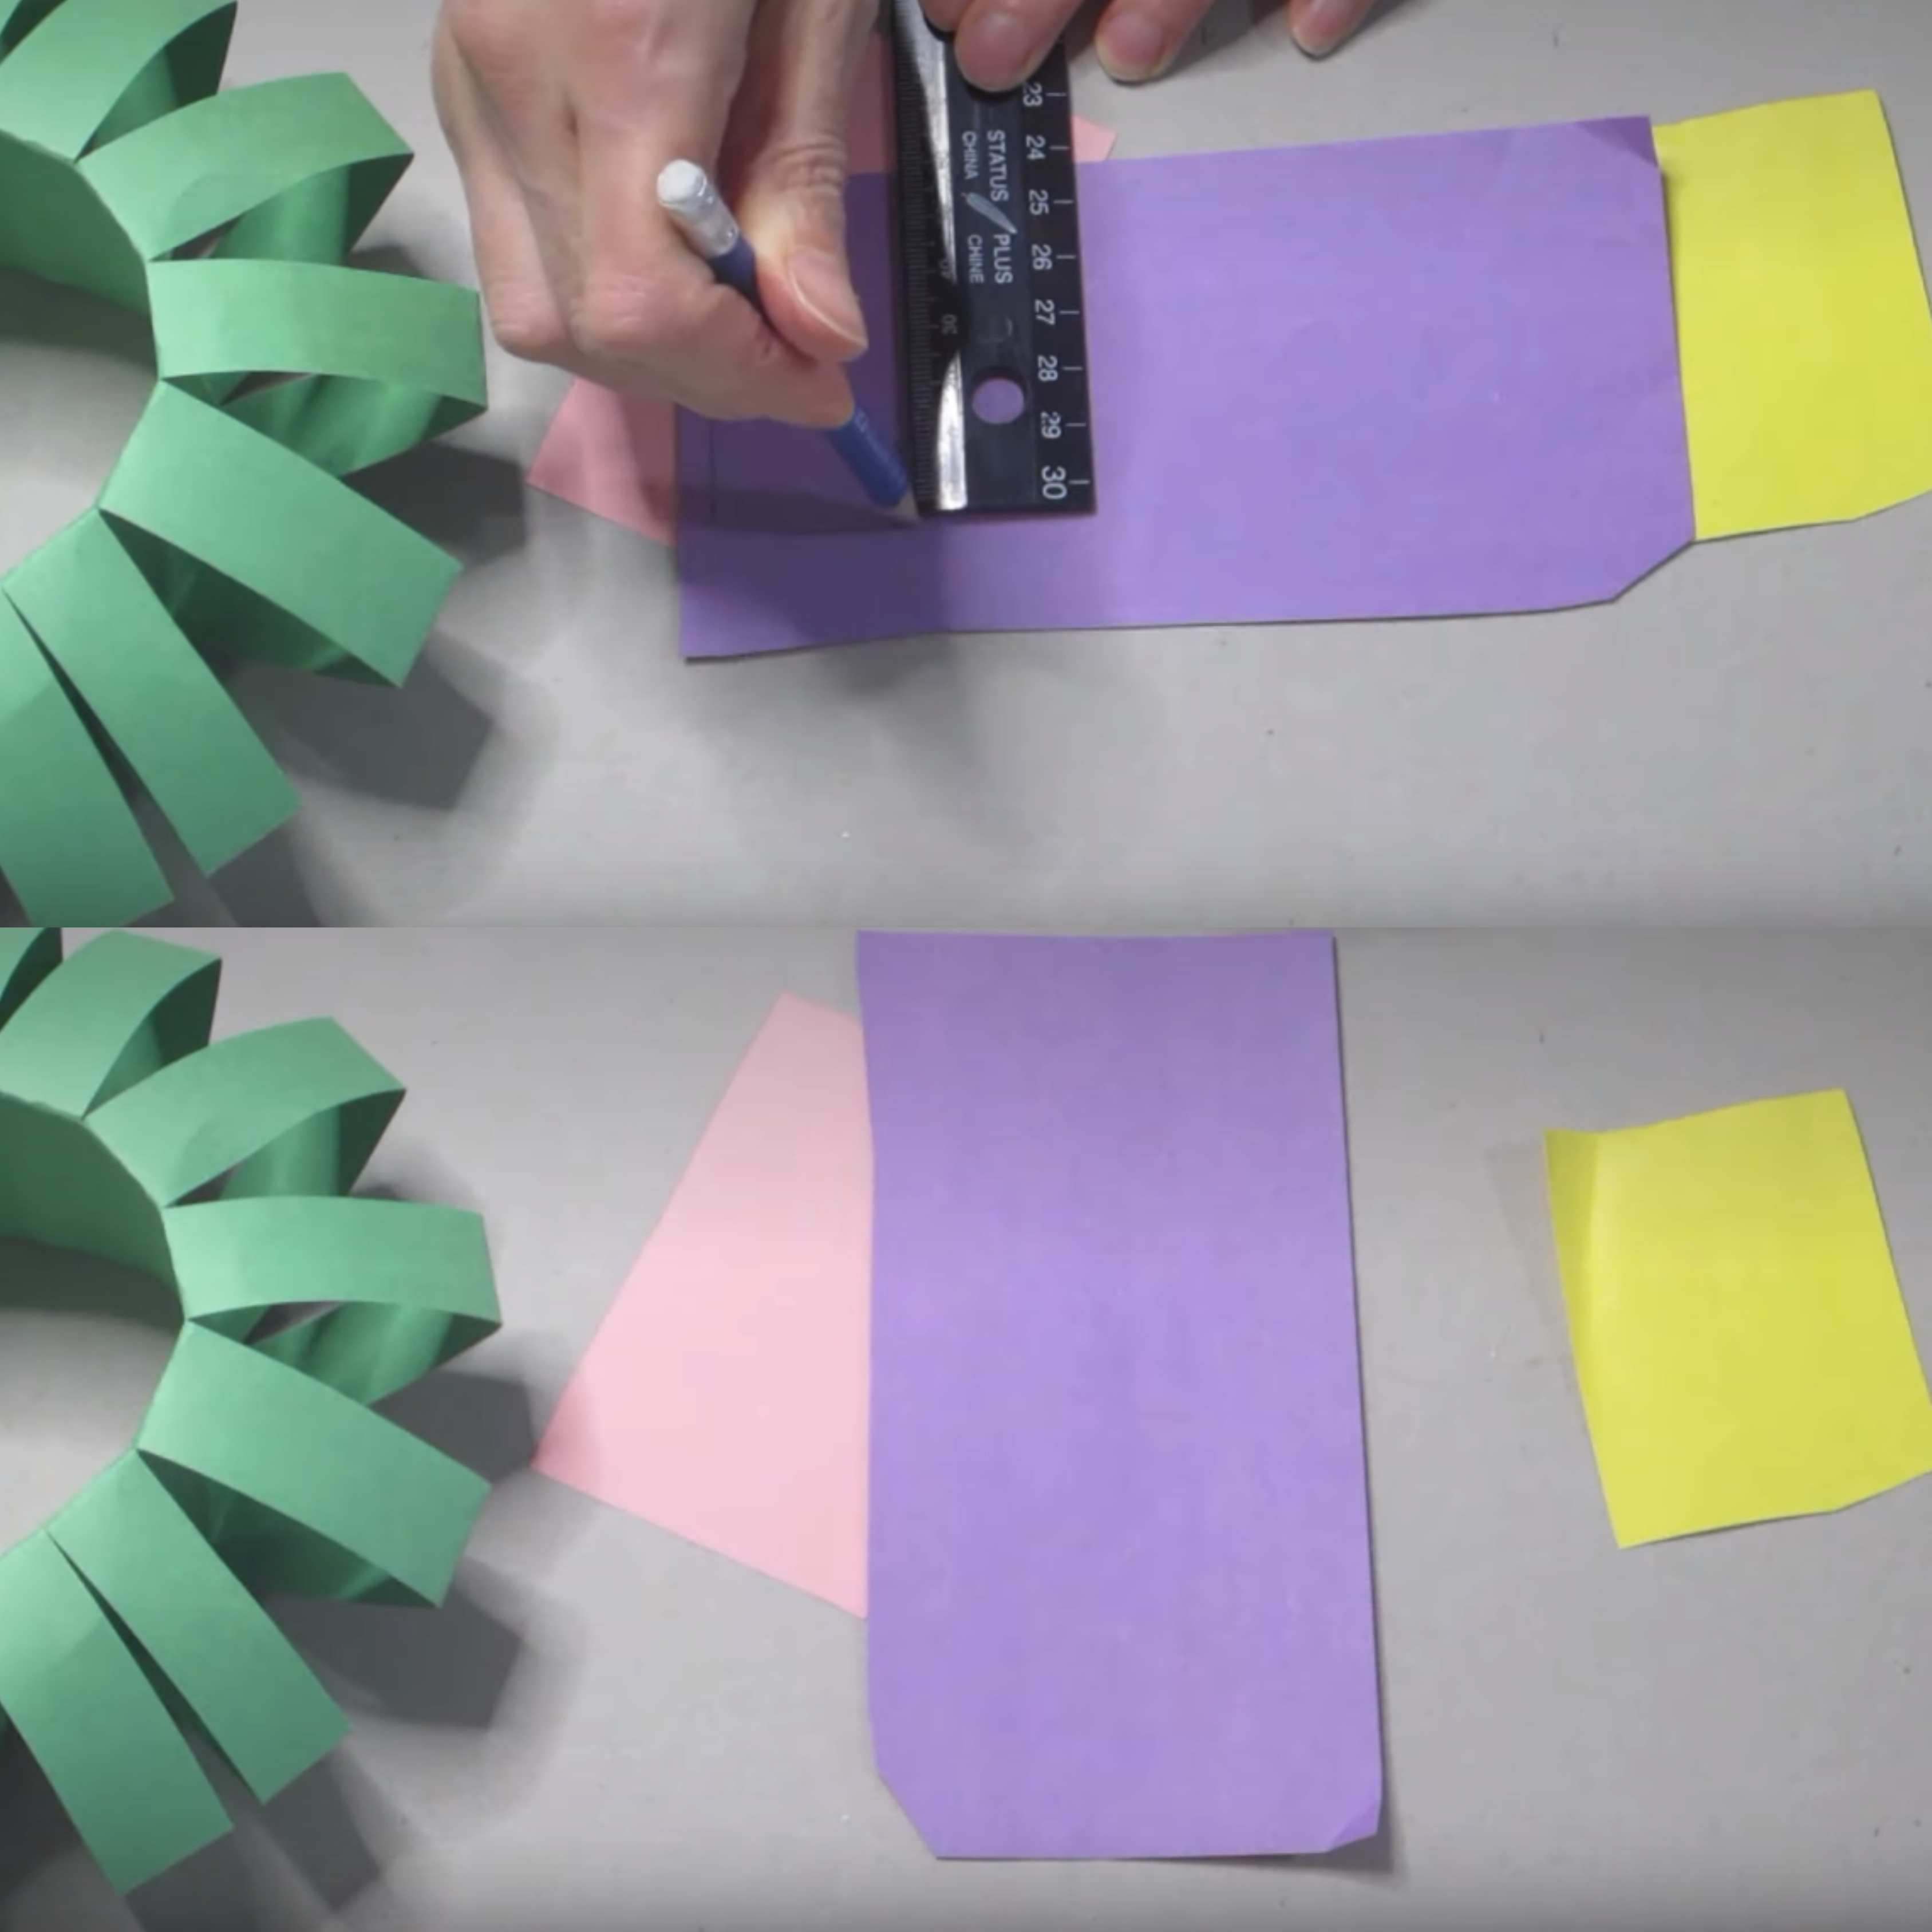
9. Now, let’s make the candles. You’ll need more construction paper for this. Get purple and pink paper for the candles and yellow paper for the flames. Take the purple paper and use a ruler to trace three candles. Use the pink paper to trace one candle, making it the same height as the purple ones.
10. Carefully cut out the candle shapes and put glue on the bottoms of each one.
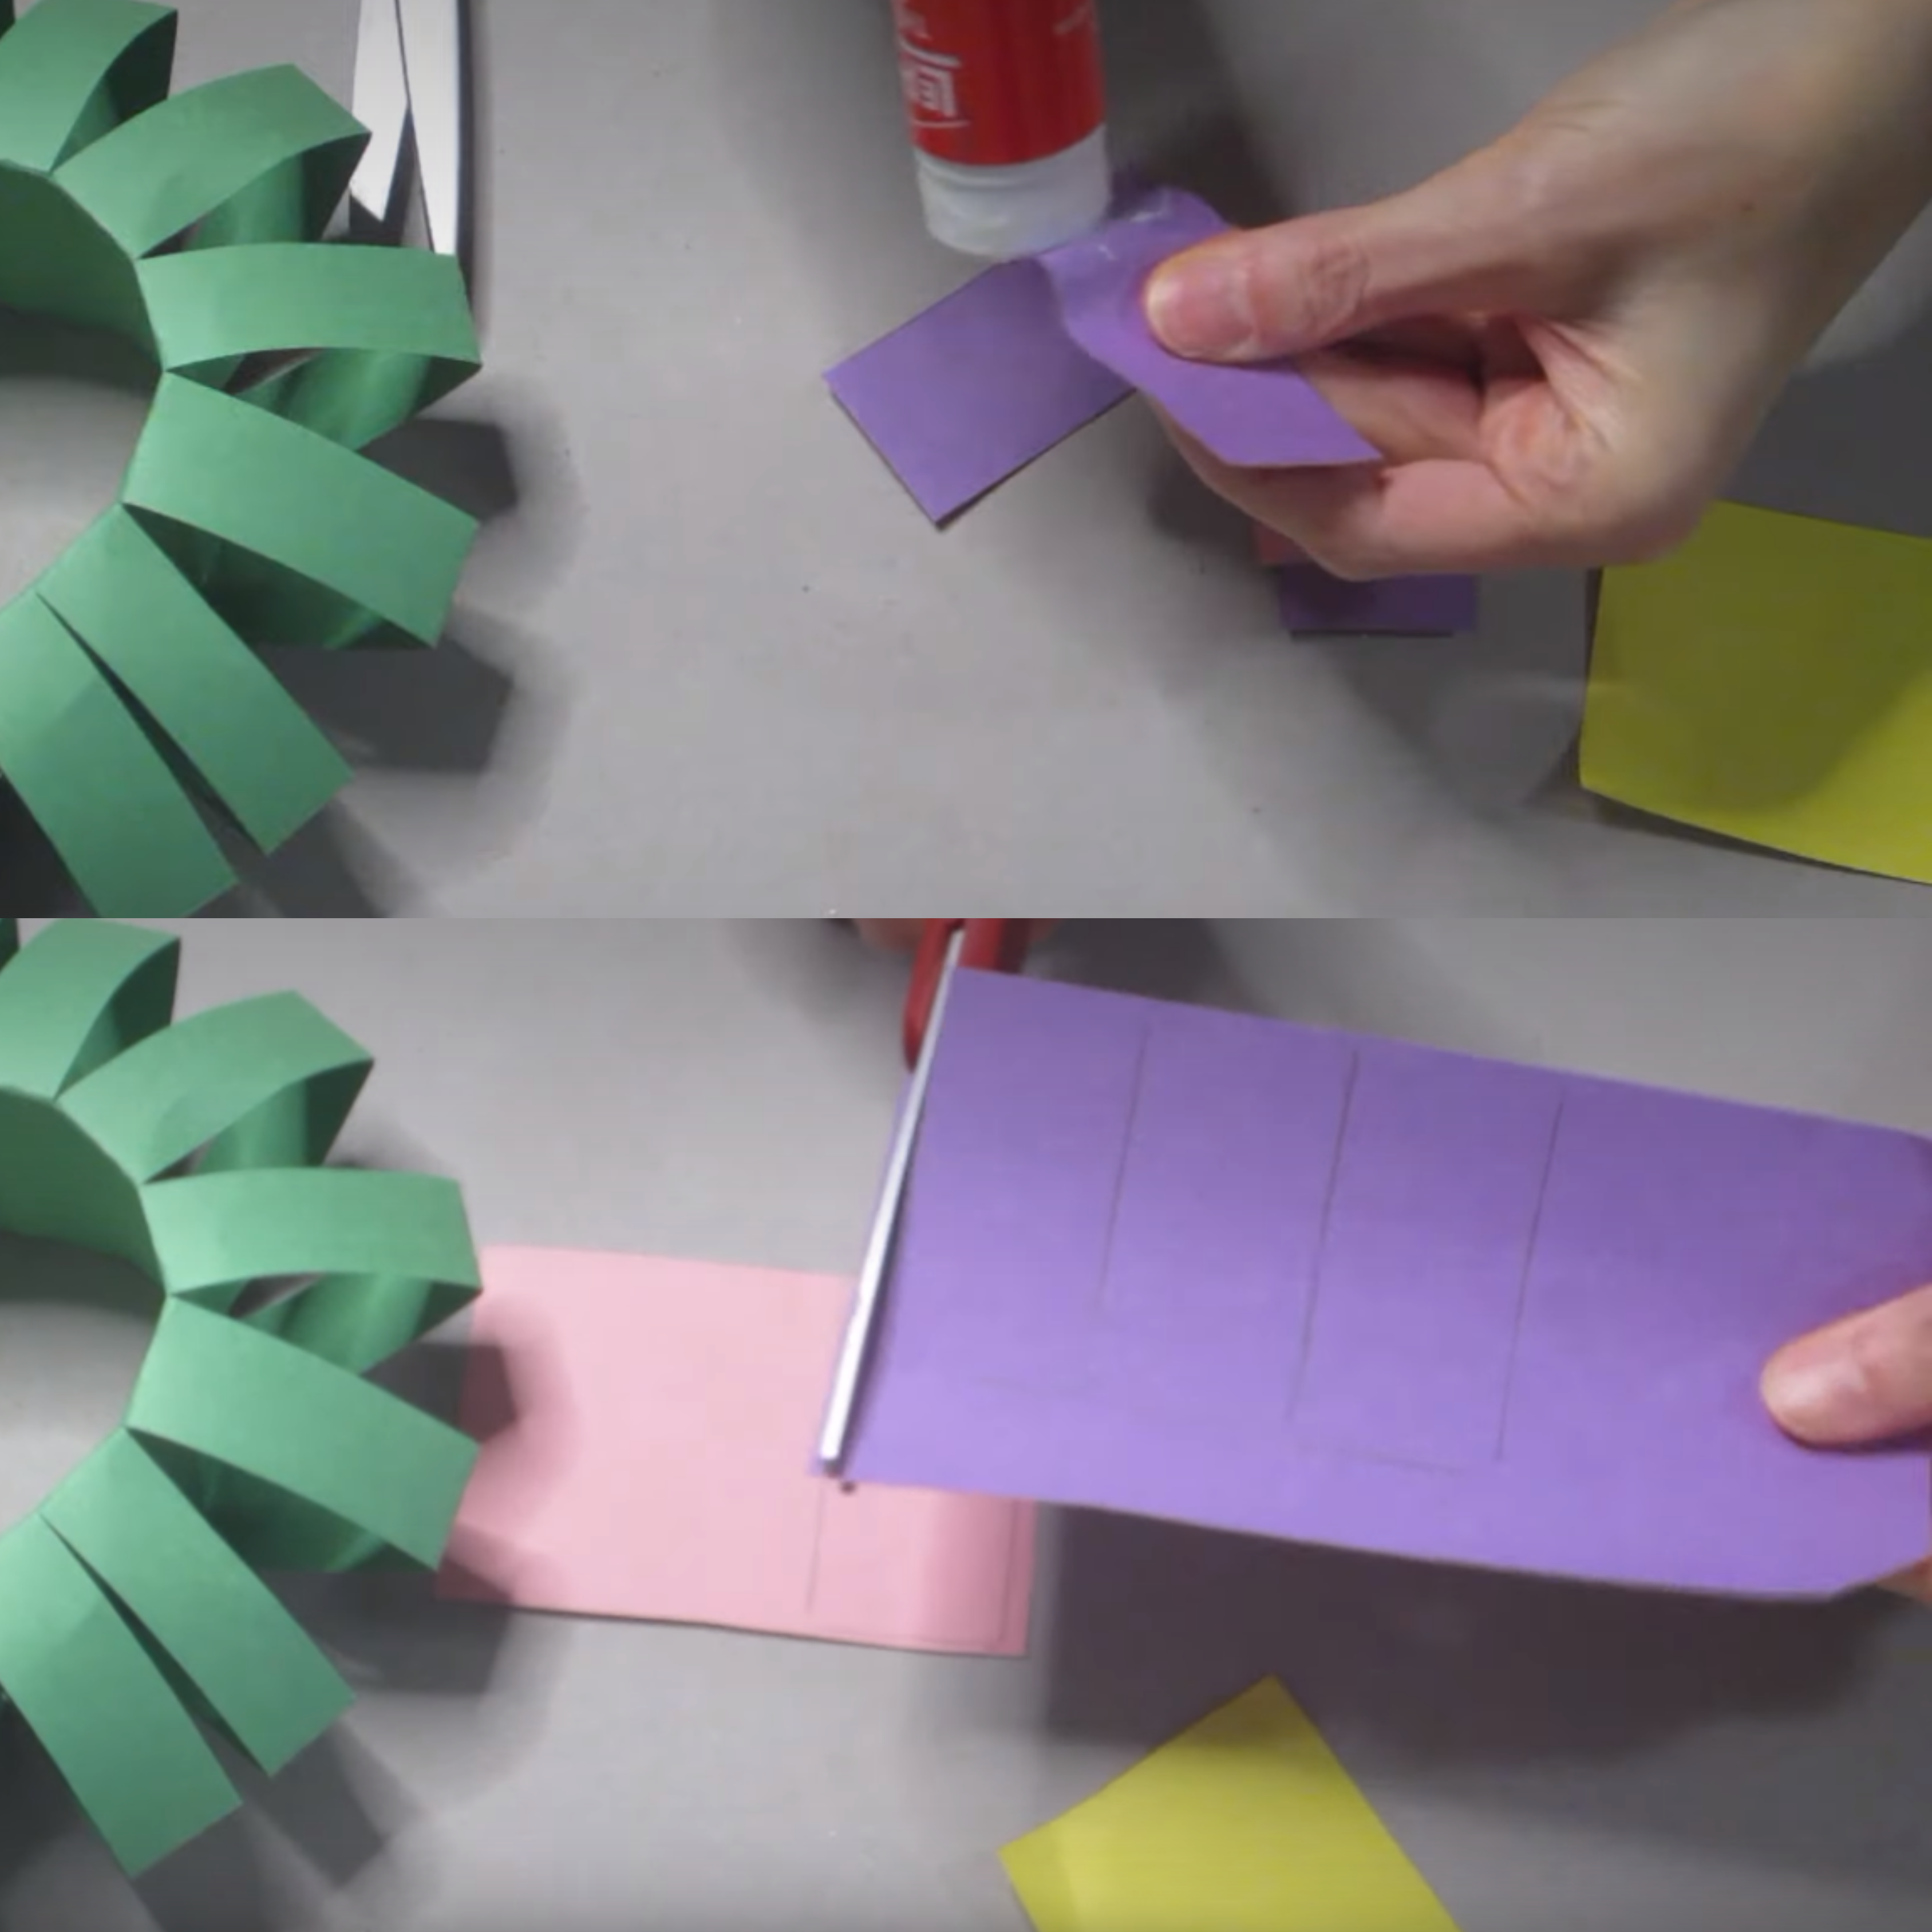
11. Stick the candles onto your wreath.
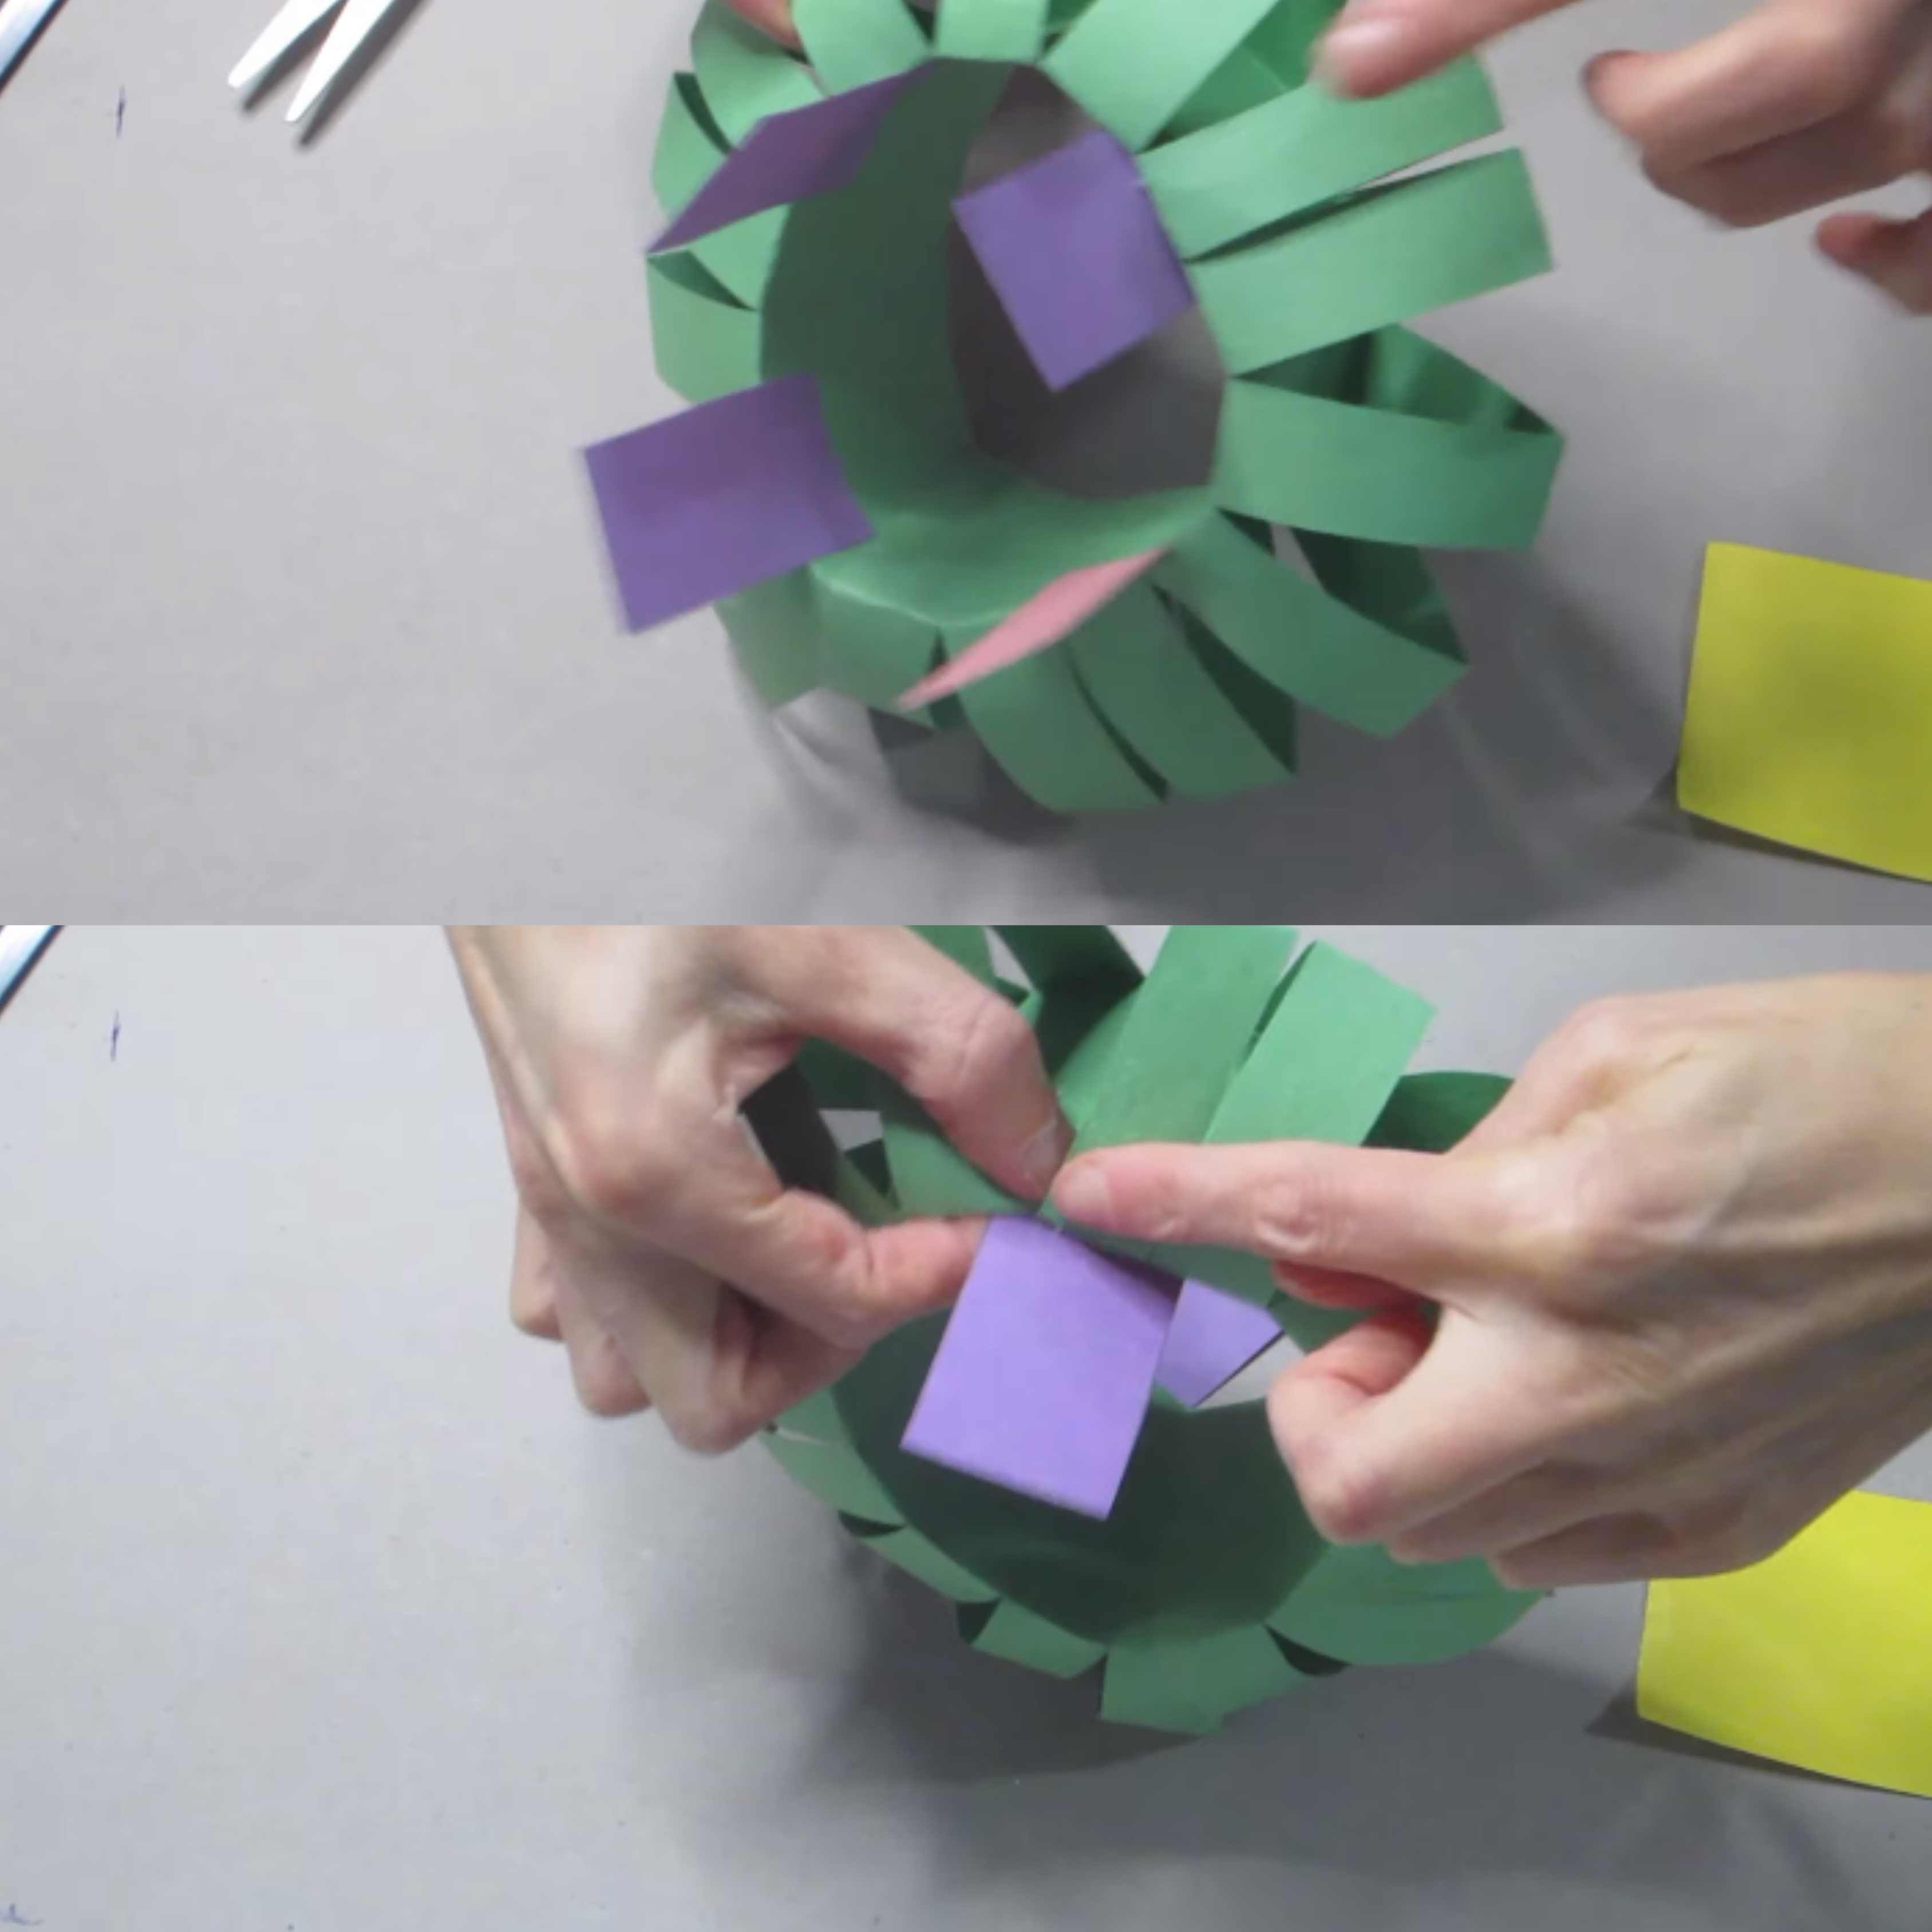
12. Next, take a small piece of yellow paper and fold it into four sections to create four flames for the candles.
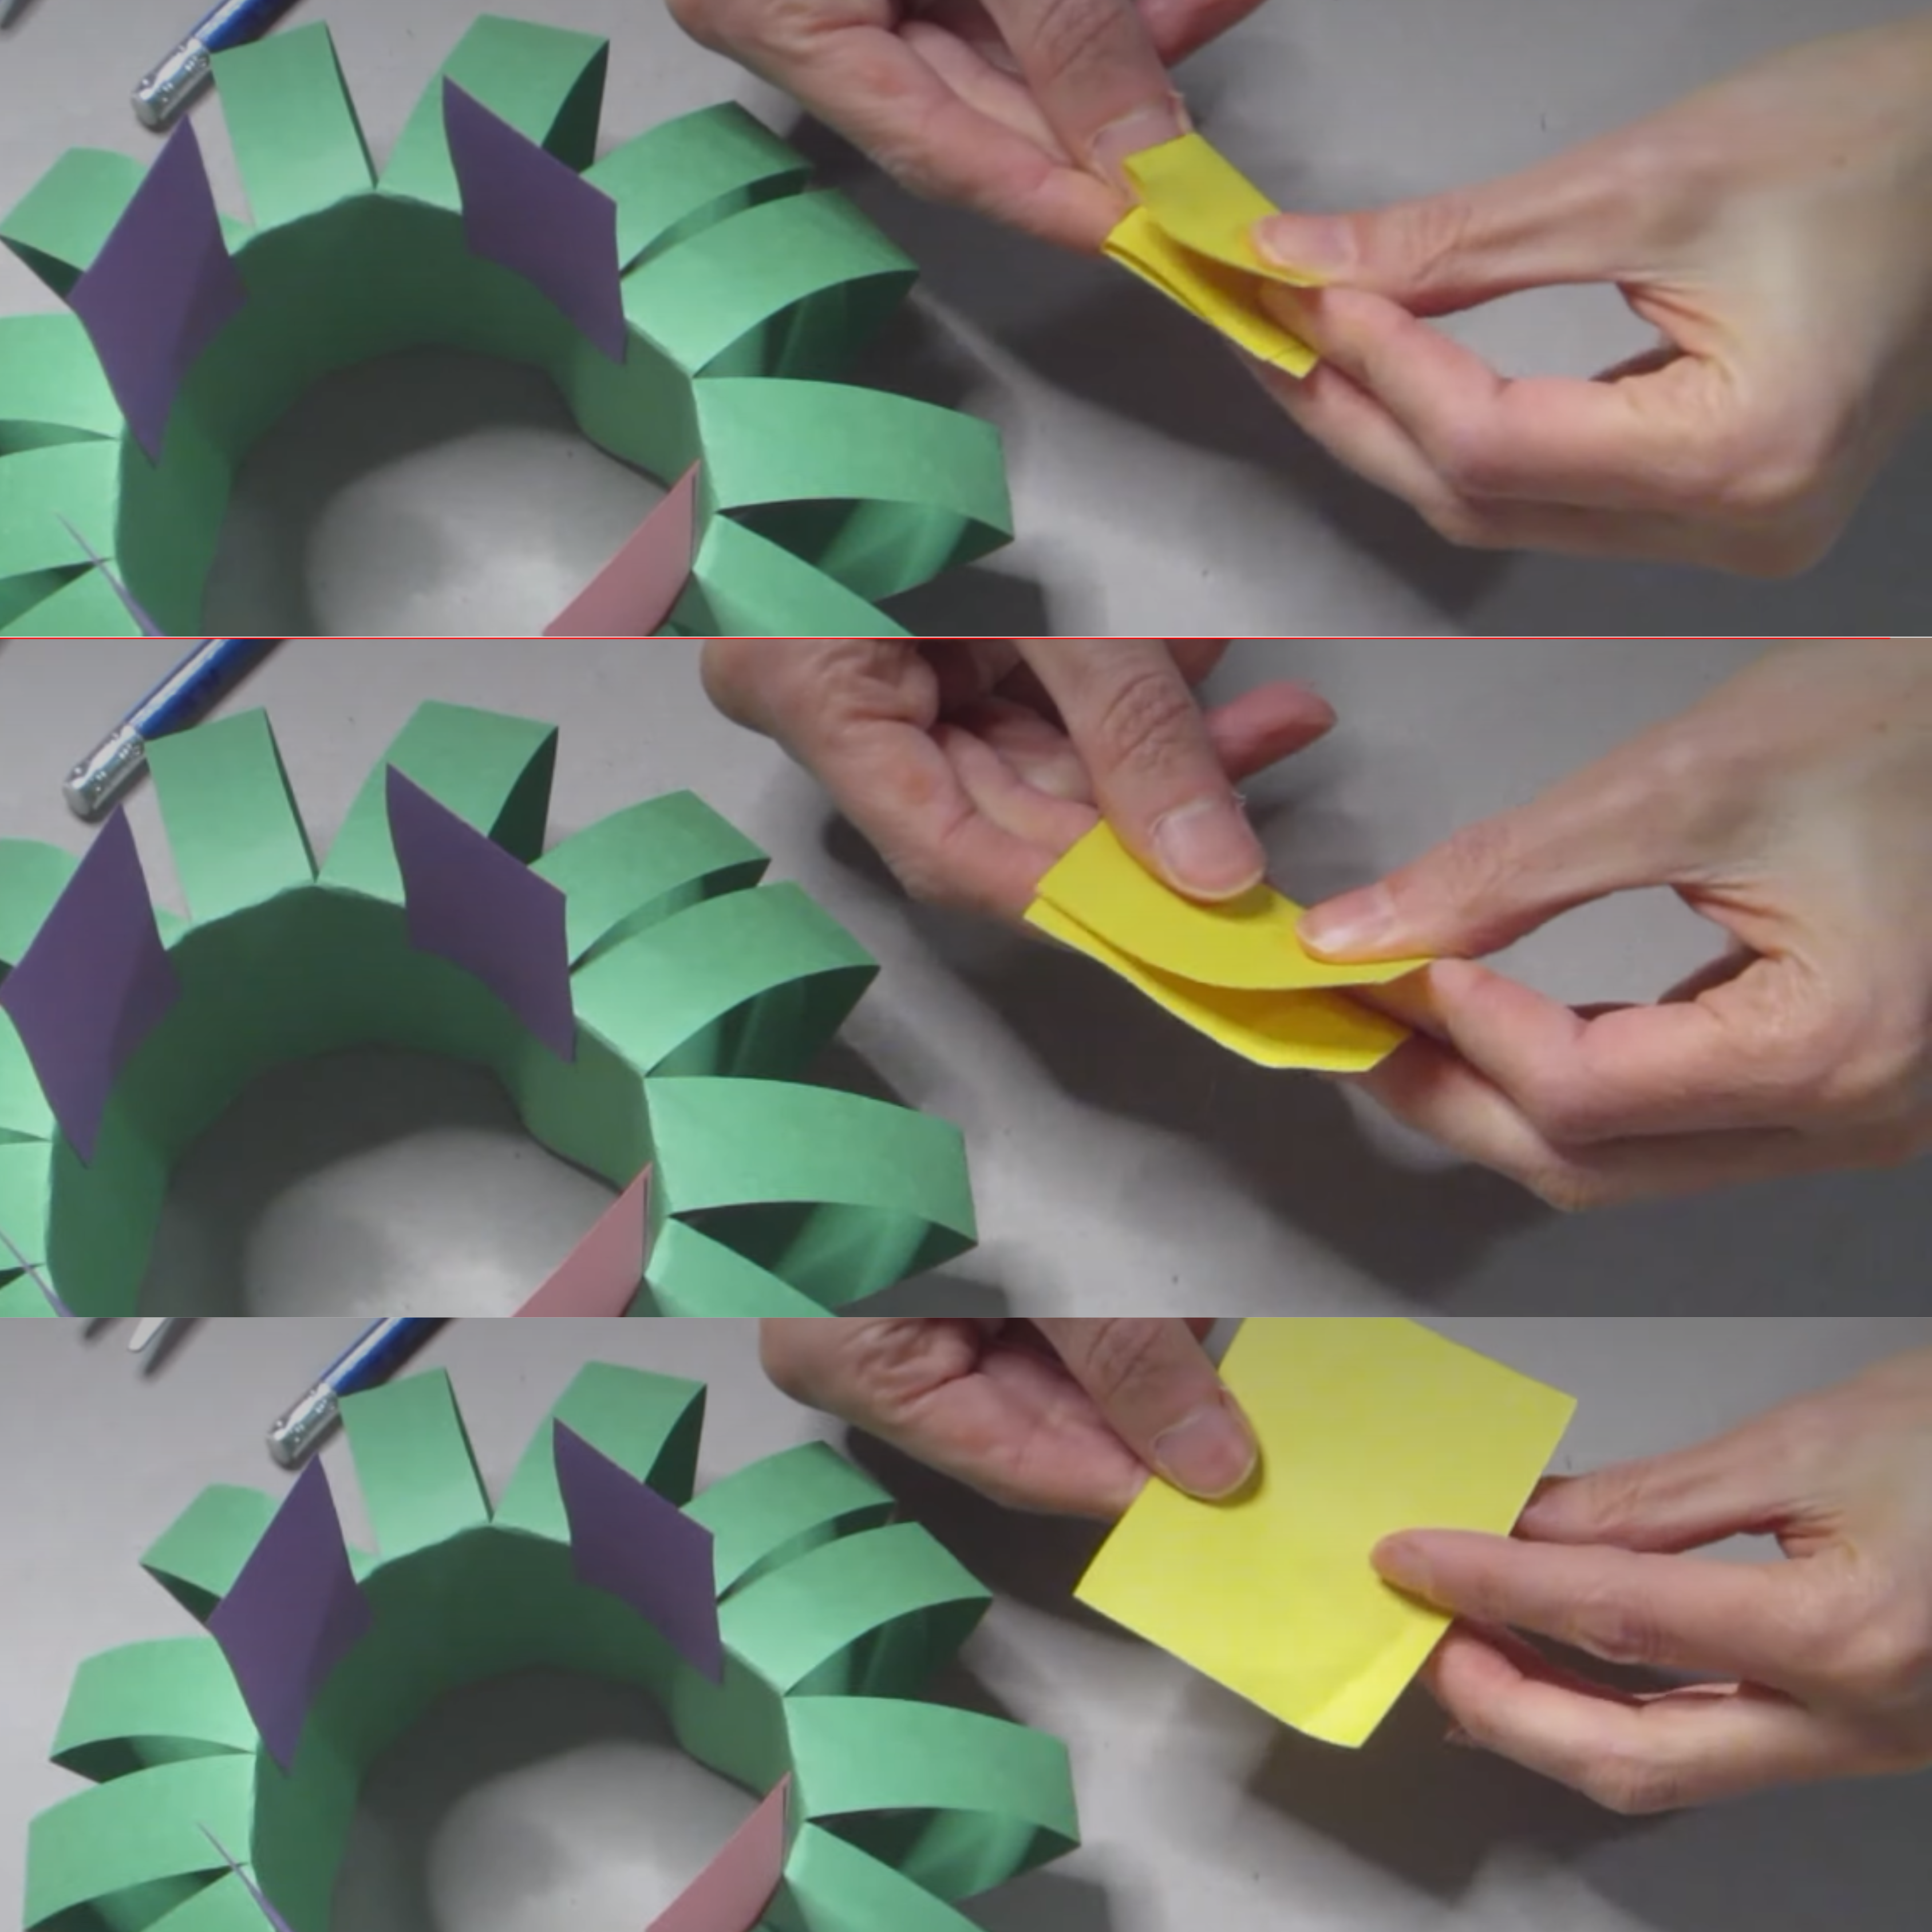
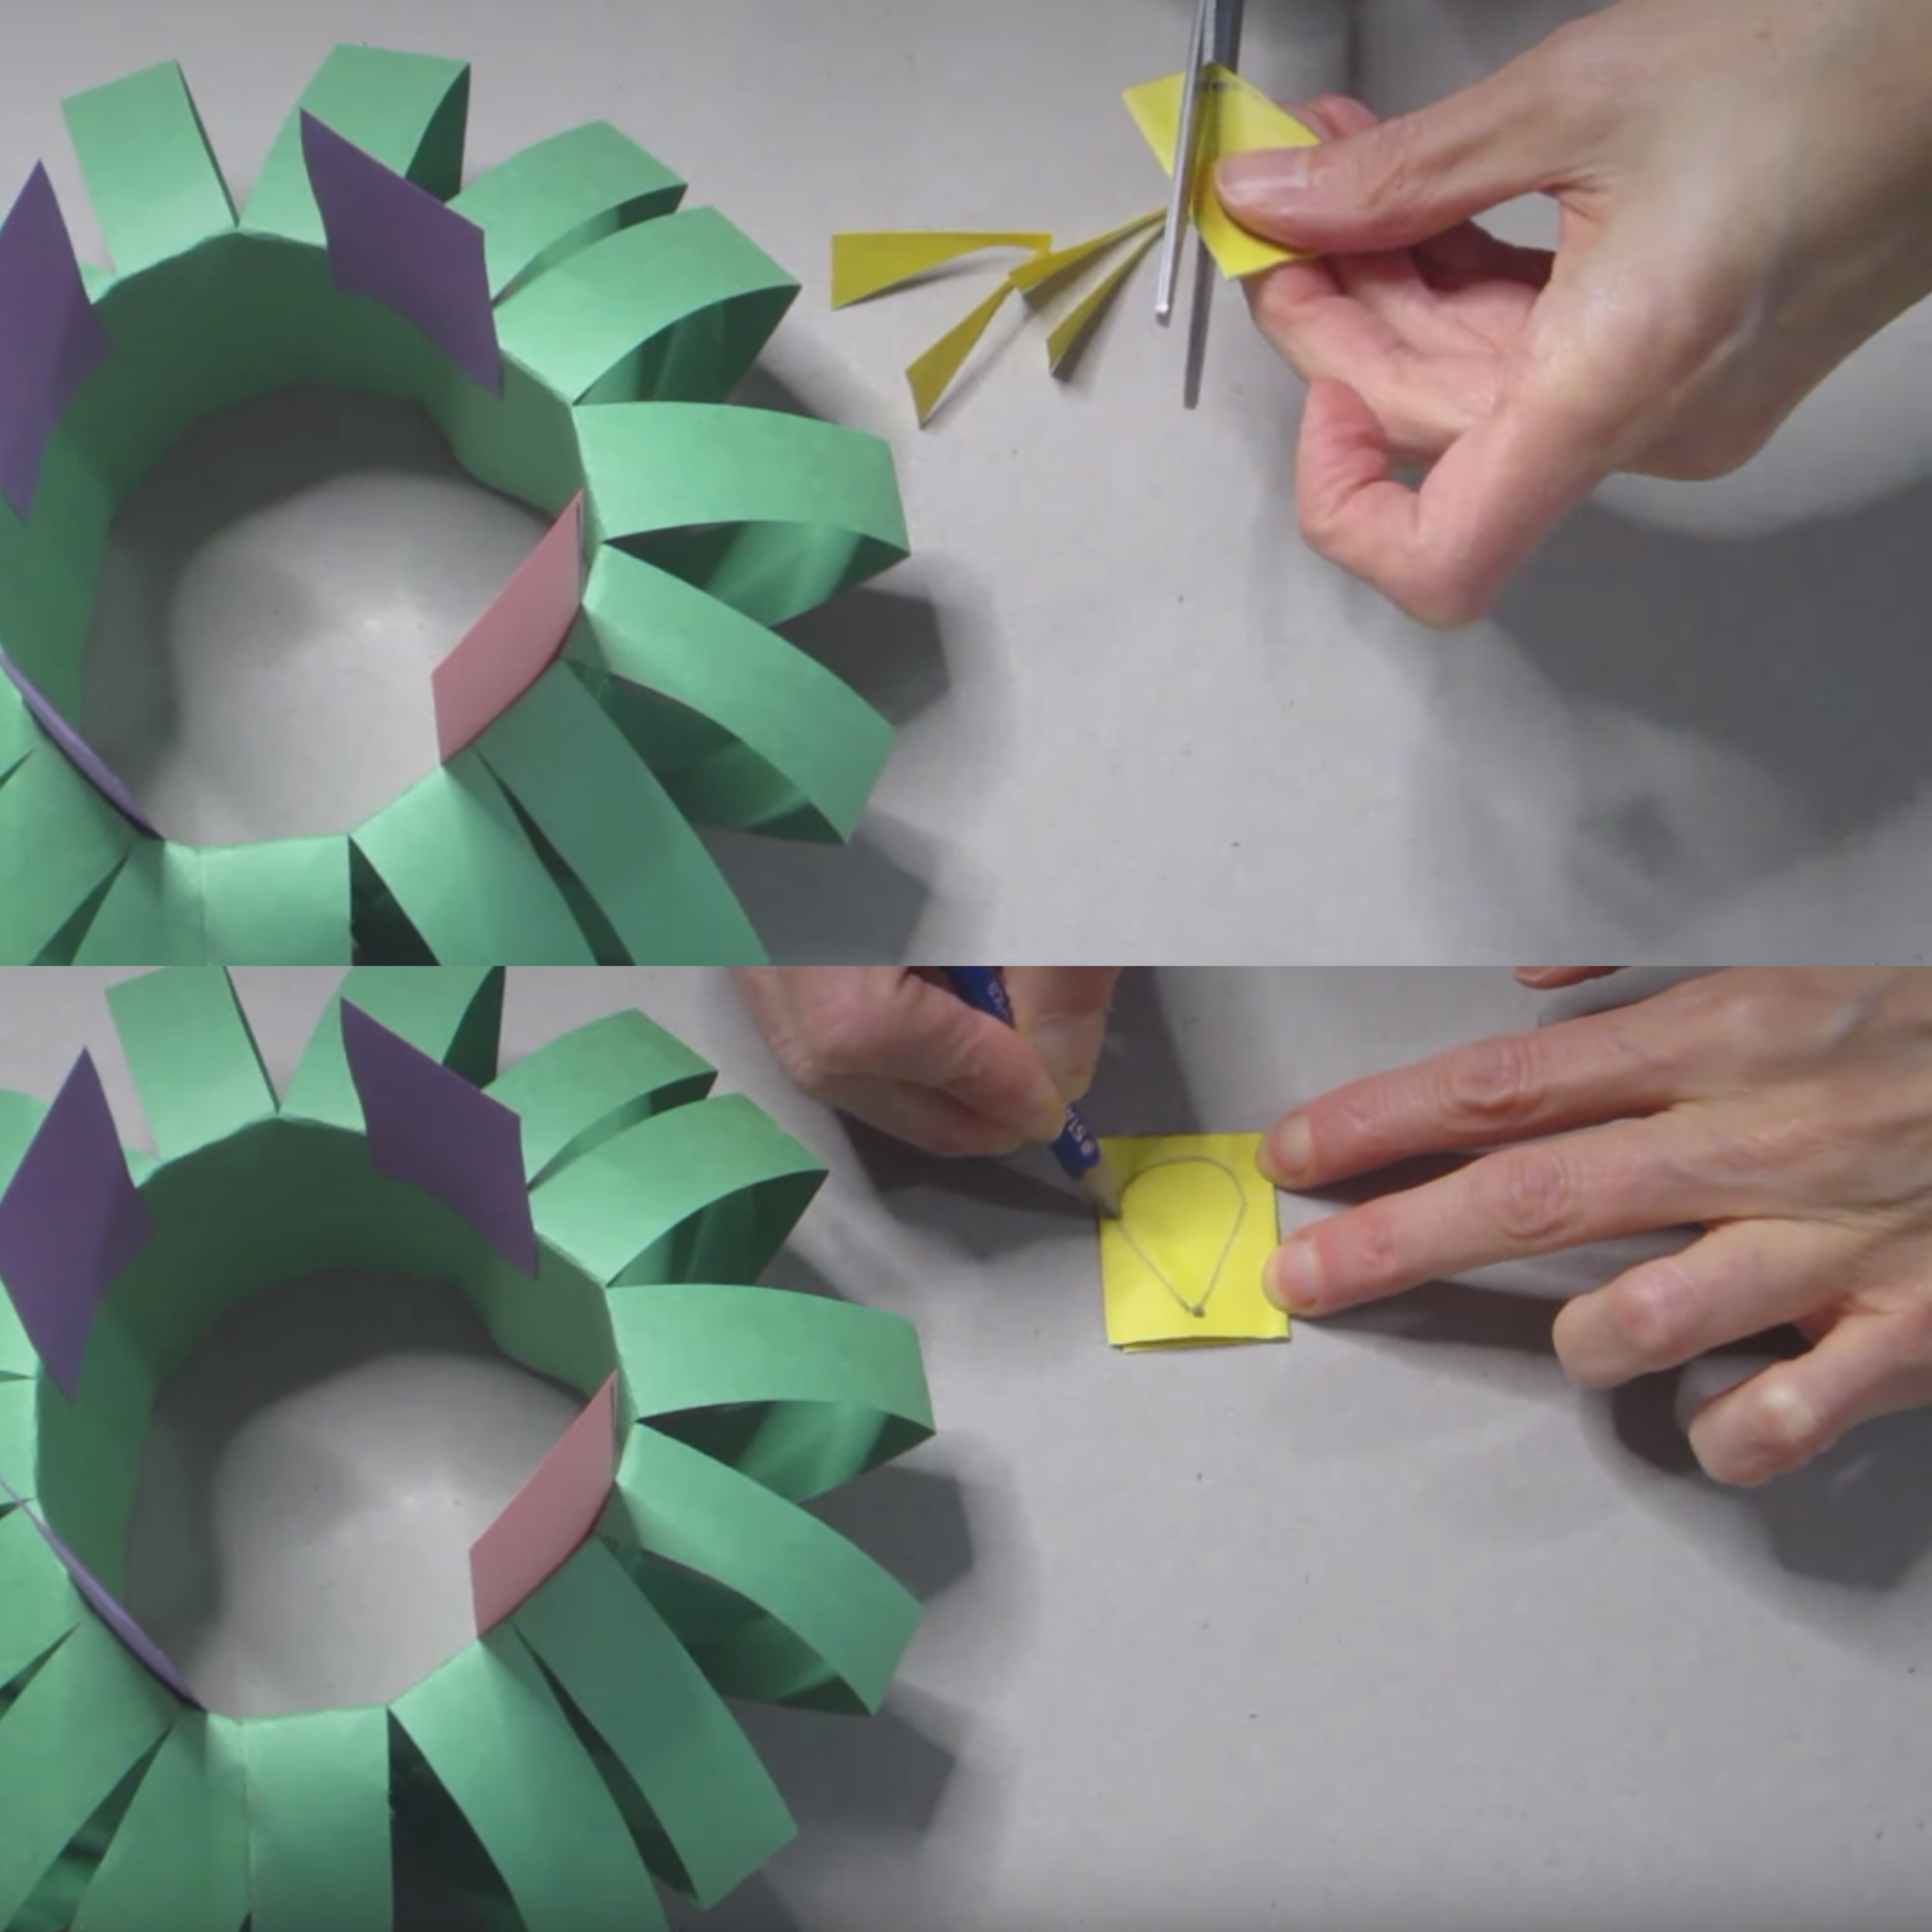
13. Draw a flame shape on the folded yellow paper. Cut it out, and now you have four identical flames.
14. During Advent, each week, glue one flame onto a candle. Start with the purple candle, then add one to the second and third purple candles, and for the last week, glue a flame onto the pink candle.
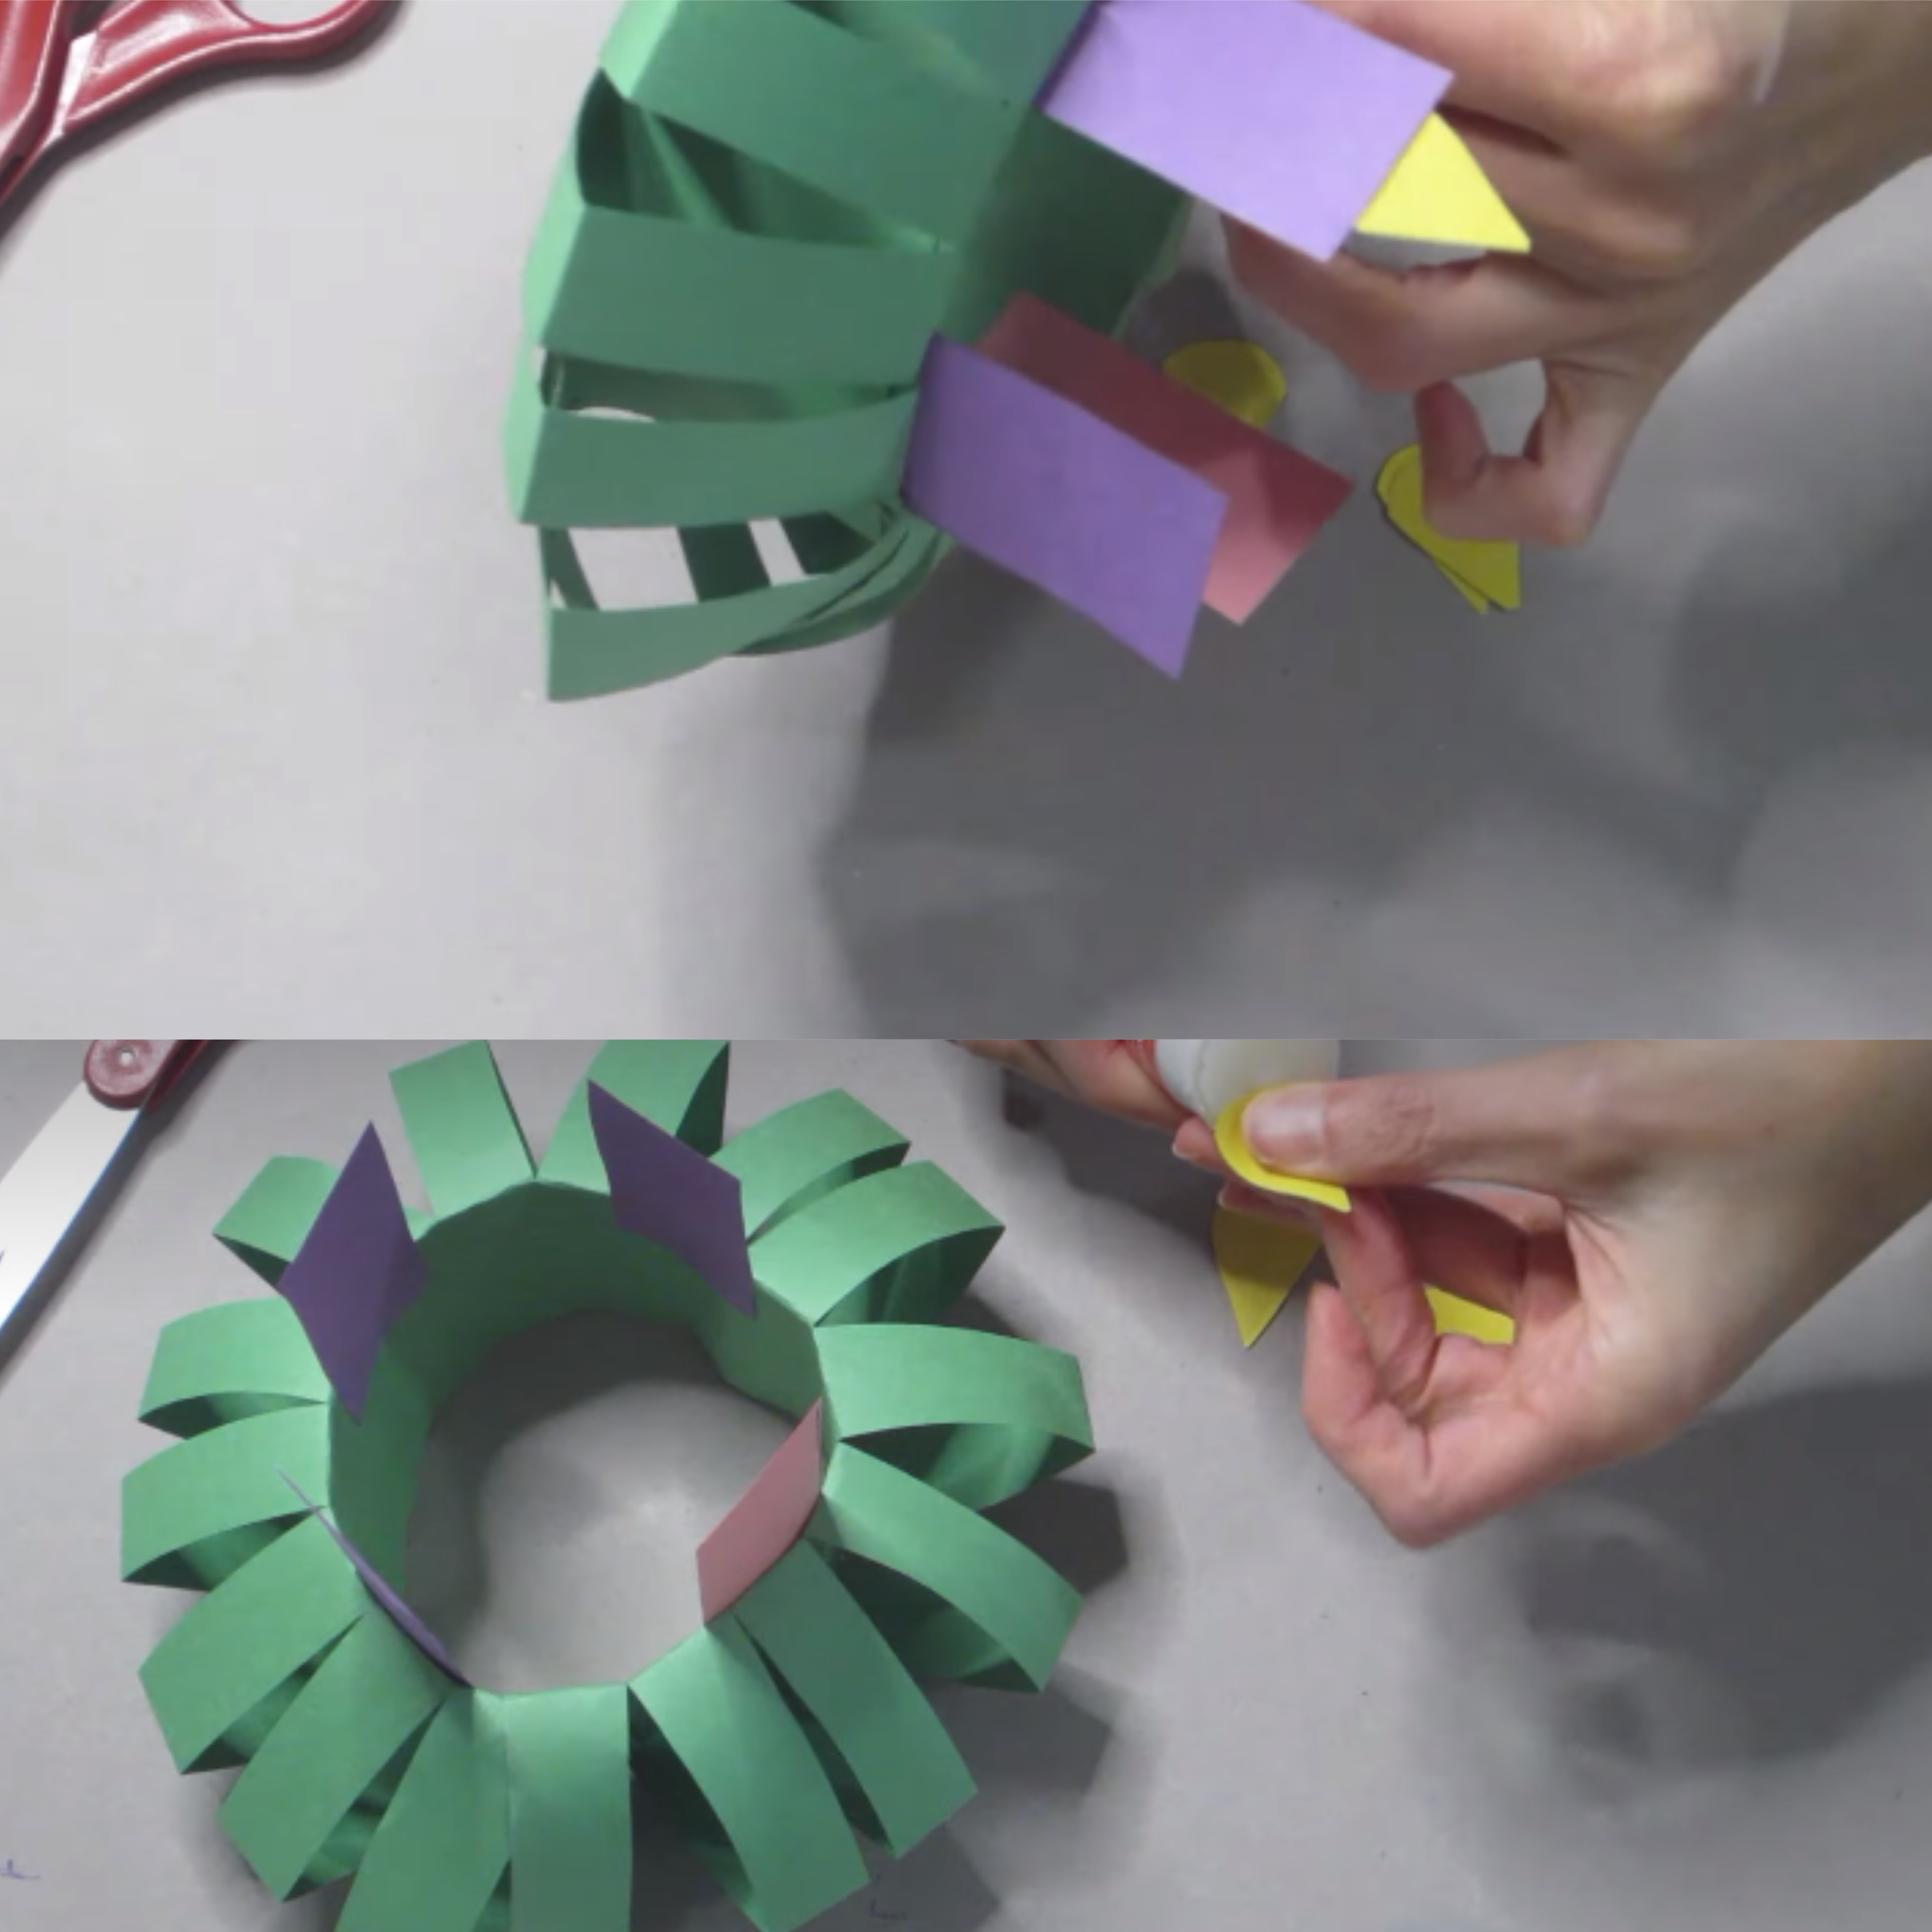
15. Congratulations! You’ve made your very own Advent Wreath!
You can also watch this video for making your own Advent Wreath.
Download your printable PDF copy of Advent Wreath Craft Activity for Seniors


