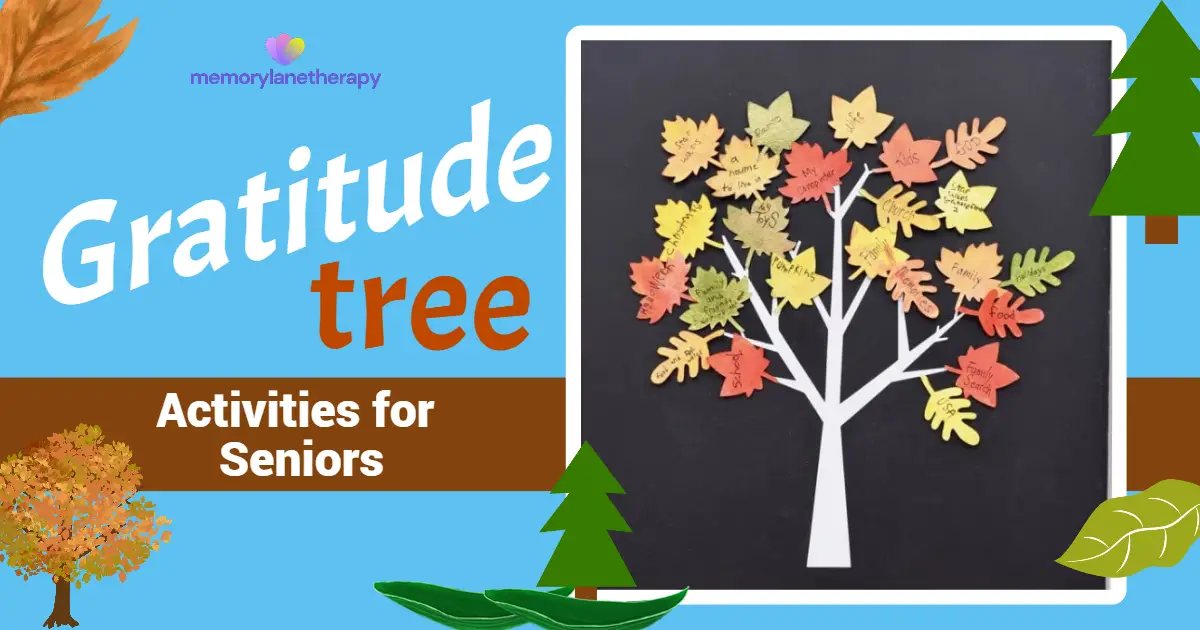
Discover the joys of our fun and engaging activity for seniors – the Gratitude Tree! Learn how to foster a sense of gratitude and create lasting memories through this interactive and uplifting experience. Join us as we explore the benefits of practicing gratitude and share step-by-step instructions to create your own Gratitude Tree. Unleash the power of appreciation and positivity in your senior community today!
Click the link at the bottom of this article for the A4 printable version.
Gather your supplies for your Gratitude Tree!
- Colorful construction paper: This will be used to create the leaves where you write your messages of gratitude.
- Writing tools: Markers or pens in a variety of colors will allow for creative expression.
- Scissors: Needed to cut out your leaf shapes.
- Adhesive: Glue sticks or tape will secure your leaves to the tree.
- Large surface: A big poster board or even an empty wall space will become the base of your Gratitude Tree.
- Optional: A pre-made tree template can save you time drawing your own.
- Optional: Ribbon or string will allow you to hang individual leaves if you don’t use a poster board or wall space.
Gratitude Tree Activity Step-by-Step Instructions
Get ready to express gratitude with our easy-to-follow instructions for creating your own Gratitude Tree! It’s a breeze – no need to jot down notes, we’ll guide you through each step.
1. Gather your materials
Let’s gather the bounty for your craft! To make sure you have everything on hand, here’s a handy checklist of the materials you’ll need for this activity.
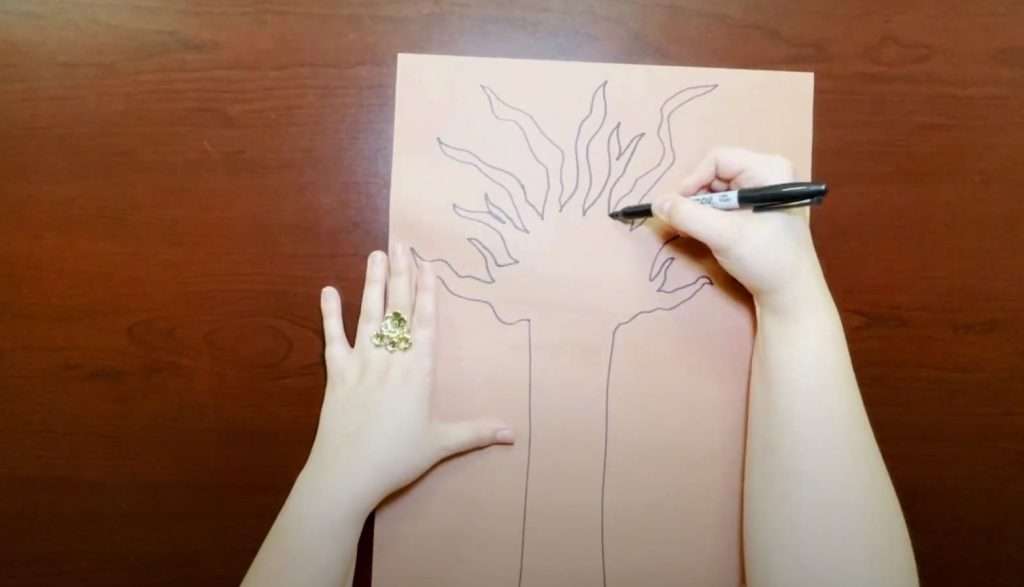
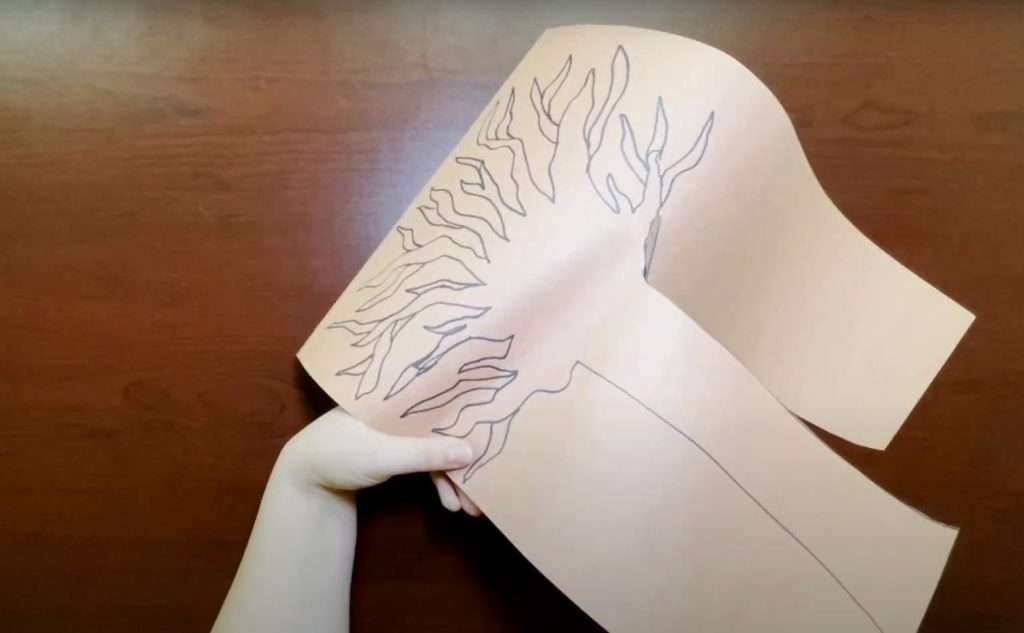
2. Draw and Cut the Tree Stem
- Provide each senior with a brown paper or brown construction paper.
- Encourage them to draw the outline of a tree stem with branches on the brown paper.
- Once the tree stem is drawn, use scissors to carefully cut it out. This will be the base of the Gratitude Tree.
3. Create Colorful Leaves and Express Gratitude
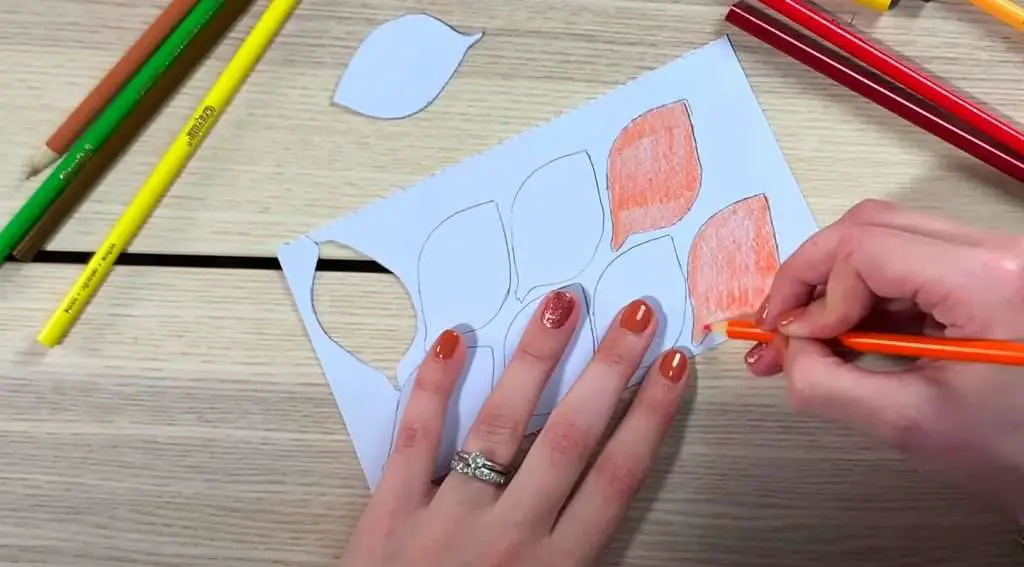
- Offer a selection of colorful paper sheets to the seniors.
- They can draw leaf shapes directly on the paper or use a printed leaf template for guidance.
- Once they have drawn the leaves, help them cut the shapes out neatly.
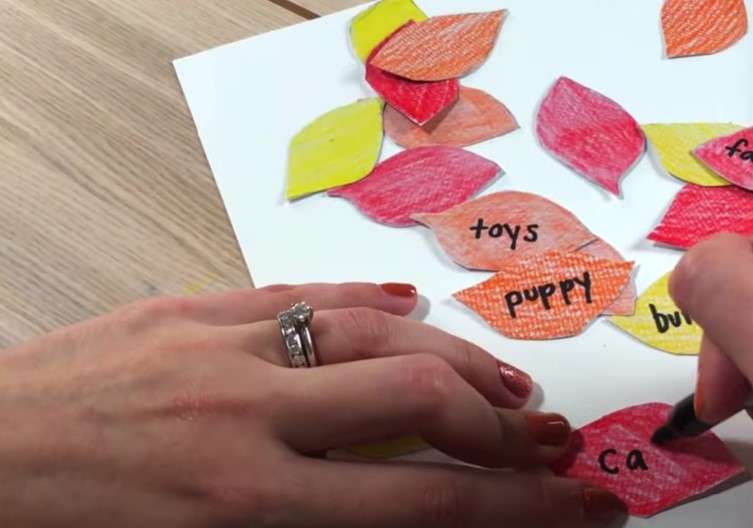
- After Cutting the leaves, Hand out markers or pens in various colors.
- Invite the seniors to write things they are grateful for on each leaf.
- Encourage them to take their time and reflect on their blessings.
4. Assemble the Gratitude Tree
- Provide a large poster board or designate a wall space as the backdrop for the tree.
- Help seniors position the tree trunk on the poster board or wall.
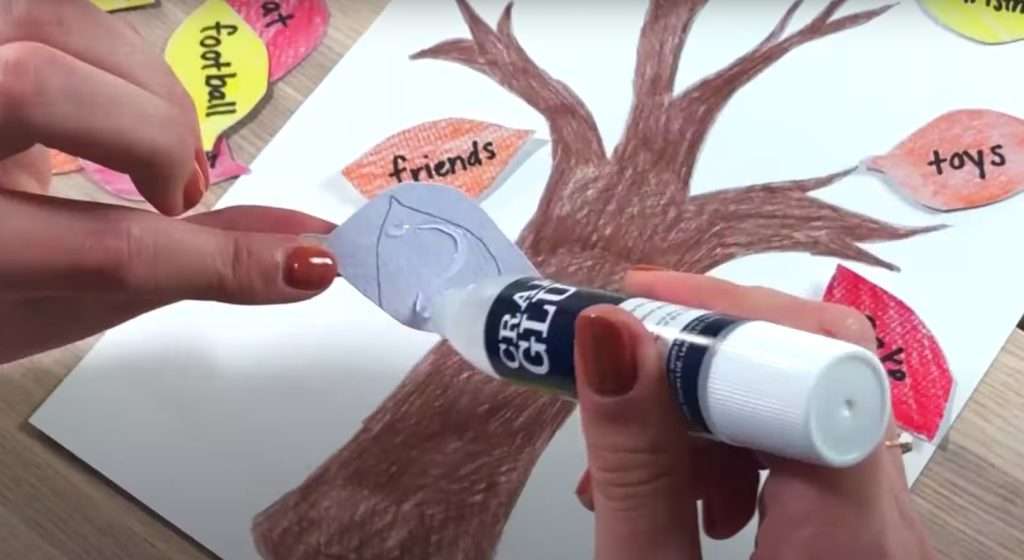
- Show them how to arrange the leaves around the branches, creating a Gratitude Tree display.
5. Display and Enjoy
Hang your beautiful Gratitude Tree display and enjoy the heartwarming moments it brings. Let its vibrant leaves and meaningful messages serve as a constant source of inspiration, reminding you of the countless reasons to be thankful. Embrace the power of gratitude daily, and let it fill your heart with joy and contentment.
Share this uplifting experience with others, and together, let’s spread positivity and appreciation wherever we go. Celebrate the blessings in your life and cherish the sense of community this activity has nurtured. May the Gratitude Tree be a symbol of love, happiness, and thankfulness for all to see and cherish!
Download your printable PDF copy of Gratitude Tree Activity for Seniors

