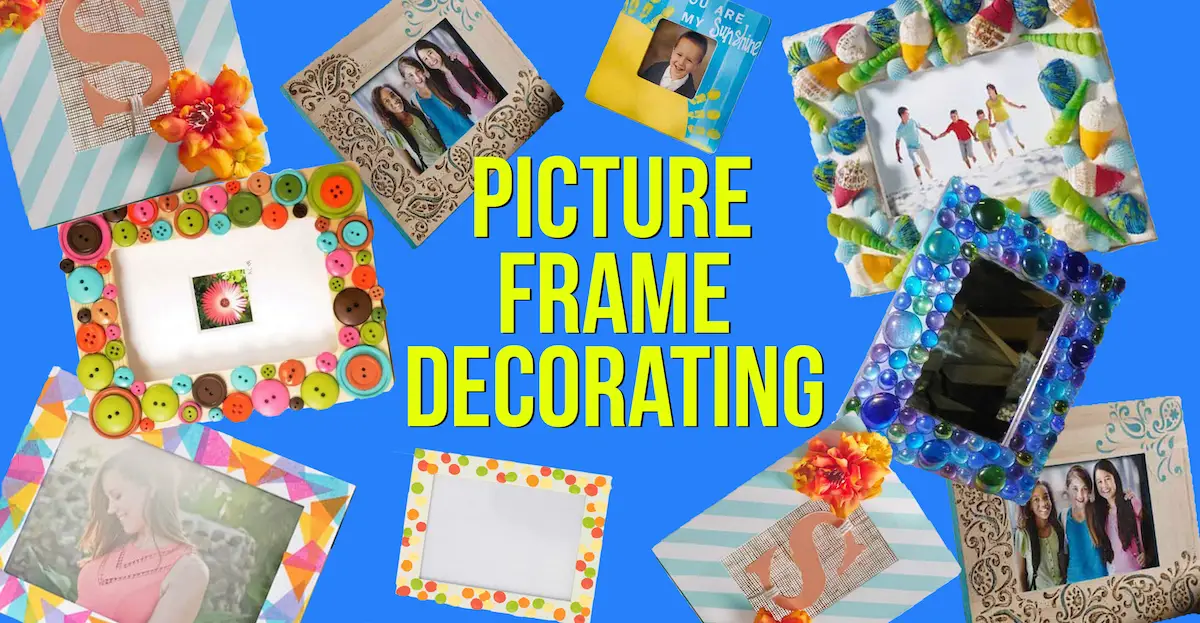
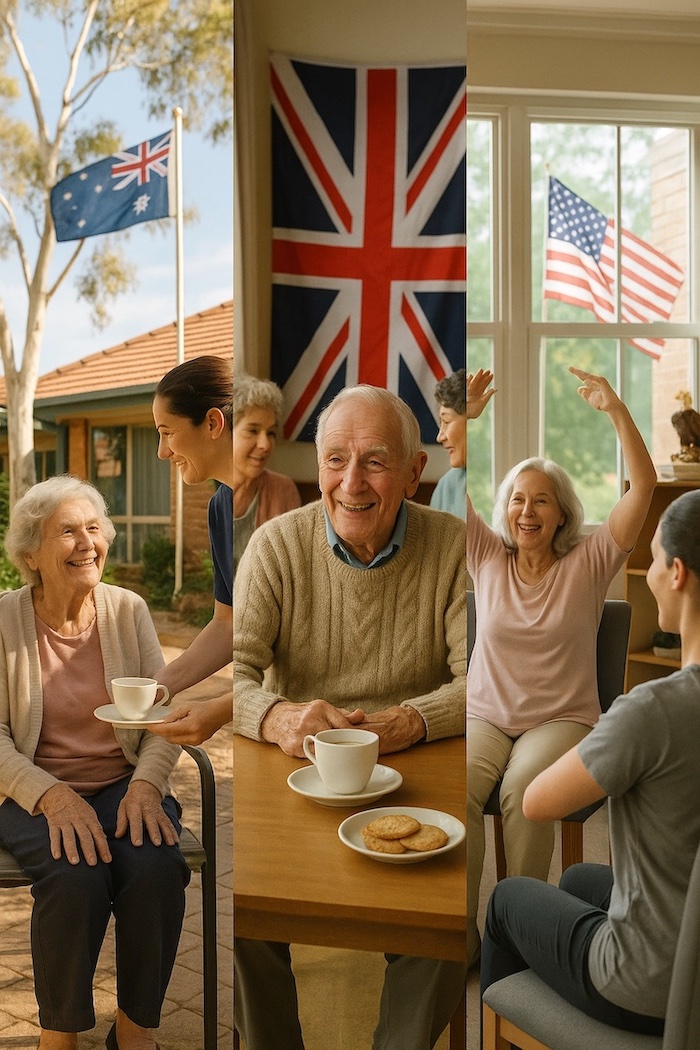
Engaging seniors in creative activities not only fosters a sense of accomplishment but also promotes social interaction and cognitive stimulation. Picture frame decorating is a delightful craft that seniors can enjoy while creating something beautiful and meaningful. Here’s a step-by-step guide to hosting a successful picture frame decorating activity for your senior residents.
Why Picture Frame Decorating?
This art and crafts activity is perfect for seniors because it allows for personal expression and creativity. Seniors enjoy making picture frames that they can either keep for themselves or sell at a fundraiser. This activity is not only fun but also serves as a great way to enhance fine motor skills and provide a sense of purpose.
Materials Needed for Picture Frame Craft
To get started follow this list prepared by Memory Lane Therapy. Gather the following materials for your seniors in aged care:
- Wooden frames (wide with a flat even surface)
- Hot glue gun or strong wood adhesive
- Paints and brushes
- Colored paper
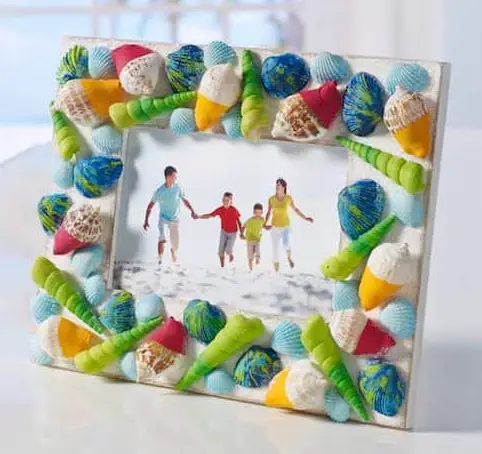
- Decorative objects (shells, buttons, glass beads, etc.)
Preparing for the Activity
Choosing the Frames
The best frames for this project are wide wooden frames with a flat, even surface. These are easier to decorate with shells, glass beads, buttons, and other objects. You can find these frames at discount stores for as cheap as $2, or you could collect them from car boot sales, op shops, or goodwill stores at a low cost.
Setting Up the Workspace
- Remove the glass from the frames before beginning to ensure safety and ease of decoration.
- Lay out old newspaper on the table workspace to protect it from paint and glue.
- Have damp cloths available to wipe off any excess glue from hands.
- If using a hot glue gun, make sure to supervise seniors carefully to prevent any accidents.
Decorating the Frames
- Painting the Frames: Start by allowing the seniors to paint their frames. They can use any colors they like, mixing and matching to create unique designs. Encourage them to get creative with patterns and color combinations.
- Adding Decorations: Once the paint is dry, seniors can start decorating their frames with the objects provided. Use the hot glue gun or wood adhesive to attach shells, buttons, glass beads, and other decorative items to the frames. Ensure that the objects are firmly attached and allow the glue to dry properly.
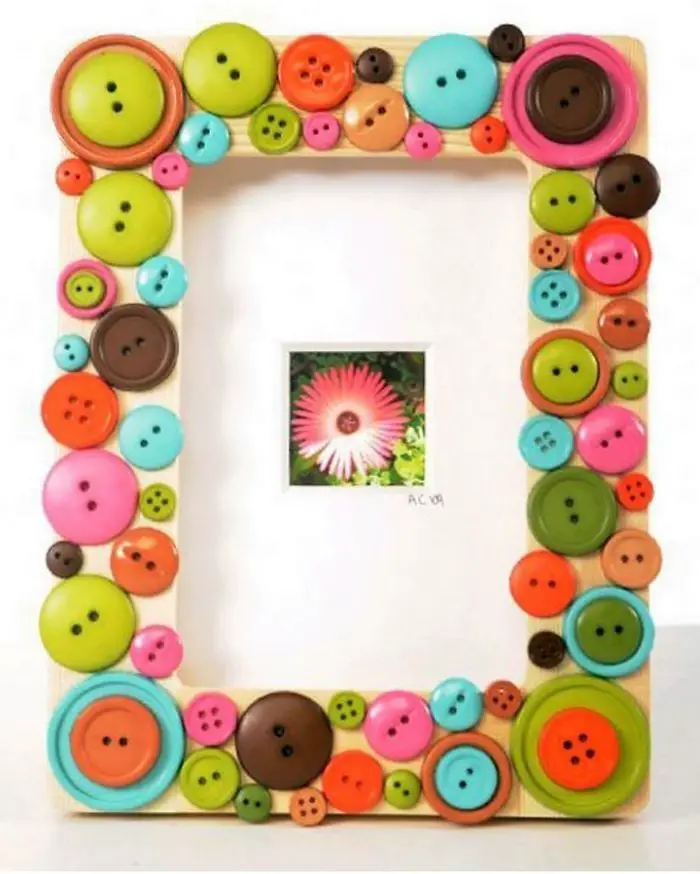
- Using Colored Paper: Colored paper can be used to create additional decorations. Seniors can cut out shapes, patterns, or even letters to personalize their frames further.
Finishing Touches
After decorating, set the frames aside and let them dry overnight. Once everything is dry, carefully put the glass back into the frames and reassemble the backs.
Key Takeaway
Engaging seniors in picture frame decorating DIY crafts is a wonderful way to bring joy and creativity into their lives. Aged care coordinators can easily host this activity by following the steps and ideas outlined above. Let’s bring out the artists in our senior residents and make every day a day to remember!

