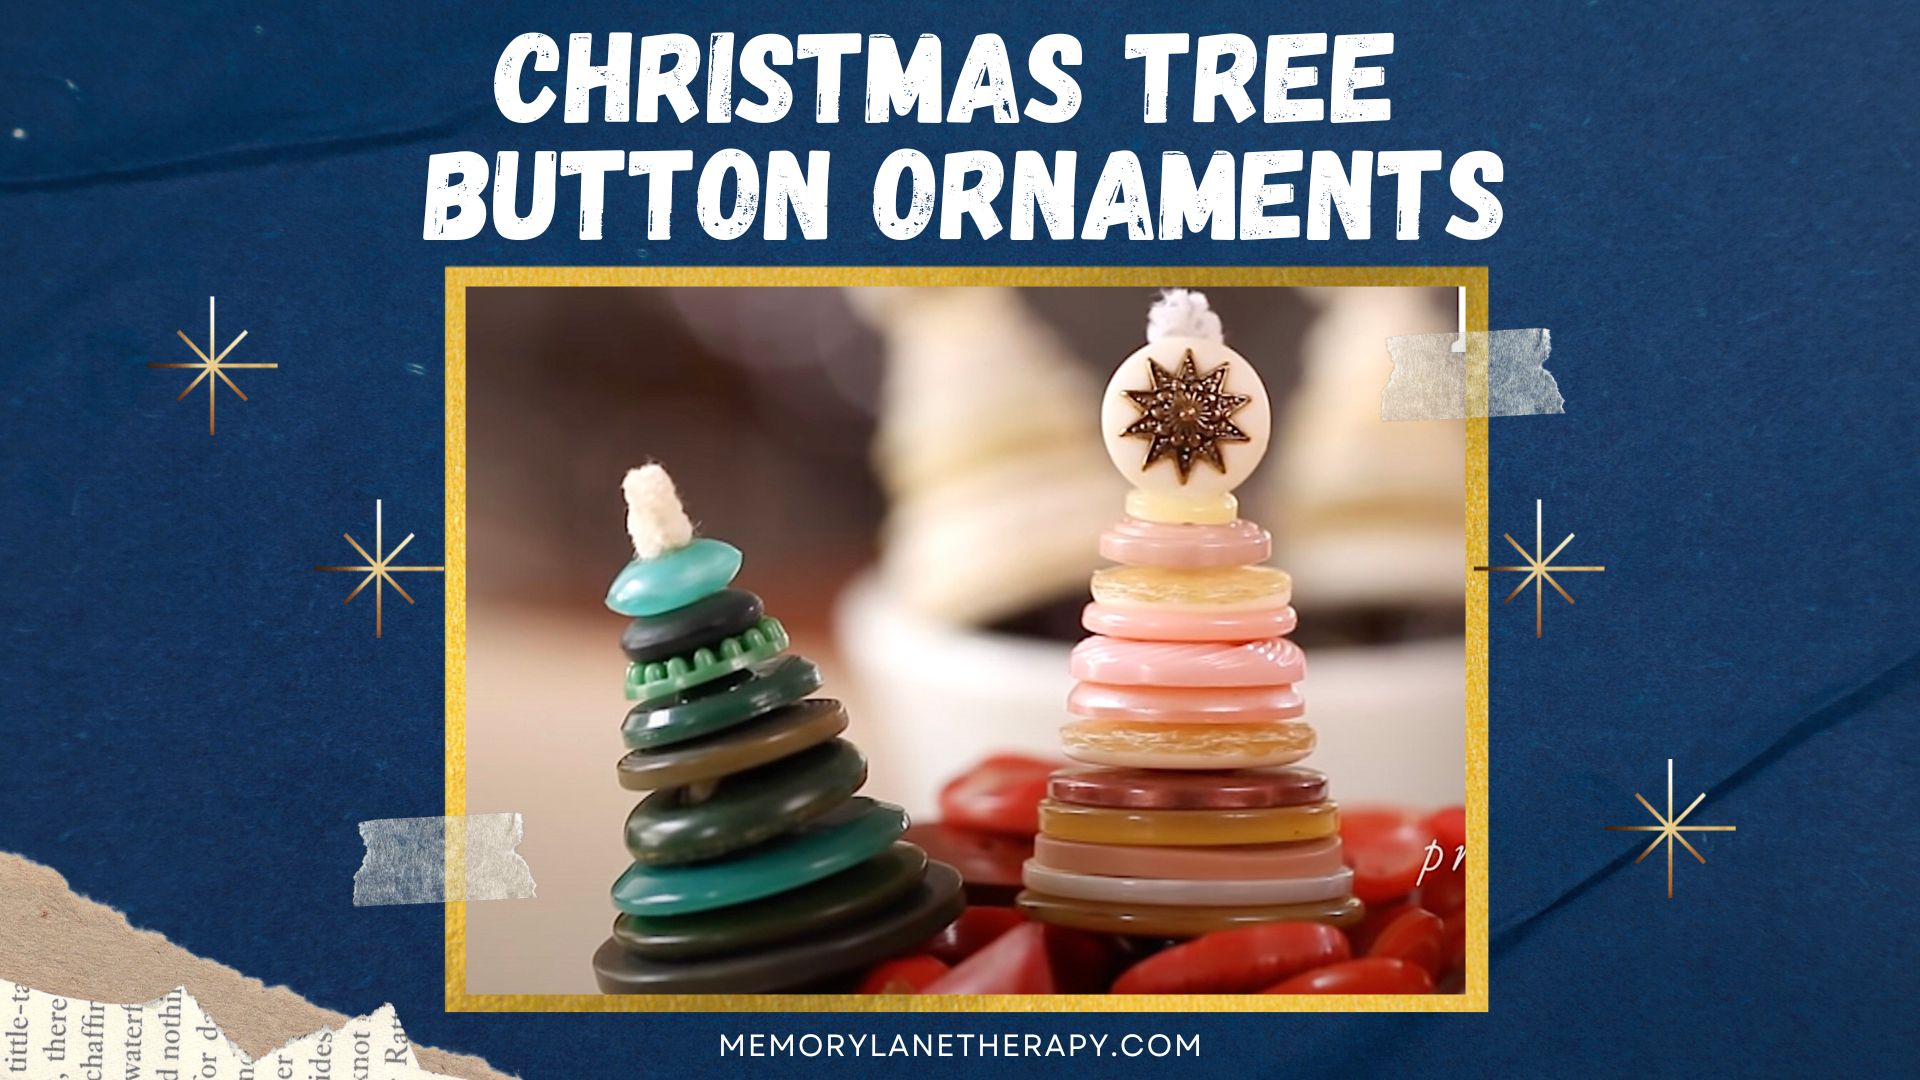
Memory Lane Therapy presents the Button Christmas Tree Ornaments Craft Activity for Seniors! This is a fun and rewarding Christmas craft for your beloved seniors to enjoy. The finished ornaments can be hung on the Christmas tree or put on display for everyone to see during the Christmas period.
Materials needed for Button Christmas Tree Ornaments:
Here are the basic materials needed to craft your Button Christmas Tree! List them down so you won’t miss a thing:
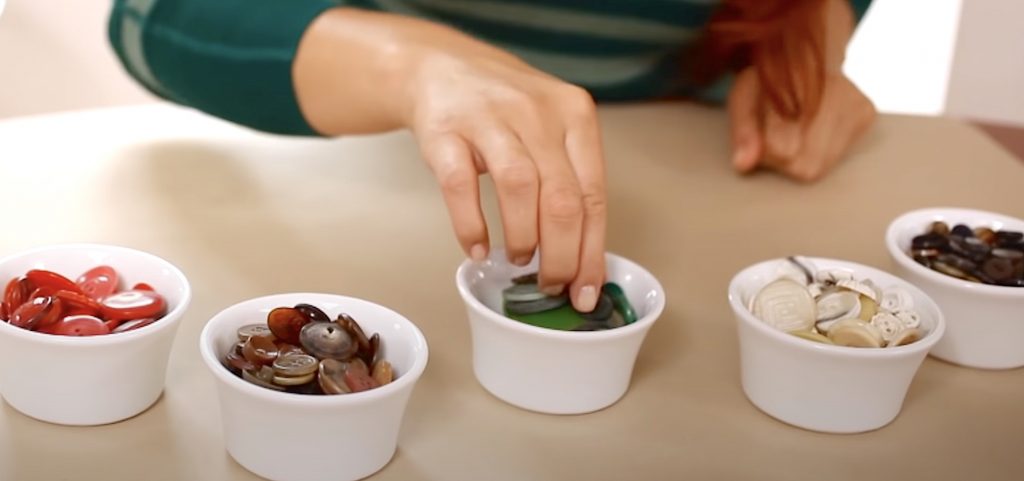
- Assorted Buttons in Christmas colors
Red, Green, Silver & Brown for the bases. - Shank buttons, for the tree top
- Pipe Cleaners
- Wooden Skewer
- Scissors
Instructions:
Are you ready to start crafting your button Christmas Tree? Follow these detailed step-by-step instructions! Make sure to remember the important parts so that you won’t miss a thing!
1. Select Buttons
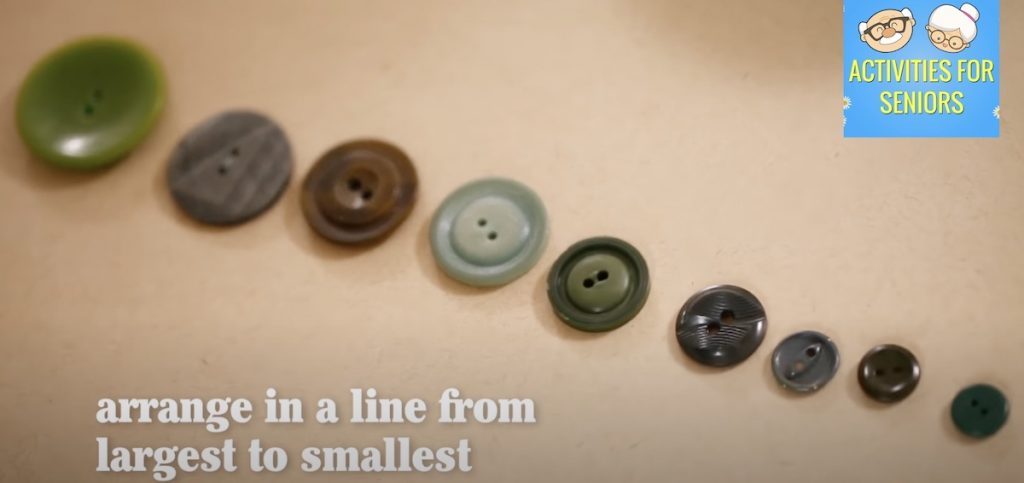
Choose 8 to 10 buttons. Lay them out in a line, like a staircase, with the widest button at the base and the narrowest button at the very top.
2. Buttons for the Trunk
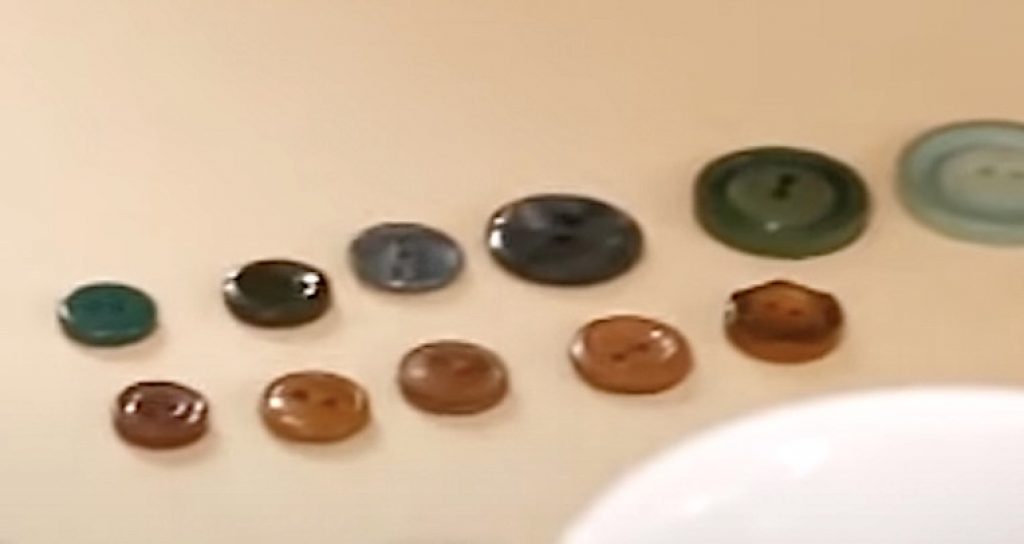
After selecting your buttons for the body, pick out 3 to 5 smaller buttons for the trunk. We’ll thread these on last.
3. Create the Tree Structure
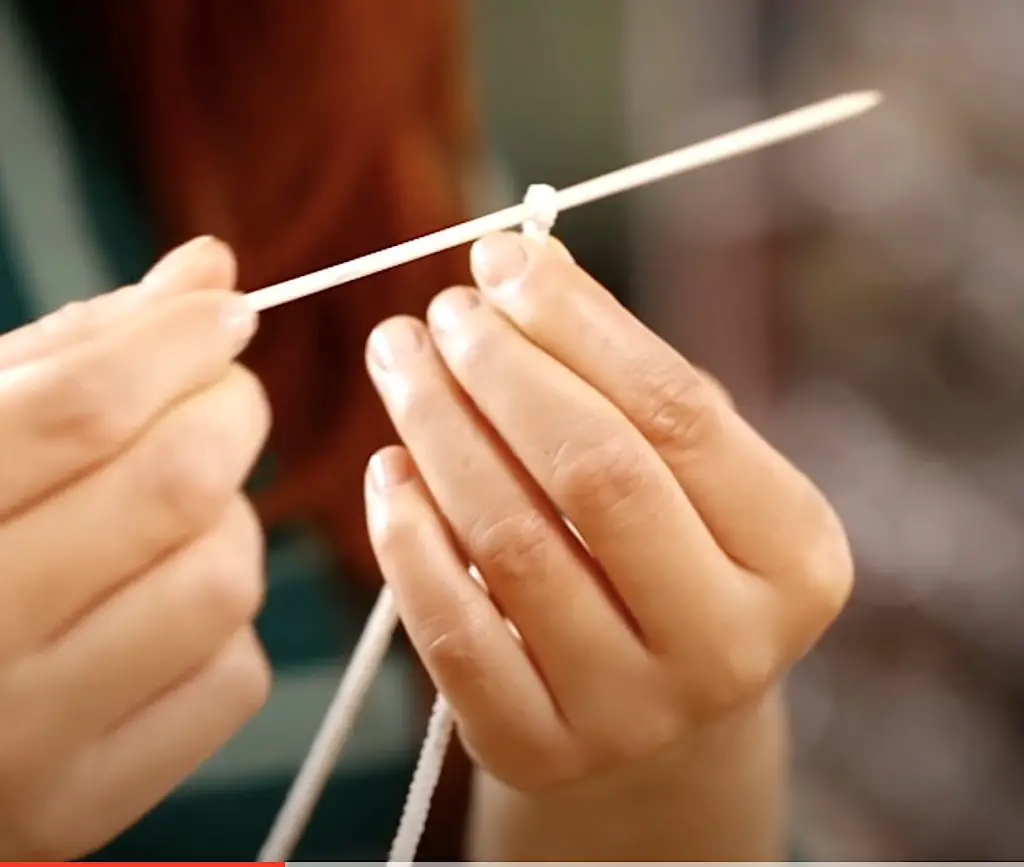
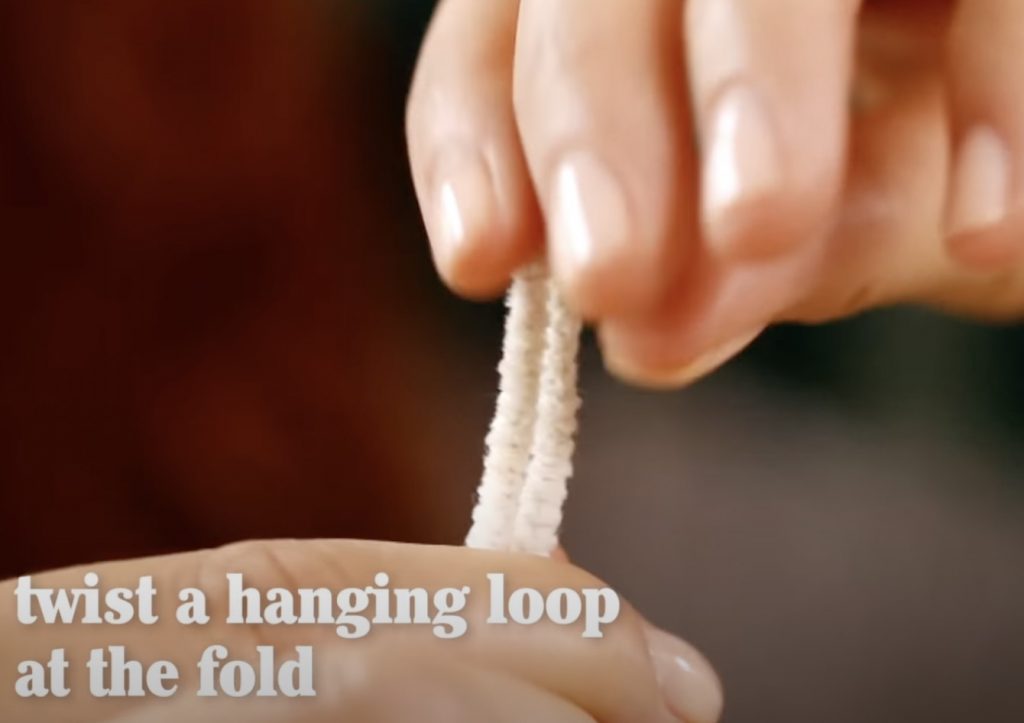
To create the tree structure, fold a pipe cleaner in half lengthwise. Use the wooden skewer as a guide to form a small loop at the folded end. This loop will hold the top button. Once you’ve folded the pipe cleaner, gently twist the two halves together a few times where they meet. This will create a loop at the top for hanging your tree.
5. Time to Thread the Buttons
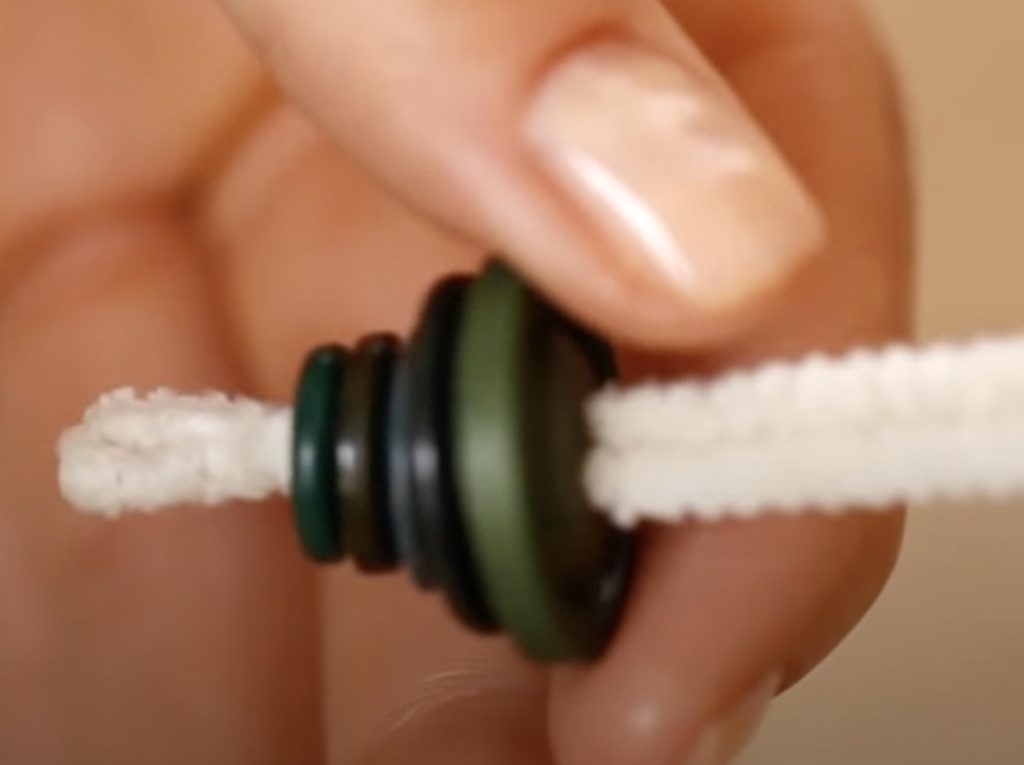
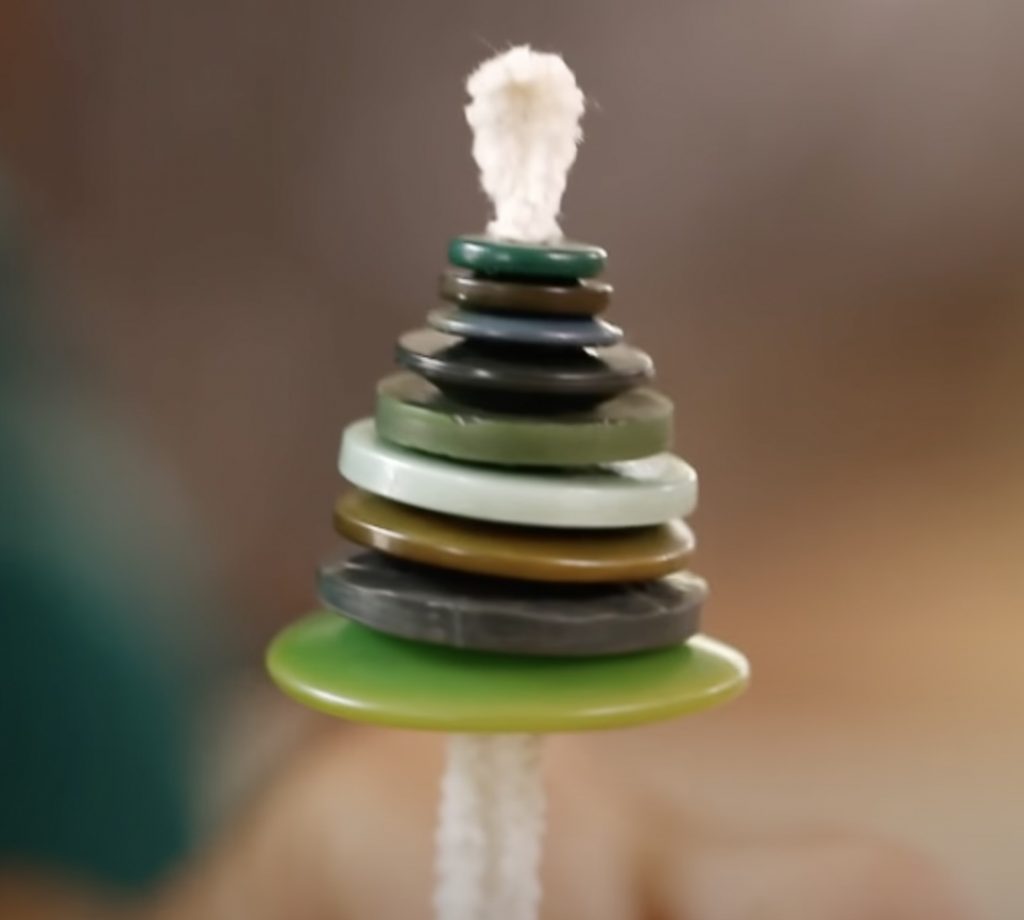
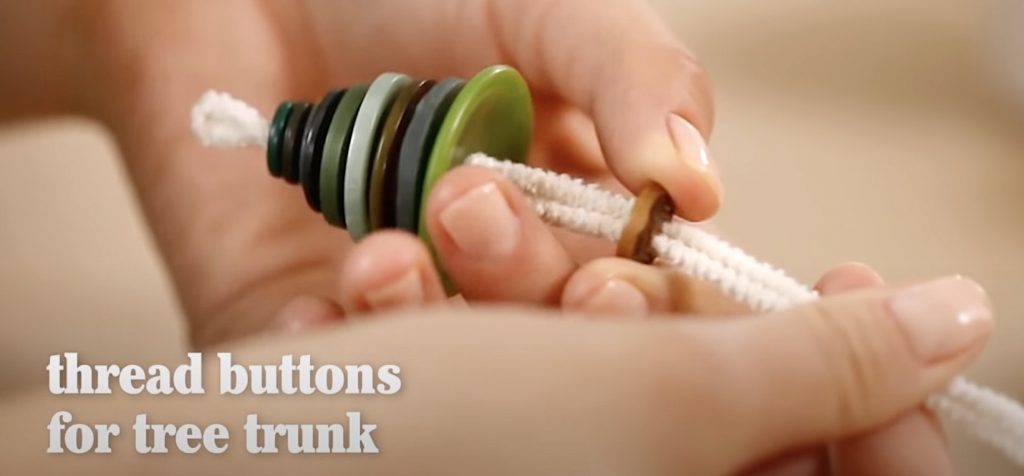
Thread buttons onto the pipe cleaner, starting with the smallest button for the tree top. For the 4 hole buttons, feed through the holes diagonally. After that, your tree should look like this.
6. Add the Tree Trunk
Next, let’s add the trunk buttons. Thread your buttons (3-5) onto the pipe cleaner after the last button on the tree body.
7. Cut the Excess
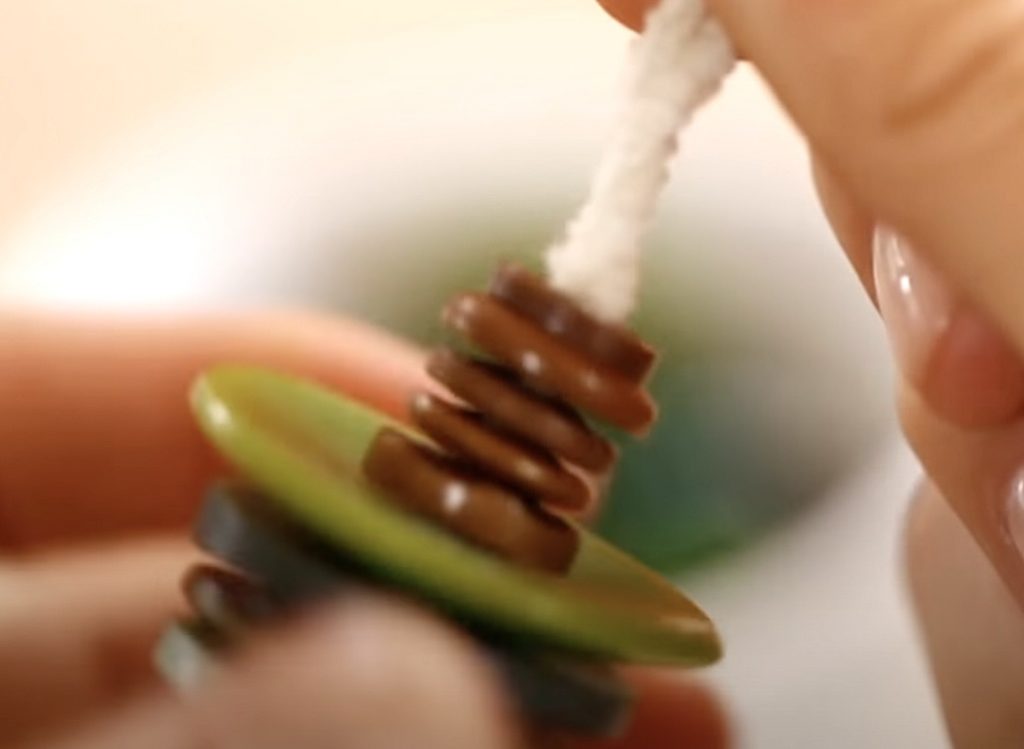
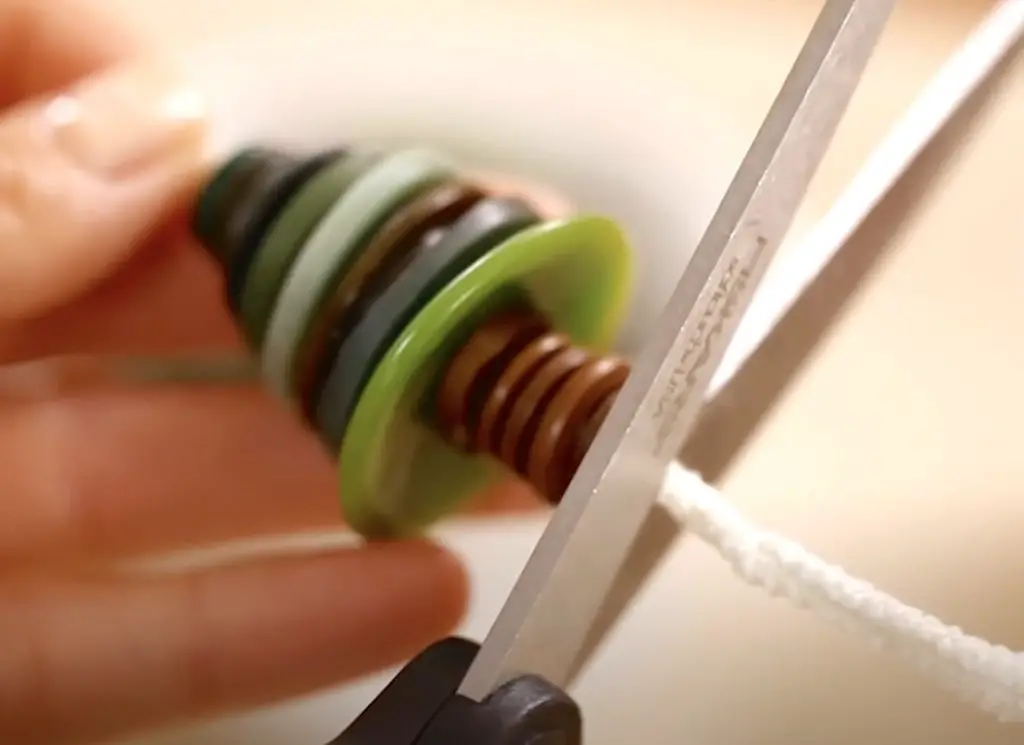
Once you’ve threaded on all the trunk buttons, twist the pipe cleaner a few times just below the lowest button. This will secure the buttons in place and create a defined base for the tree. Then, use scissors to trim off any excess pipe cleaner at the bottom.
8. Accessorize
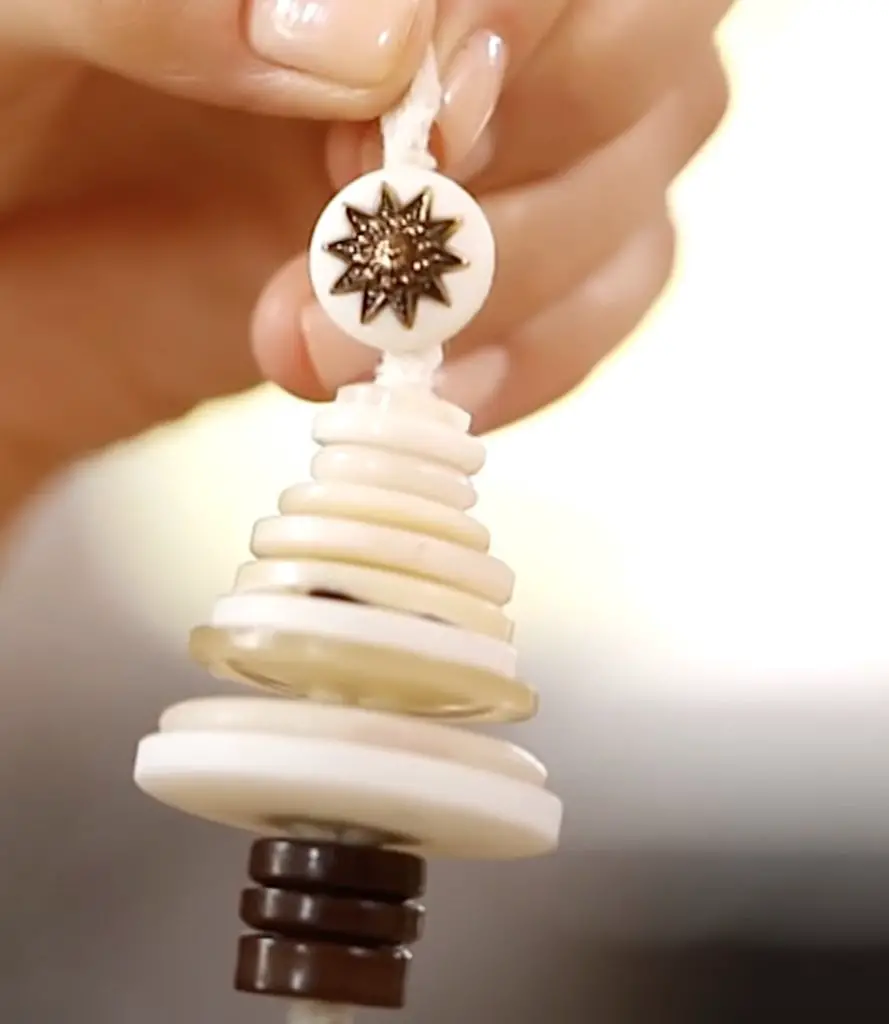
If you have shank buttons, you can thread them onto the pipe cleaner first, before adding any other buttons. This will create a more traditional star-shaped topper for your tree.
Be a Premium Member Today!
Upgrade your experience and unlock a treasure trove of exclusive resources designed to stimulate the mind and reconnect with cherished memories.
As a Premium Member, you’ll gain access to:
- Engaging Activities & Crafts: Discover a library of creative projects specifically tailored to enhance cognitive function and spark joy.
- Brain-teasing Quizzes: Test your knowledge and have fun with memory-boosting quizzes on a variety of topics.
- In-depth Monthly Series: Delve deeper into fascinating themes with our curated monthly series exploring different aspects of memory and well-being.
Don’t wait! Invest in your memory and well-being today. Become a Memory Lane Therapy Premium Member!

