I made a Christmas Sparkle Ball with my residents one Christmas, and it turned out fantastic! It wasn’t expensive, and it had a great impact at our Christmas party. The residents were able to help put the project together, and everyone enjoyed the end result. It was a very sensory experience, especially for the residents living with dementia.
Materials Needed for the Christmas Sparkle Ball
- 50 Plastic Picnic Cups
- Clothes Pegs
- Stapler
- 50 LED Christmas Lights
Step-by-Step Instructions
Step 1: Create the First Circle
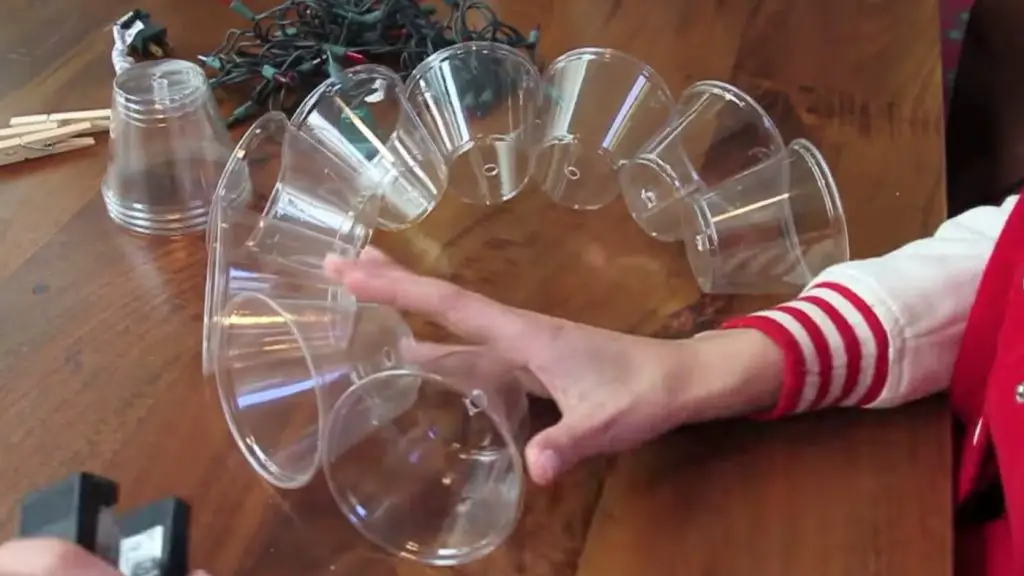
Take 12 of the plastic cups and staple them together, creating a circle.
Step 2: Build the First Half
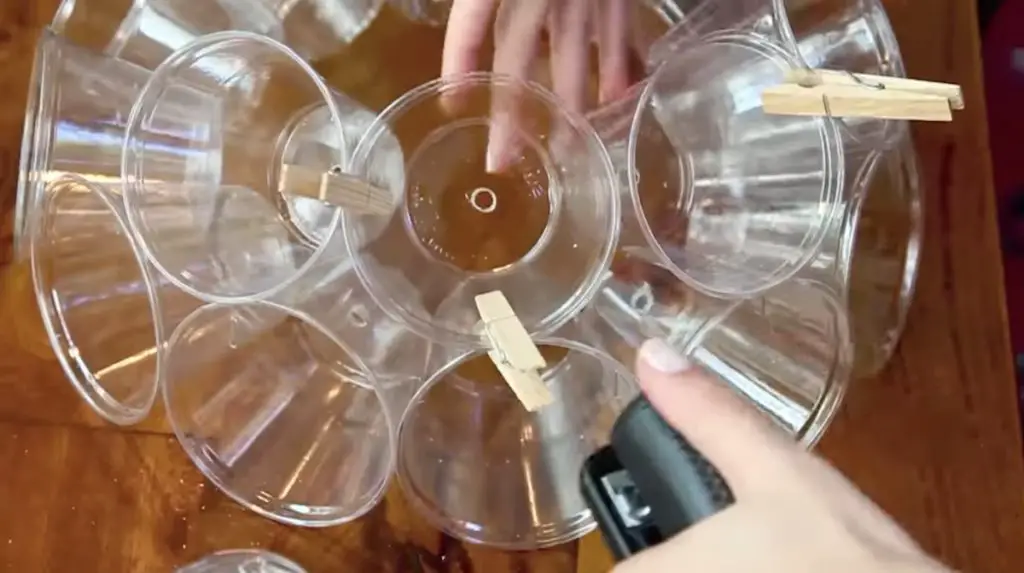
Take a further 9 cups and staple them to the top of the 12 cups, using the clothes pegs for extra support as you progress.
Step 3: Complete the First Half
Add four more plastic cups to fill in the last gap. You now have half of one ball.
Step 4: Create the Second Half
Repeat the instructions to make two half balls that will eventually be joined together.
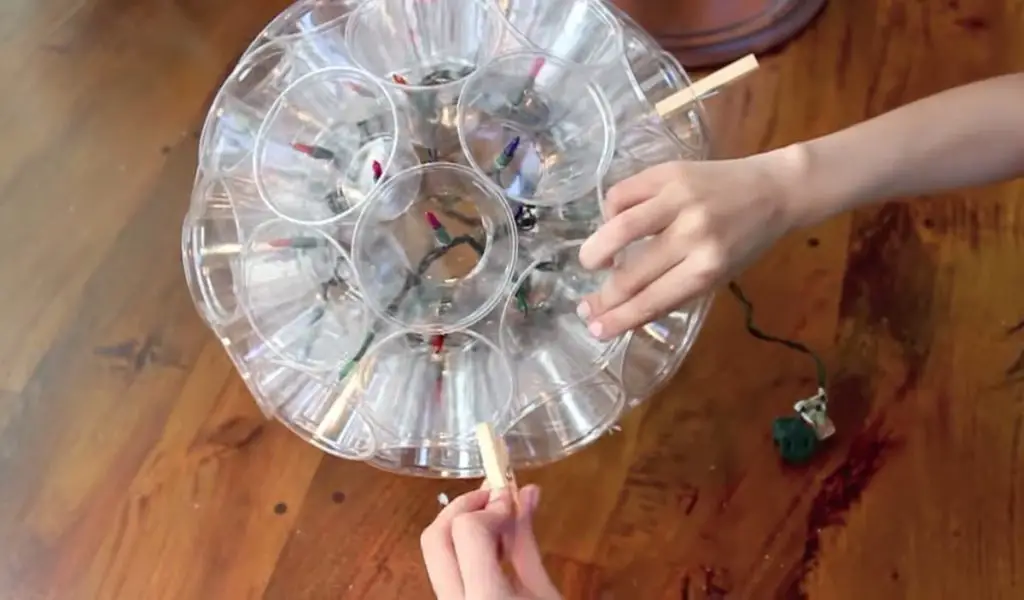
Step 5: Insert the LED Lights
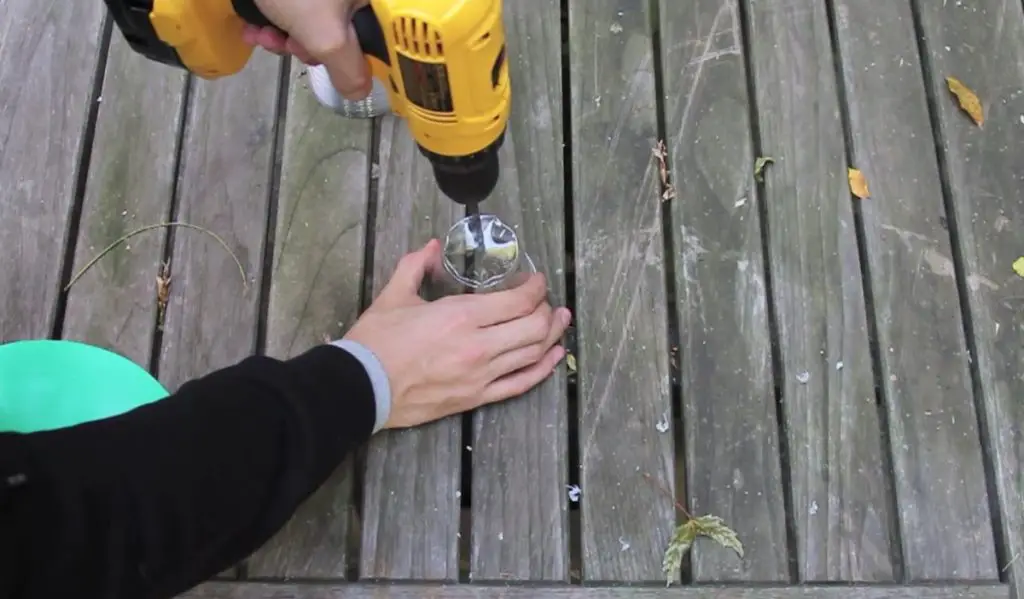
While the ball is still in two halves, start feeding the LED lights one by one into the plastic cups from the inside through the bottom of each cup. Place one light in each of the 50 cups.
Step 6: Assemble the Ball
Place the two halves together to form a ball. Use the clothes pegs to hold the halves together, then use the stapler to staple the two halves together, allowing the cord to hang out through a gap.
Displaying the Sparkle Ball
These balls look wonderful hanging from the ceiling. Every Christmas, they can be brought out and used over again.
Enjoy making your own Christmas Sparkle Ball and bringing festive cheer to your space!


