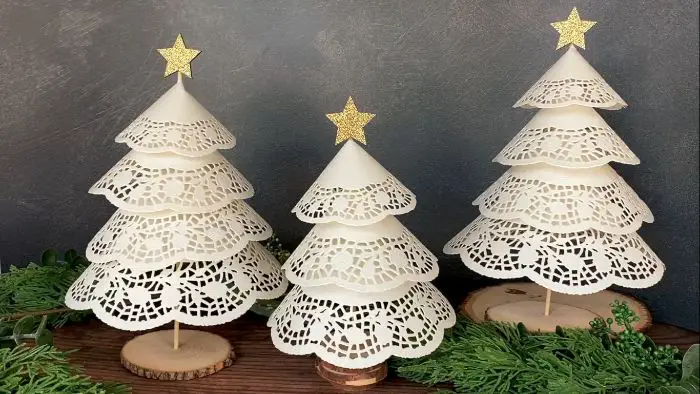
Craft a Cheerful Christmas! Make your own paper doily tree with Memory Lane Therapy! Get ready to spread some holiday cheer with a fun and festive craft activity! This easy-to-follow guide from Memory Lane Therapy will help you create adorable Paper Doily Christmas Trees with your residents. It’s a perfect way to spark creativity and celebrate the season together.
This is a great activity to enjoy with seniors and residents in aged care, I remember doing this activity as a young girl with my grandmother it was always very enjoyable even though it was a time-consuming project.
Paper Doily Christmas Tree Craft
With a bit of research, I came across this quicker way to make Paper Doily Christmas Trees – in fact, it only takes 5 minutes with proper ingredients. Making it a suitable activity to facilitate as an activity coordinator in aged care. I ran this activity using these materials and the steps below.
Materials needed:
1. Paper Doilies (3-4 in ascending or descending size)
2. Wood Skewers
3. Glue stick or Tape Runner Adhesive
4. Hot Glue Gun
5. Chipboard Star Sticker or Wood Star Cutout
6. Styrofoam Discs (found in the floral section)
7. Wood Slices (and a hole in middle to insert the tree)
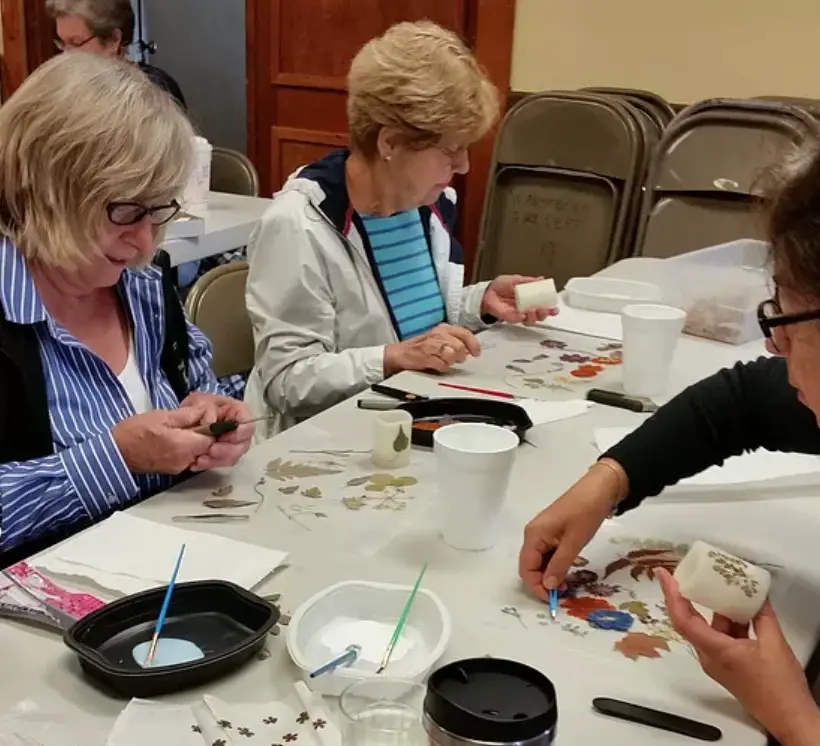
Paper Doily Christmas Tree Craft Instructions:
1. For each tree, you will need paper doilies in 3 or 4 different sizes. Peel 2 doilies off each stack without separating them & cut one quarter out of each size doily.
2. Now use adhesive to stick the two layers of each doily together. We have to be careful while adding adhesive because doilies are delicate.
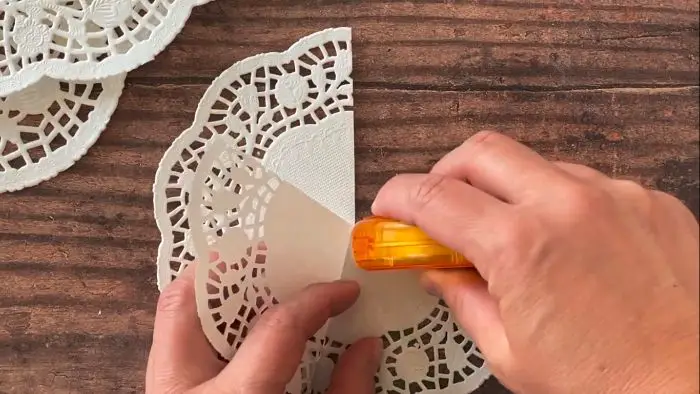
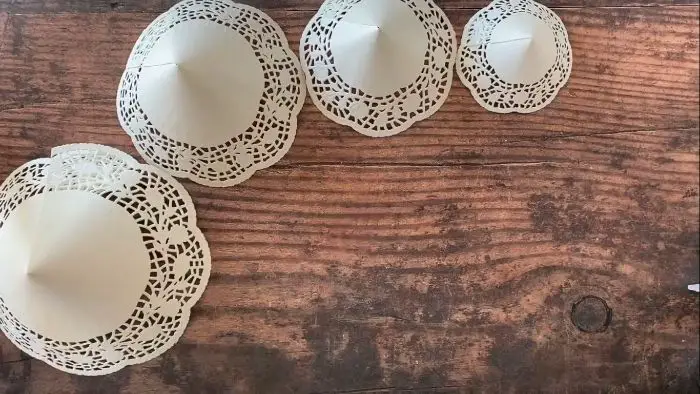
3. Flip over the doily and apply adhesive along the edge and overlap edges to create a cone shape as shown in this picture. Repeat with the other size doilies.
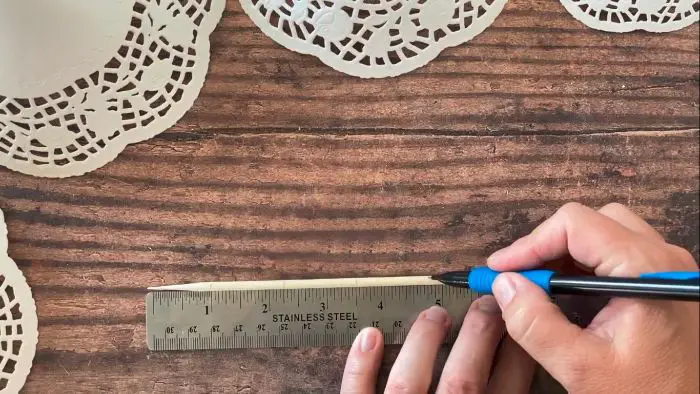
4. We have take measurement of wooden skewer placing it next to a ruler (as shown in the figure). Starting from the pointed end, We will make small marks with a pencil at 1 inch, 2.25 inches, 3.5 inches, and 4.75 inches (for a 4 layer tree) & 1 inch, 2.25 inches, 3.5 inches, and 9.5 inches (for a 3 layer tree). You can use kitchen shears to cut off the skewer at the 9.5-inch mark.
5. We have to apply hot glue at all the mark around the skewer till the lowest mark.
Continuation:
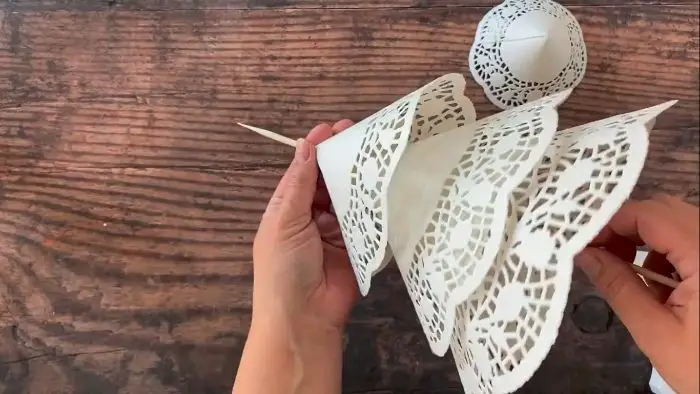
6. We have to poke the skewer through the pointed end of the largest doily and attach the dolly with hot glue. Hold the doily there for a moment to allow the glue to cool and harden. Try to keep the skewer centered inside the doily while you wait for the glue to harden.
7. We have to repeat the process for two or three more doilies, working from largest to smallest.
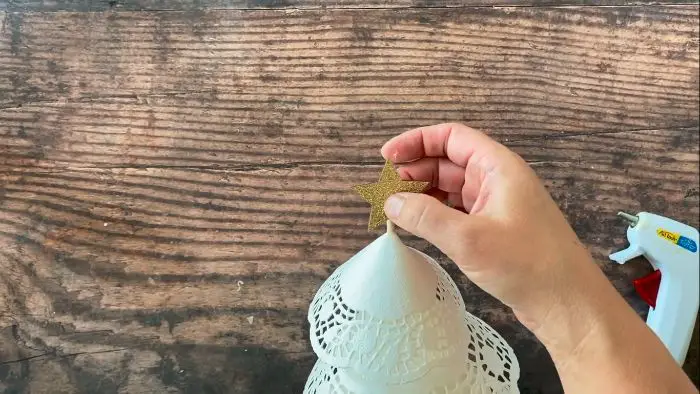
8. Now just attach a chipboard star sticker or wood star cutout on top of the tree (as shown in the figure).
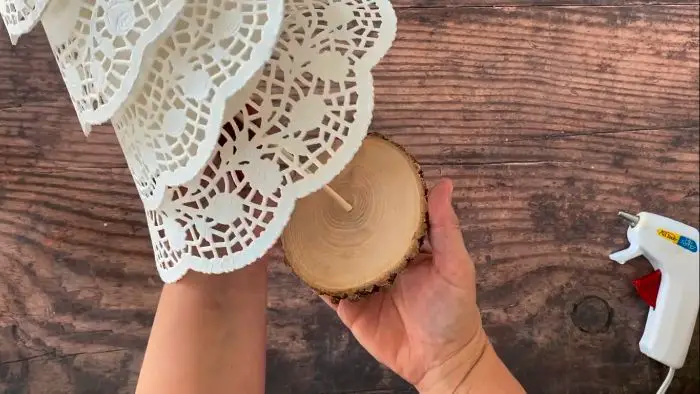
9. Now attach the skewer with the wooden plate. Secure with more hot glue.
Your craft is complete!
These Paper Doily Christmas Trees make a great table decoration!

