Christmas cards don’t have to mean fiddly drawings or perfect handwriting. This cotton bud (Q-tip) bauble card is one of those rare Christmas crafts where almost every card comes out looking lovely — because a roll of masking tape does the hard work of keeping the circle neat.
Residents dip cotton buds in paint — a different Christmas colour on each bud — dab dots inside the tape, lift it off, then add a simple gold cap, string and bow so the dotted circle becomes a hanging ornament or bauble. Write MERRY in black and Christmas in gold underneath, and you’ve got a card ready to send to family or pin up in the lounge. I’ve run versions of this at the craft table for years — warm, practical, and kind to shaky hands.
There’s a free printable guide with the materials list and steps at the bottom of this page.
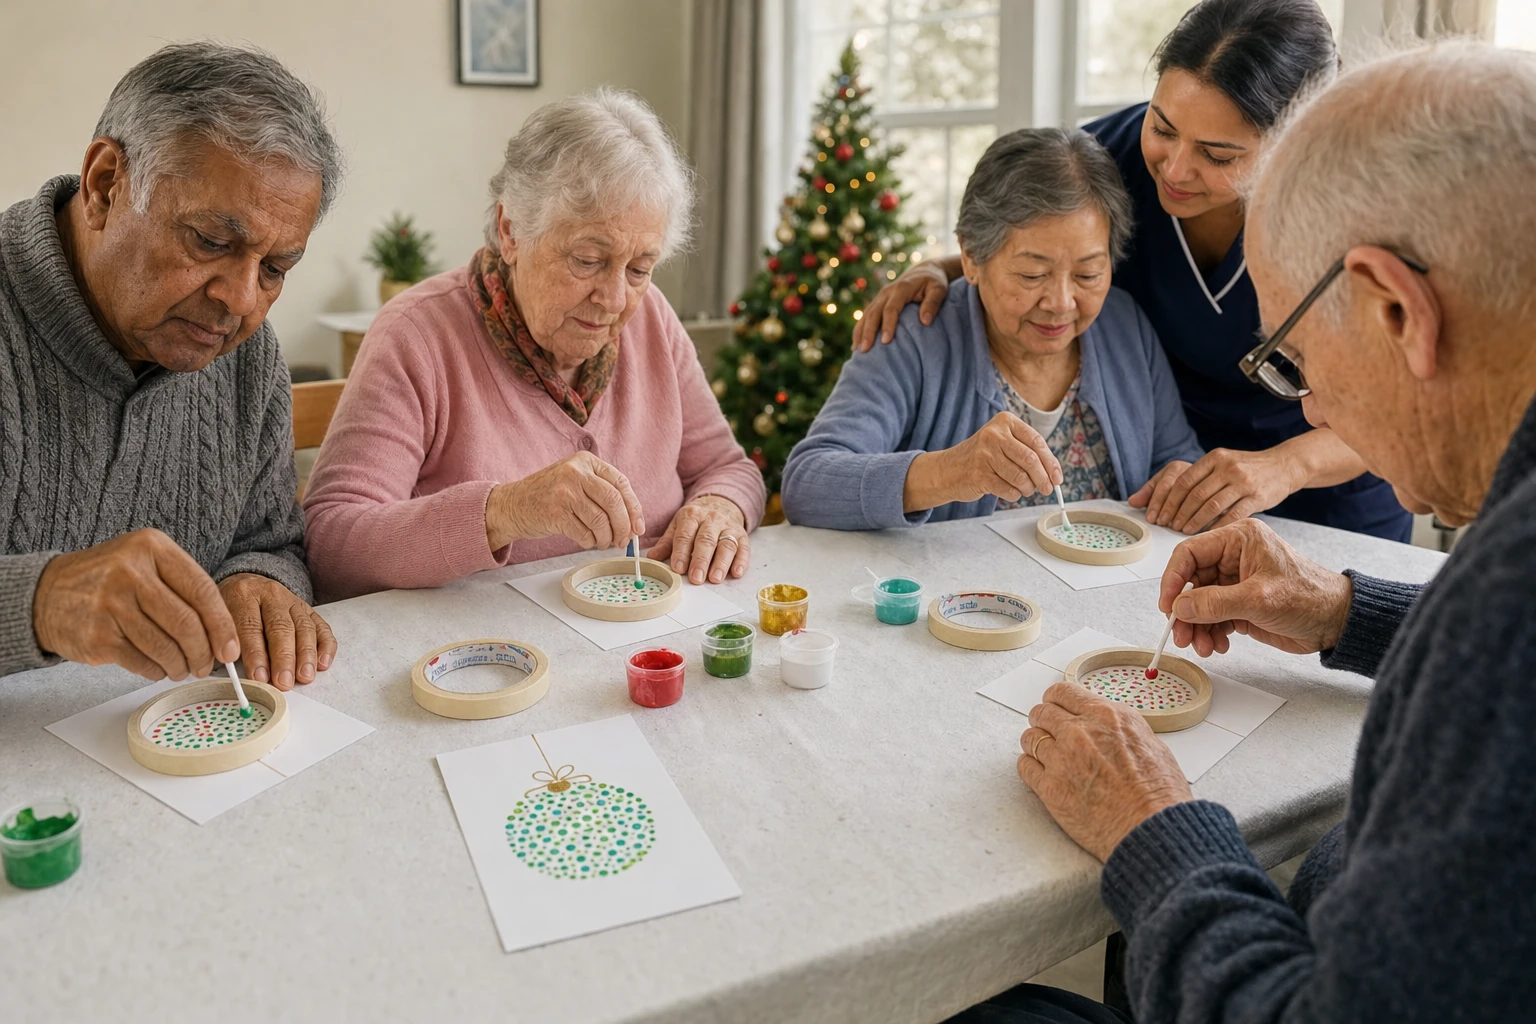
Why this activity works well
- No fine drawing required: Dabbing paint dots is easier than sketching a bauble freehand.
- The tape keeps it neat: The inner circle of the roll acts as a stencil, so edges stay tidy.
- Every card succeeds: Dot patterns look intentional even when spacing varies.
- Quick to set up: Blank cards, a tape roll, cotton buds (Q-tips) and a few pots of Christmas paint.
- Flexible for groups: Works 1:1 or at a table of 4–8 with shared paints.
- Useful afterwards: Send to family, or decorate the room with a card display.
Watch the craft
A short silent walk-through — useful to play once on a screen before residents start, or to leave looping on a tablet at the end of the table.
💡 Debbie’s tip: Put one finished sample in the middle of the table before you start. People copy the idea better from a real card than from a verbal explanation — especially anyone with dementia or hearing loss.
At a glance
| Time | About 25–40 minutes (including settling in and chatting) |
|---|---|
| Group size | 1:1 or small groups of 4–8 |
| Skill level | Easy — staff help with gold details or lettering if needed |
| Best for | December / Christmas, card-making sessions, low-pressure festive crafts |
What you’ll need
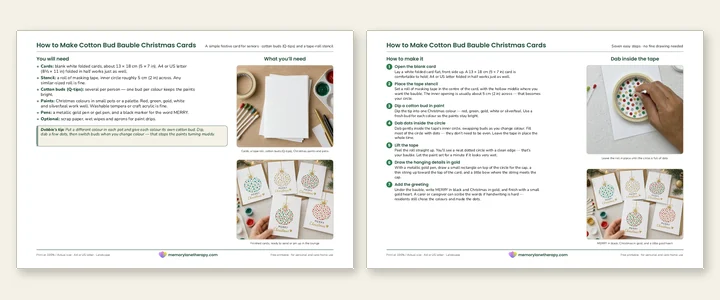
Scroll down to the download section below to get your free copy of the guide.
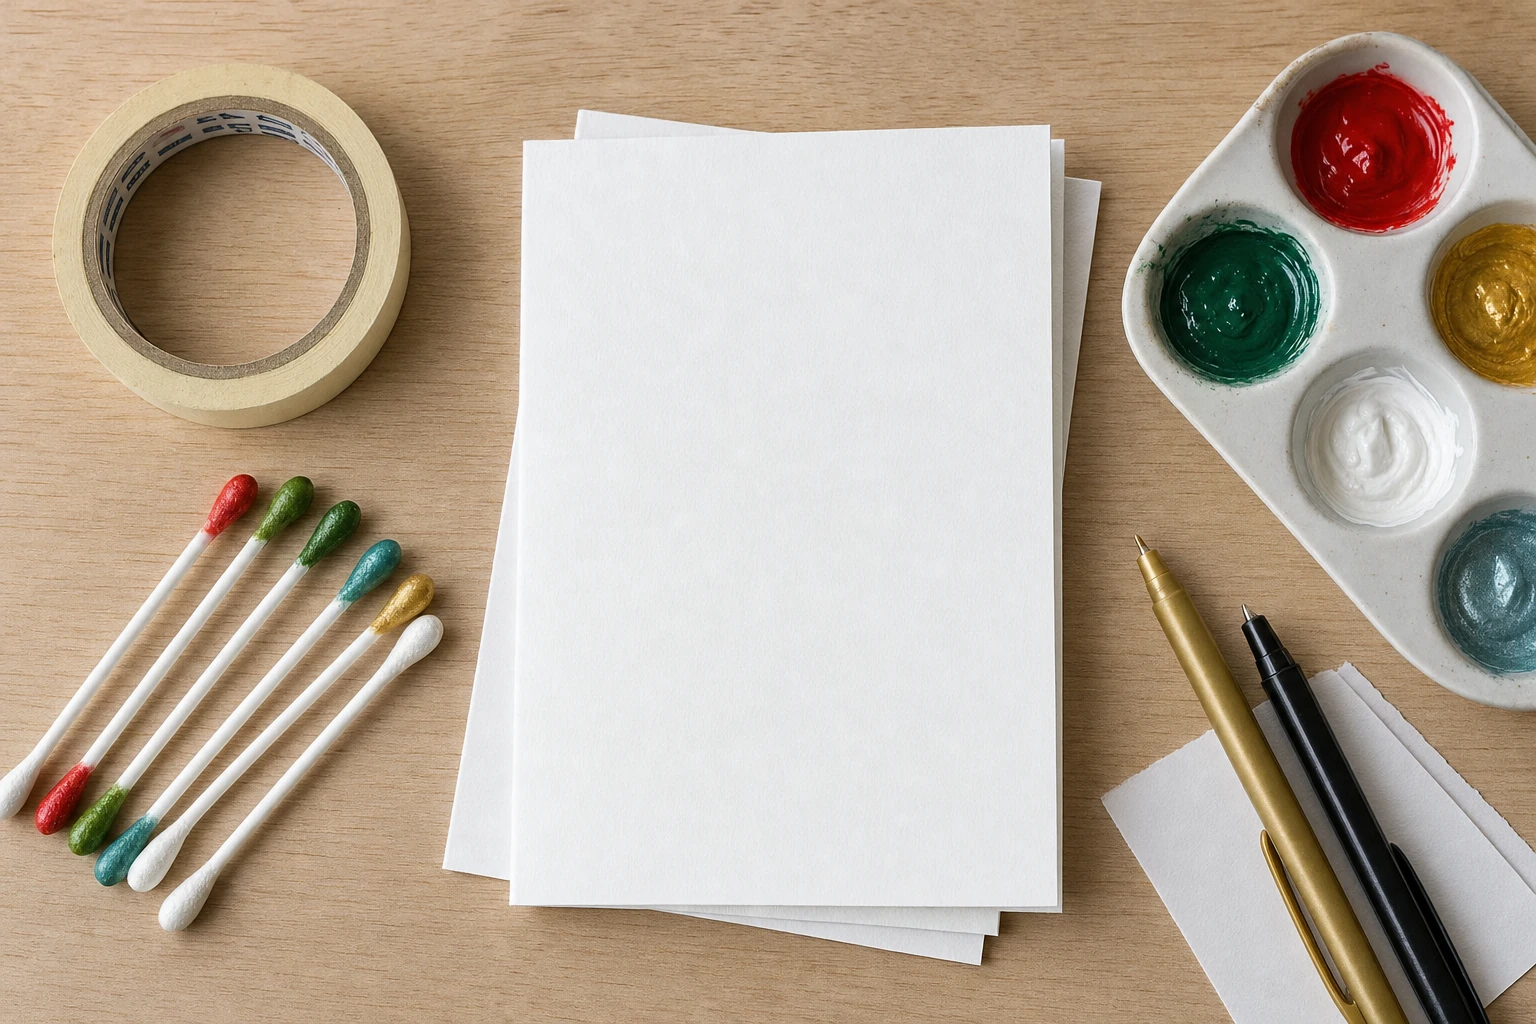
- Blank white cards — a standard folded card about 13 × 18 cm (5 × 7 in), or A4 / US letter (8½ × 11 in) folded in half
- A roll of masking tape — inner circle roughly 5 cm (2 in) across (any similar-sized roll works)
- Cotton buds (Q-tips) — several per person (one bud per colour keeps colours clean)
- Christmas paints in small pots or a palette — recommend red, green, gold, white and silver/teal (washable tempera or craft acrylic is fine)
- Metallic gold pen or gel pen
- Black marker or fine pen for the word MERRY
- Optional: scrap paper / wet wipes for paint drips; aprons for clothing protection
💡 Debbie’s tip: Put a different colour in each pot and give each colour its own cotton bud. Dip, dab a few dots, then switch buds when you change colour — that stops the paints turning muddy. Keep a damp cloth on the table for sticky fingers.
Step by step
1. Open the blank card. Lay a white folded card flat in front of each person, front side up. A standard ~13 × 18 cm (5 × 7 in) card is comfortable to hold; A4 or US letter folded in half works just as well.
2. Place the tape stencil. Set a roll of masking tape flat in the centre of the card so the hollow middle sits where you want the ornament or bauble. The inner opening is usually about 5 cm (2 in) across — that becomes your circle.
3. Dip a cotton bud (Q-tip) in paint. Dip the tip into one Christmas colour — red, green, gold, white or silver/teal. Use a fresh bud for each colour so the paints stay bright.
4. Dab dots inside the circle. Dab gently inside the tape’s inner circle, swapping buds as you change colour. Fill most of the circle with dots — they don’t need to be even. Leave the tape in place the whole time.
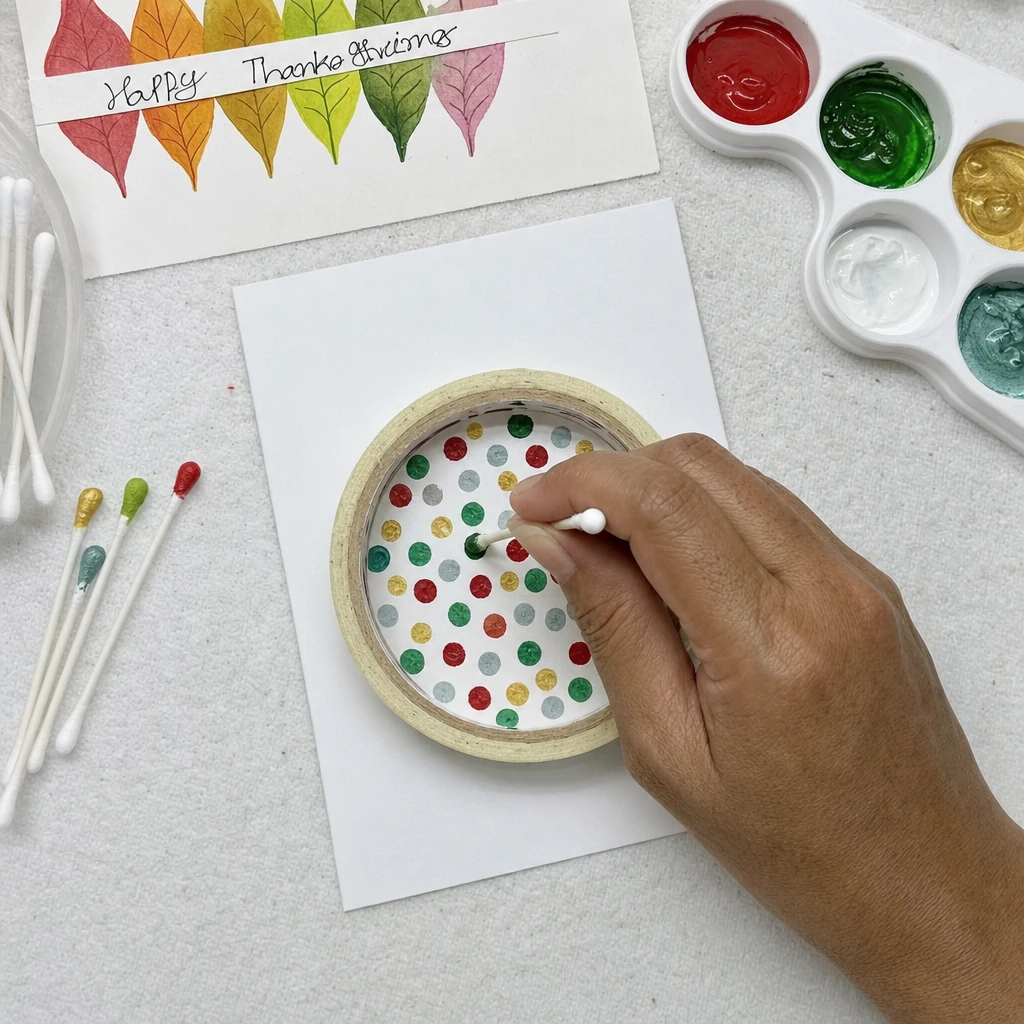
5. Lift the tape. Peel the roll straight up. You’ll see a neat dotted circle with a clean edge — that’s your bauble body. Let the paint set for a minute if it looks very wet.
6. Draw the hanging details in gold. With a metallic gold pen, draw a small rectangle on top of the circle for the cap, a thin string line up toward the top edge of the card, and a little bow where the string meets the cap. That turns the dotted circle into a hanging ornament or bauble.
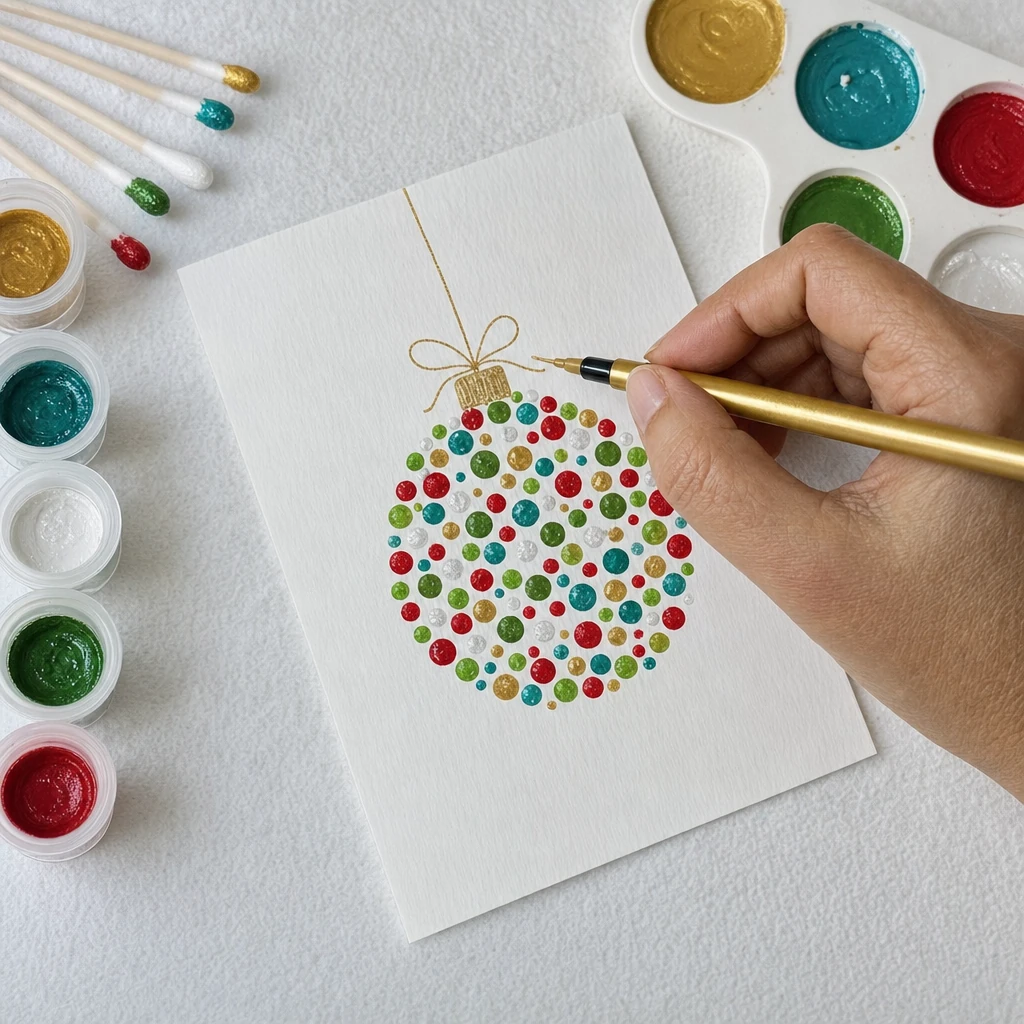
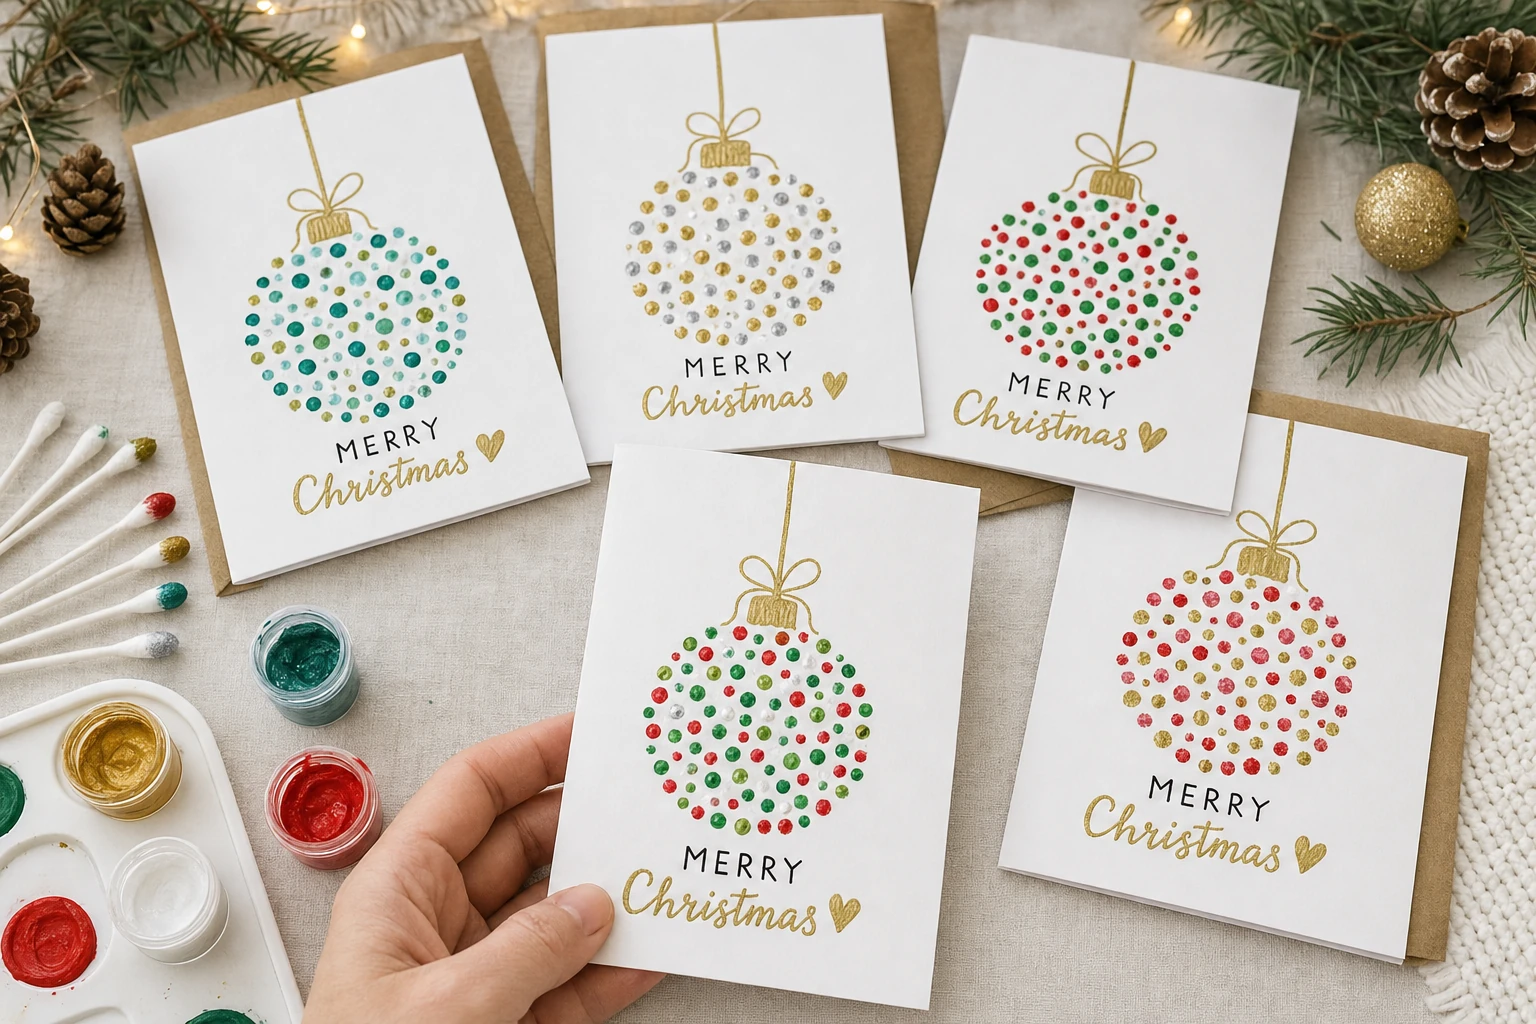
7. Add the greeting. Under the bauble, write MERRY in black and Christmas in gold. Finish with a small gold heart. A carer or caregiver can scribe the words if handwriting is hard — residents still chose the colours and made the dots.
Making it easier for everyone
- Shaky hands / arthritis: Staff hold the tape roll steady on the card. Pre-dip a few buds so residents only dab. Offer chunky paint pots that don’t tip easily. Staff can draw the gold cap and string; residents focus on dabbing colour.
- Low vision: High-contrast paints on white card (red and dark green show best). Enlarge the stencil by using a larger tape roll if you have one. Read the greeting aloud as you write it. Good table lighting helps more than anything.
- Dementia-friendly: Show the finished sample first. One colour at a time is enough — “green dots first, then red.” Staff place the tape and write MERRY Christmas; the resident dips and dabs. Keep choices simple: two paint colours, not five.
- Short session: Pre-place tape rolls on cards and pre-pour paints. Session = dip, dab, lift, gold details, greeting — about 20 minutes.
- Staff as helpers, not doers: Offer a hand under an elbow or steady the card. Let the resident make every mark they can.
Colour variations
- Classic Christmas: Red, green and gold dots (always popular).
- Cool winter: White, silver/teal and a touch of gold.
- All the pots: Let people pick any three Christmas colours from a shared palette.
- Several baubles: Use a smaller tape roll (or the same roll twice) and make two or three dotted circles on one card for a string of ornaments.
Running it as a group session
Set the table with one card and a few cotton buds per seat, Christmas paints in shared pots or a palette in the middle, and one masking-tape roll between every two people (they take turns). Put your finished sample where everyone can see it. Play the short video once if you have a screen, then start dabbing together.
Suggested timing for a table of 6:
- 5 minutes — settle, show the sample, place tape rolls, pour paints
- 10–15 minutes — dipping and dabbing dots (the chatty part)
- 5–10 minutes — lift tape, gold cap/string/bow
- 5 minutes — write MERRY Christmas and the little heart; admire each other’s cards
Soft background music helps — familiar Christmas carols at a low volume so people can still talk. One carer or caregiver circulating is usually enough for a table of six; two helpers if several people need hand-over-hand support. Keep wet wipes handy — paint on cotton buds is forgiving, but fingers still get colourful.
Ideas for using the cards
- Send to family and friends with a short note inside
- Display on a lounge noticeboard or mantel for December
- Peg a row along a ribbon as a simple “card garland”
- Give to visiting volunteers or neighbouring residents as a thank-you
- Keep one as a sample for next year’s Christmas craft trolley
Chat while you craft
- What colours did your Christmas tree ornaments usually have?
- Did you ever make Christmas cards by hand when your children were small?
- Who would you like to send this card to?
- Do you remember hanging baubles — glass ones, or the plastic ones that didn’t break?
- Shall we put your card up where visitors will see it?
Explore more
For another festive table craft, try our Sock Snowman Craft for Seniors. Browse more free activities for seniors and the December calendar for the rest of the month’s ideas.
I’d love to see your bauble cards on the lounge wall this December. Keep a spare tape roll, a handful of cotton buds (Q-tips) and a few pots of Christmas paint in the craft box — this one is worth repeating every year.
Download your printable PDF copy of Cotton Bud Bauble Christmas Cards for Seniors