
Every December our craft table turns into a little Christmas card factory, and these bubble wrap Christmas tree cards are always the first ones to fly off it. You paint a triangle of bubble wrap green, press it onto a card and peel it back, and there’s a dotty little Christmas tree looking up at you. Add red baubles with a cotton bud, a gold star, a swirl of tinsel and a “Merry Christmas”, and you have a handmade card that anyone would be proud to send.
I love this Christmas craft for seniors because nobody needs to be “good at art” to do it. The bubble wrap does the clever bit. The first time I ran it, one gentleman peeled his back, looked at it for a long moment and said, “Well, I never. I’ll send that one to my sister.” He made three more before morning tea was finished.
There’s a free printable guide with the materials list and steps at the bottom of this page.
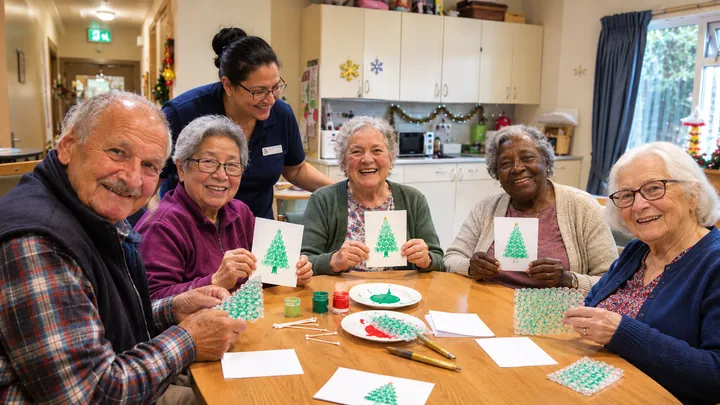
Why this activity works well
- A lovely surprise every time: Peeling back the bubble wrap to see the tree is a real “ooh” moment, and it works whether the paint goes on thick or thin.
- No drawing skills needed: The bubbles make the tree shape for you. The decorating afterwards is just dots, lines and a little star.
- Good for hands: Brushing, pressing flat, peeling and dabbing with a cotton bud are gentle movements that keep fingers busy without strain.
- Something real to give: Residents finish with a proper Christmas card they can sign and send to family, friends or staff.
- Costs very little: A bit of saved bubble wrap, some paint, cotton buds and blank cards will do a whole lounge.
- Every tree is different: No two bubble prints come out the same, so there’s no right or wrong result.
At a glance
| Time | About 20–30 minutes per card, plus a few minutes for the paint to dry |
|---|---|
| Group size | 1:1 or small groups of 4–6, with one or two staff or volunteers |
| Skill level | Easy. Residents paint, press, peel and decorate; staff cut the bubble wrap beforehand |
| Mess level | Low to medium. A little paint on fingers, so have a damp cloth handy |
| Best for | Christmas card making in December, sensory play, gentle hand movement and a cheerful chat |
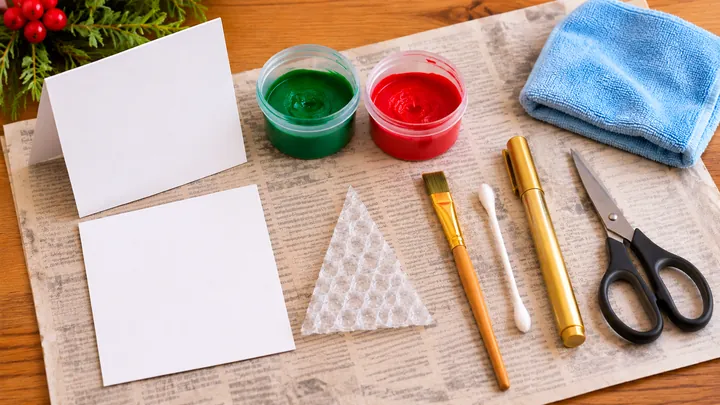
What you’ll need
For one card:
- A blank white card, about 13 cm (5 in) square. Folded card blanks work well, or fold a piece of thin white card in half.
- Bubble wrap, cut into a triangle about 9 cm (3½ in) tall and 7 cm (2¾ in) across the base
- Green paint (acrylic or poster paint)
- Red paint
- A small flat paintbrush
- A cotton bud or cotton swab
- A gold paint pen, or a fine brush with gold paint
- Scissors (for the carer or caregiver to cut the bubble wrap)
- Newspaper or a wipe-clean tablecloth, and a damp cloth for fingers
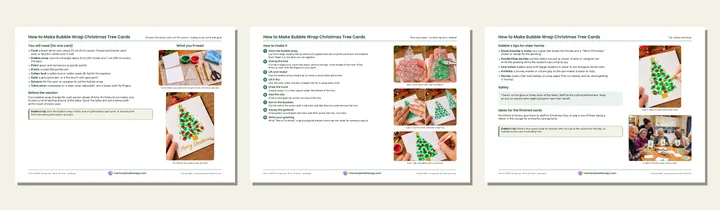
Scroll down to the download section below to get your free copy of the guide.
💡 Debbie’s tip: Keep the bubble wrap from your deliveries for a few weeks before the session. You’ll be surprised how quickly you build up enough for the whole home, and residents enjoy hearing that it’s being put to good use.
Before the session
Cut a bubble wrap triangle for each person ahead of time. It’s fiddly to cut neatly, and it saves a lot of waiting around at the table. I cut one or two spares too, because someone always wants to make a second card.
Cover the table with newspaper or a wipe-clean cloth, pour a little green and red paint onto saucers or paper plates, and put a damp cloth within reach of every seat.
Step by step
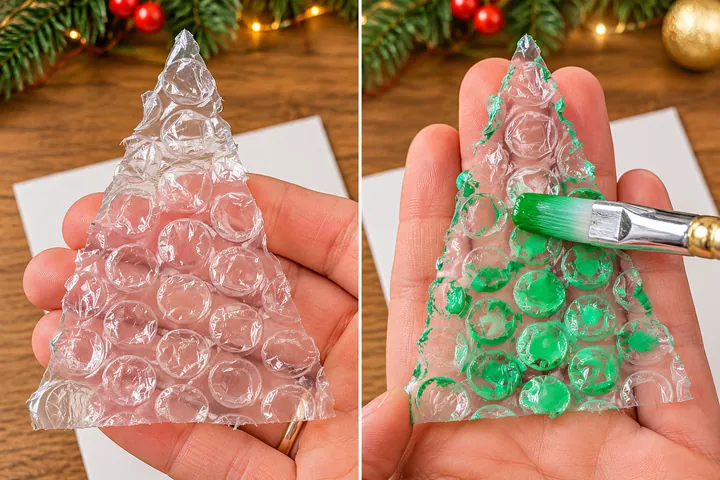
1. Paint the bubble wrap. Lay the triangle bubbly side up and brush a good even coat of green paint over the bubbles. Don’t flood it, or the dots will run together.
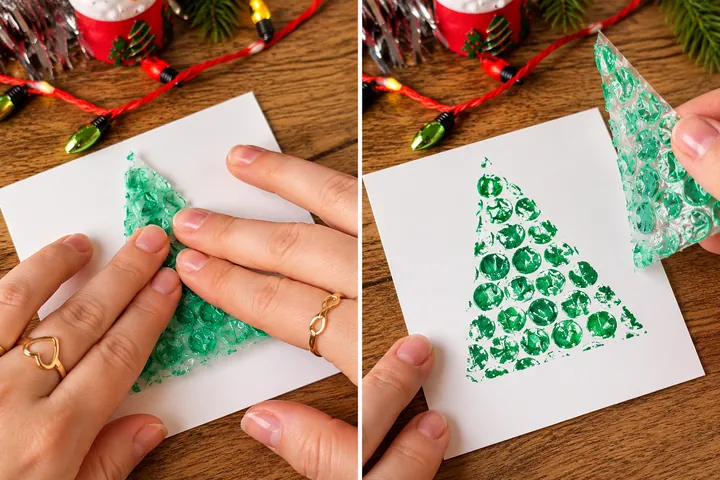
2. Stamp the tree. Flip the triangle over, paint side down, and place it in the middle of the card with the point at the top. Press firmly all over with flat fingers or the palm of your hand.
3. Lift and reveal. Peel the bubble wrap straight up. You’ll have a lovely dotty green tree. This is always the moment that gets a smile around the table.
4. Let it dry. Give the paint a few minutes. A good time for a cuppa and a chat.
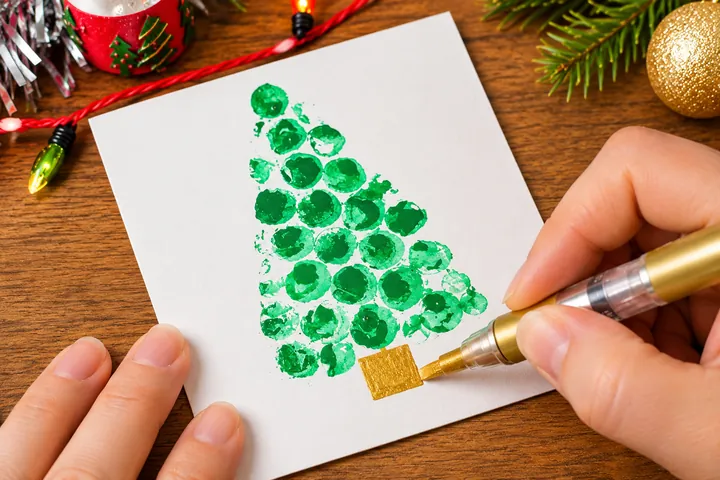
5. Draw the trunk. With the gold paint pen or a fine brush, colour in a small square under the bottom of the tree.
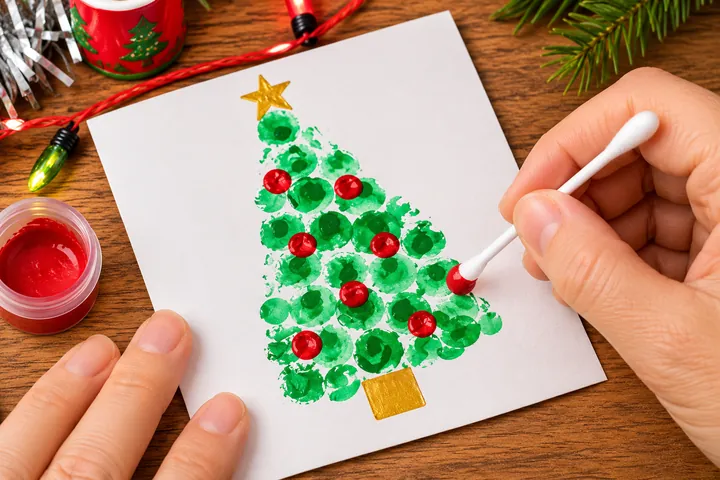
6. Add the star. Draw a little gold star at the very top of the tree.
7. Dot on the baubles. Dip the end of the cotton bud into the red paint and dab red dots here and there on the tree.
8. Swoop the garland. With the gold pen or brush, draw gentle curved lines back and forth across the tree, like tinsel draped over the branches.
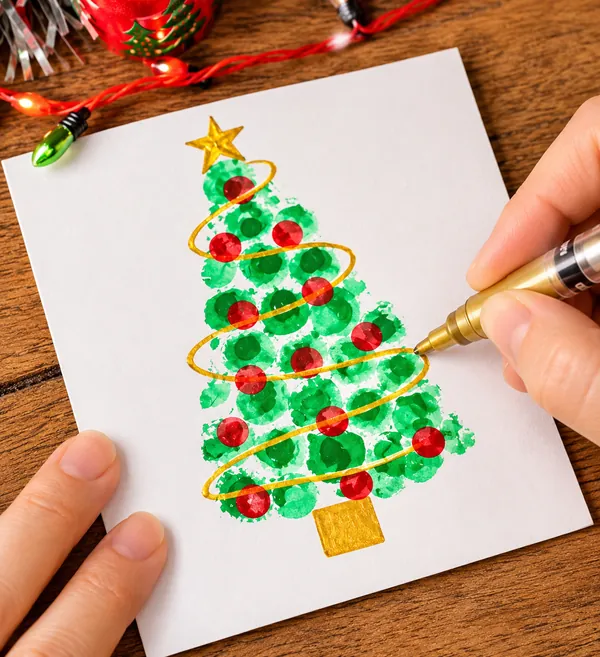
9. Write your greeting. Write “Merry Christmas” in gold along the bottom of the card, then sign the inside for someone special.
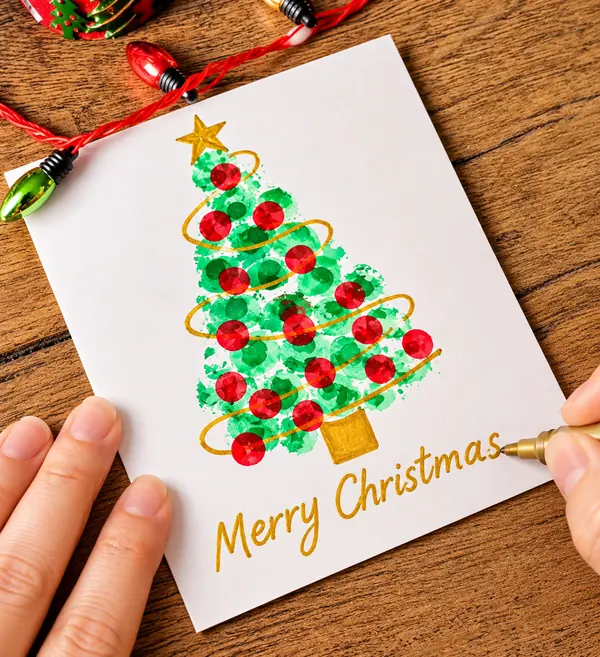
💡 Debbie’s tip: Give the bubble wrap a fresh coat of paint before each print. One painted triangle will usually give one good, bold tree, and a second print from the same paint comes out pale and patchy.
Debbie’s tips for older hands
- Small drawing is tricky: Use a gold star sticker for the top and a “Merry Christmas” sticker or stamp for the greeting.
- Handwriting worries: Printed letters are just as lovely as fancy handwriting. A carer or caregiver can write the greeting while the resident tells them what to say.
- Low vision: Bubble wrap with bigger bubbles is easier to see and gives bolder dots.
- Arthritis: A chunky marker or a foam grip on the pen makes it easier to hold.
- Nerves about getting it “wrong”: Make a few test stamps on scrap paper first, so nobody worries about spoiling their card.
Safety notes
There’s no hot glue or sharp tools at the table. Staff do the cutting beforehand, and you’ll just want to keep an eye on anyone who might put paint near their mouth.
Running it as a group session
For a table of six, I set up a little station in the middle: the paint saucers, a jar of cotton buds and the gold pens, with each person’s bubble wrap triangle and card already at their seat. One staff member or volunteer can easily help two or three people with the painting and pressing.
Suggested timing for a table of 6:
- 5 minutes: show a finished card and pass the bubble wrap around so everyone can feel the bubbles
- 10 minutes: paint, press and peel the trees
- 5 minutes: let the paint dry over a cup of tea
- 10 minutes: add the trunk, star, baubles, garland and greeting
Ideas for the finished cards: Post them to family, give them to staff on Christmas Day, or pop one on each breakfast tray on Christmas morning. If residents make a few extra, peg them along a ribbon in the lounge for a cheerful card garland.
Chat while you craft
Christmas cards bring back all sorts of memories. Keep the questions light and follow each person’s lead. Some will love to share stories, and others will just enjoy the painting.
- What kind of Christmas cards did you used to send? Did you buy them or make your own?
- Who did you always make sure to send a card to every year?
- Did your family hang the cards up or stand them on the mantelpiece?
- Do you remember a card you received that you kept for years?
- Who would you like to send this card to?
Watch how it’s done
Here’s the whole card being made from start to finish. It’s handy to play once on a screen before residents begin, so everyone can see the bubble wrap reveal.
Explore more
Looking for another Christmas card idea? Our Cotton Bud Bauble Christmas Cards use the same cotton bud dotting and sit beautifully alongside these. For more Christmas trees, try the Paper Doily Christmas Trees or Button Christmas Tree Ornaments, and the Santa, Snowman & Elf Christmas Paper Chains are a lovely way to decorate the lounge. If your residents enjoy bubble wrap, have a go at the Bubble Wrap Sheep Craft, and for something to talk about over the paint pots, our Christmas Reminiscing Questions are full of ideas.
💡 Debbie’s tip: Have a few cards stamped with a tree ahead of time for anyone who isn’t up to the painting on the day. They can still add the baubles and star, so nobody misses out.
Download your printable PDF copy of Bubble Wrap Christmas Tree Cards: An Easy Christmas Craft for Seniors (Free Printable)