Are you ready to turn your kitchen into an art studio? We have a tailor-made guide for seniors in aged care who cherish the joy of baking. Memory Lane Therapy presents you with this Creative Cookie Baking for Seniors in Aged Care!
Our step-by-step instructions will lead you through a variety of innovative cookie-decorating techniques that will amaze your loved ones. Each method, from pressing whisk-painted imprints for colorful masterpieces to crafting button-like cookies with a bottle cap and straw, will showcase your artistic talents and evoke a sense of wonder in every bite.
So, gather your baking essentials and let your imagination take flight as you create edible artworks that taste as good as they look. With these simple yet impressive techniques, your cookie jar will soon be brimming with delicious and visually captivating treats!
Click the link at the bottom of this article for the A4 printable version.
Creative Cookie Baking Essentials
- Cookie dough: Either homemade or store-bought, make sure it’s ready to be shaped and decorated.
- Rolling pin: Roll out the cookie dough to an even thickness.
- Baking Sheets: To accommodate the number of cookies you’ll be making.
- Piping bags and tips: These will help you create precise and intricate designs.
- Food coloring: Gel or liquid food coloring to mix and match your preferred shades.
- Parchment Paper or Silicone Baking Mat: To line your baking sheets and prevent sticking.
Here are the easy-to-follow instructions for each of the Creative Cookie Baking:
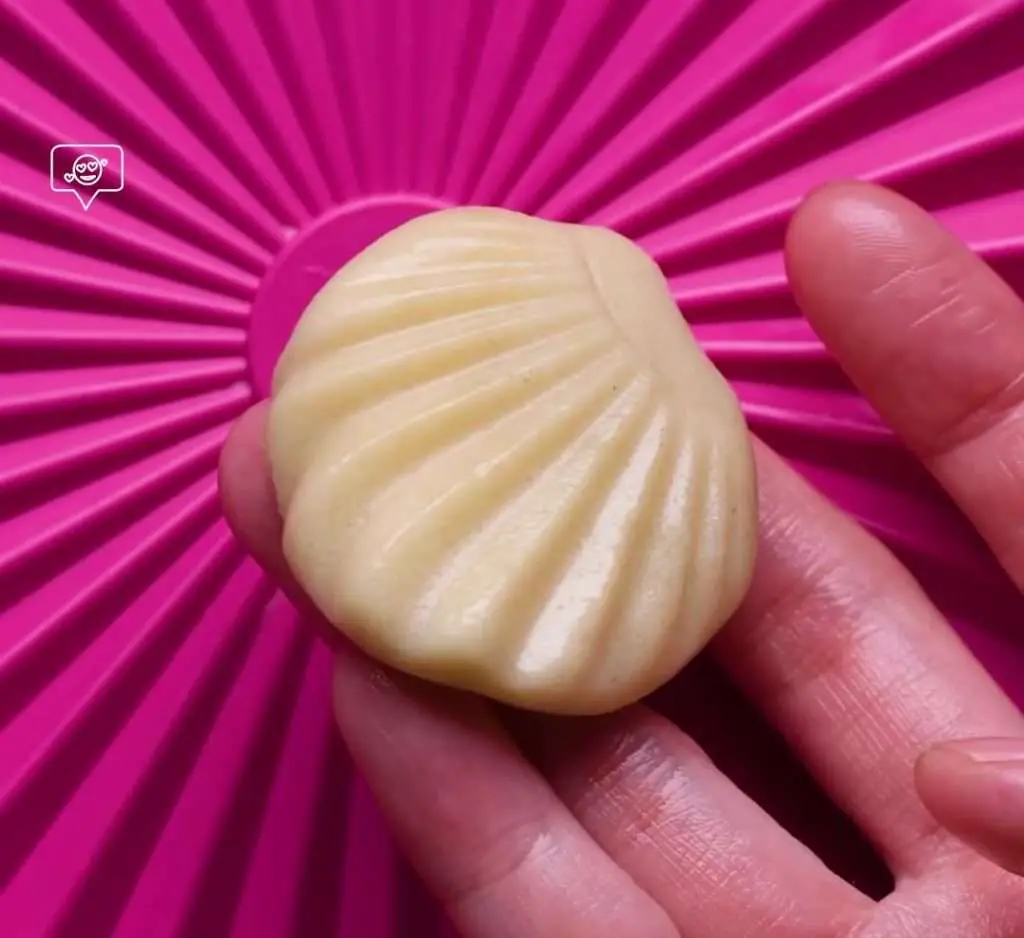
1. Shell Cookies:
- Prepare your cookie dough and roll it out to the desired thickness.
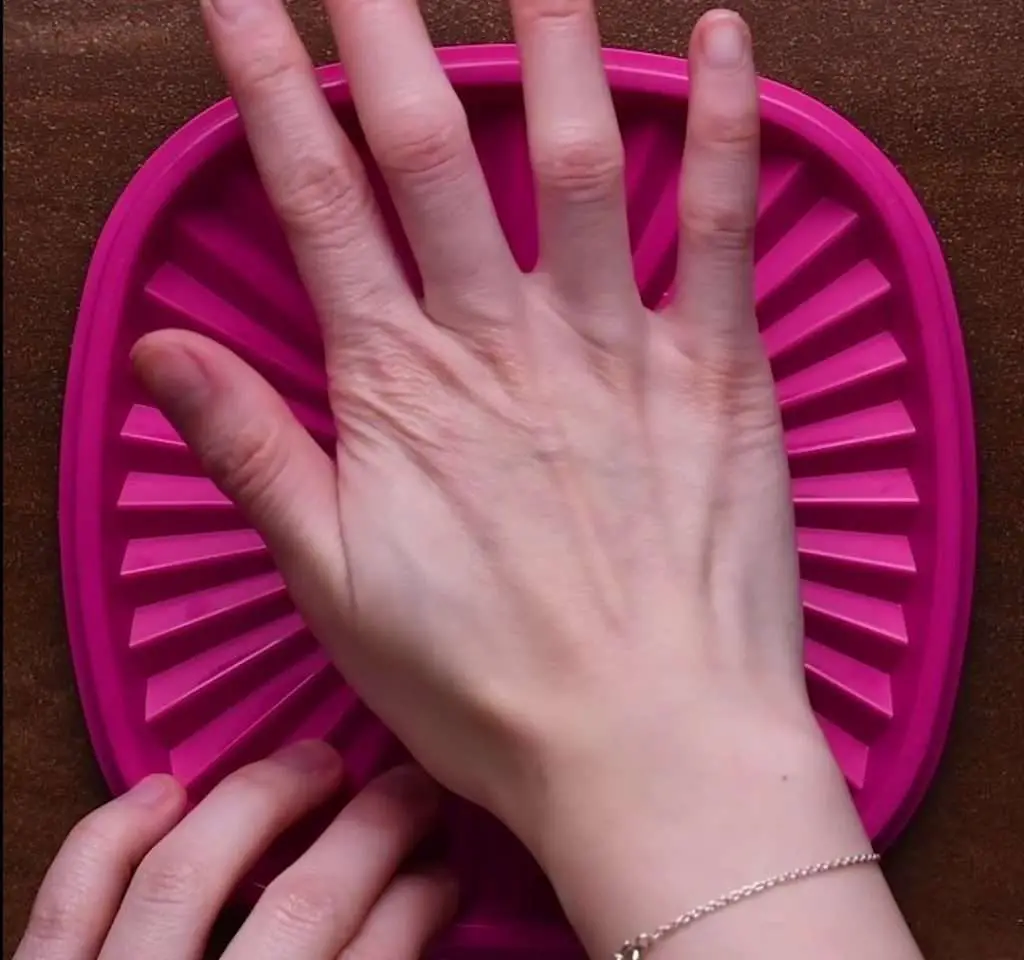
- Take the lid with a design (e.g., from a jar or container) and press it gently into the cookie dough to create imprints resembling shells.
- Bake the cookies as directed in your cookie recipe.
- Once baked and cooled, you’ll have beautifully designed shell cookies.
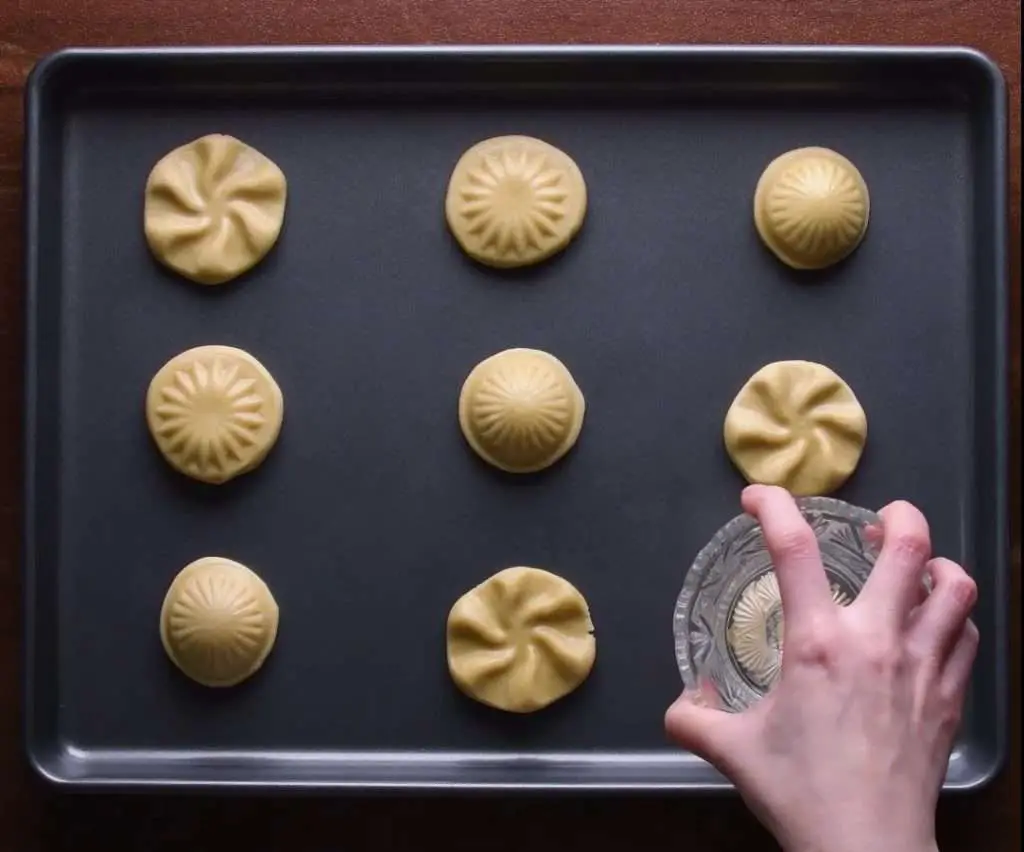
2. Patterned Cookies:
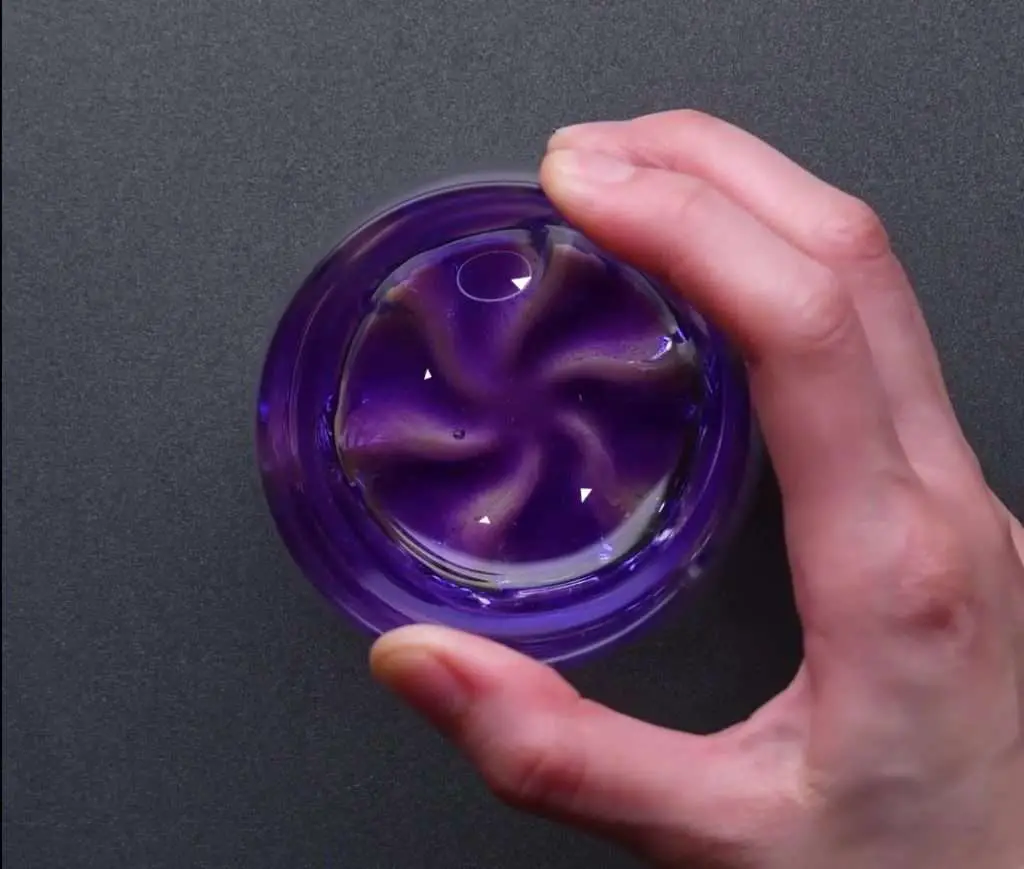
- After rolling out your cookie dough, find a glass with a decorative bottom or base (e.g., an old-fashioned glass with a pattern).
- Press the bottom of the glass firmly into the dough to create imprints with the glass’s design.
- Bake the cookies according to your recipe’s instructions.
- Once baked and cooled, you’ll have unique and patterned cookies.
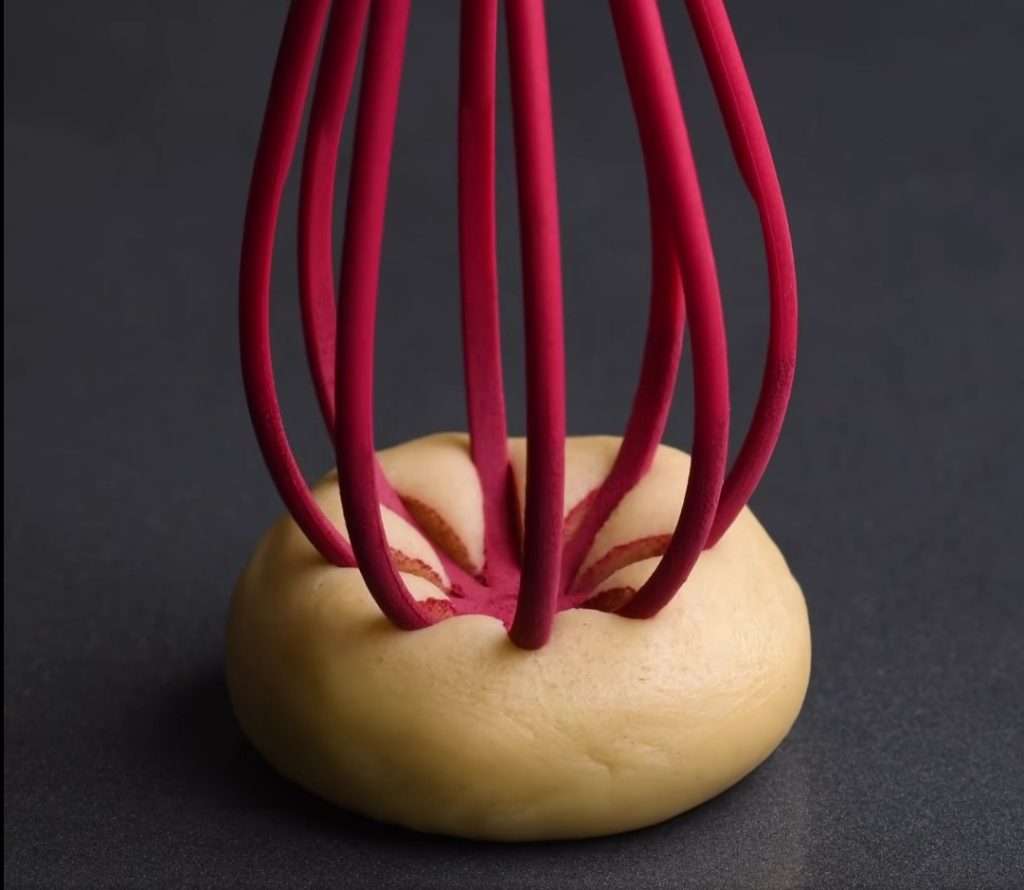
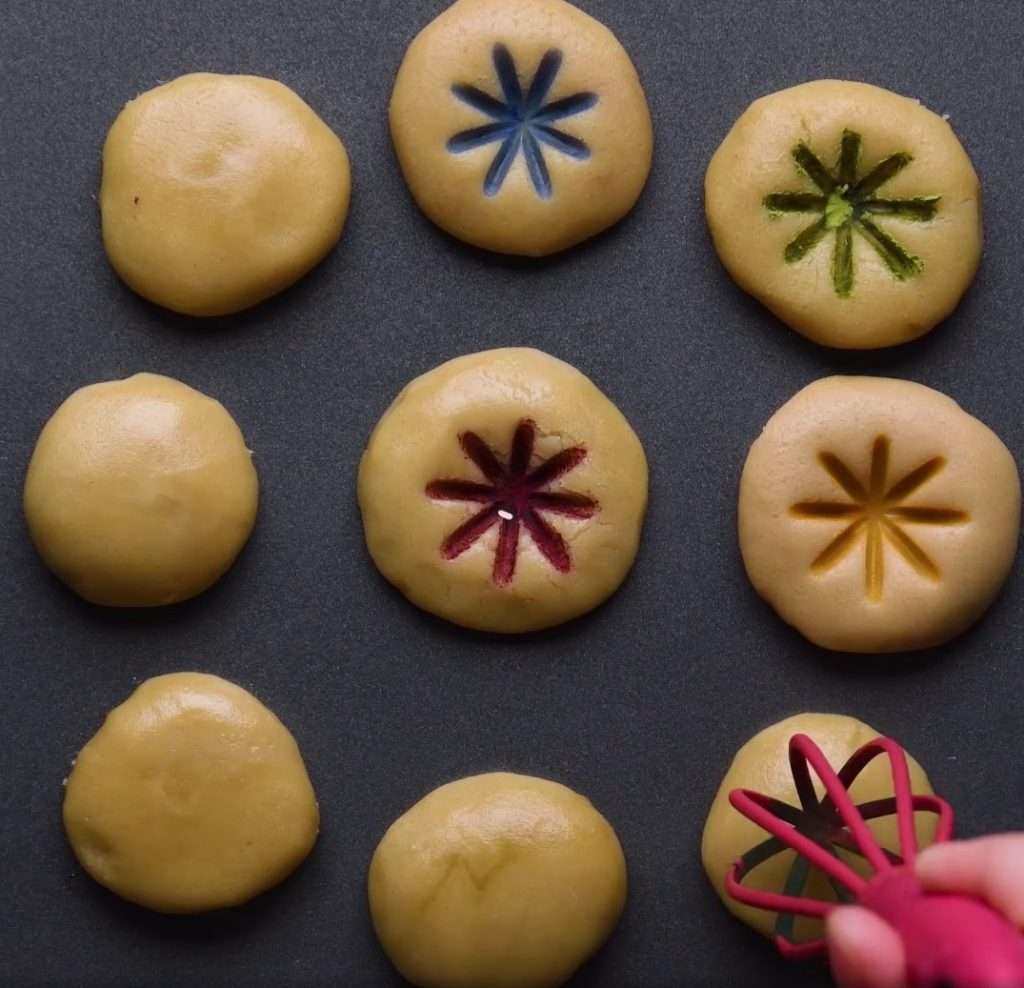
3. Colorful Cookies:
- Take a whisk and dip it into the powdered food coloring of your choice.
- Press the whisk into the cookie dough, creating colorful imprints.
- Bake the cookies following your cookie recipe.
- Once baked and cooled, you’ll have a batch of colorful and vibrant cookies.
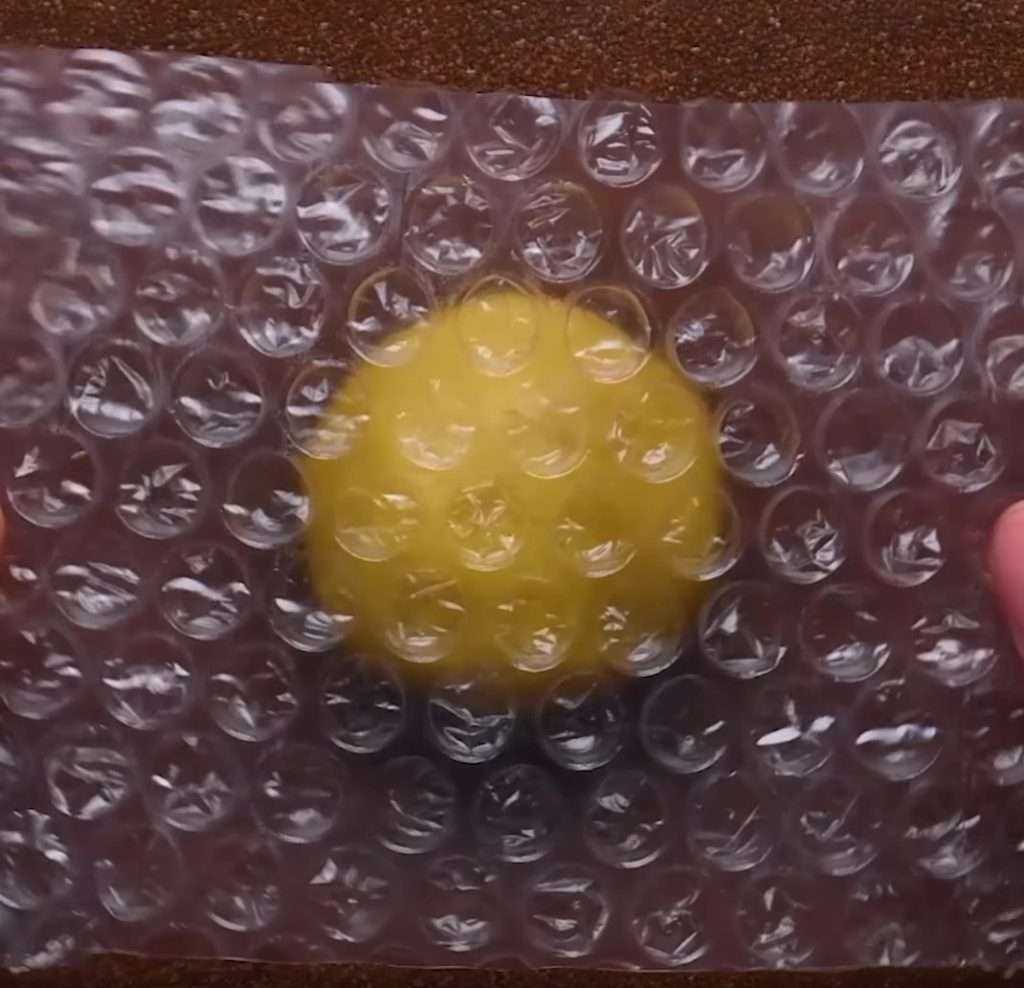
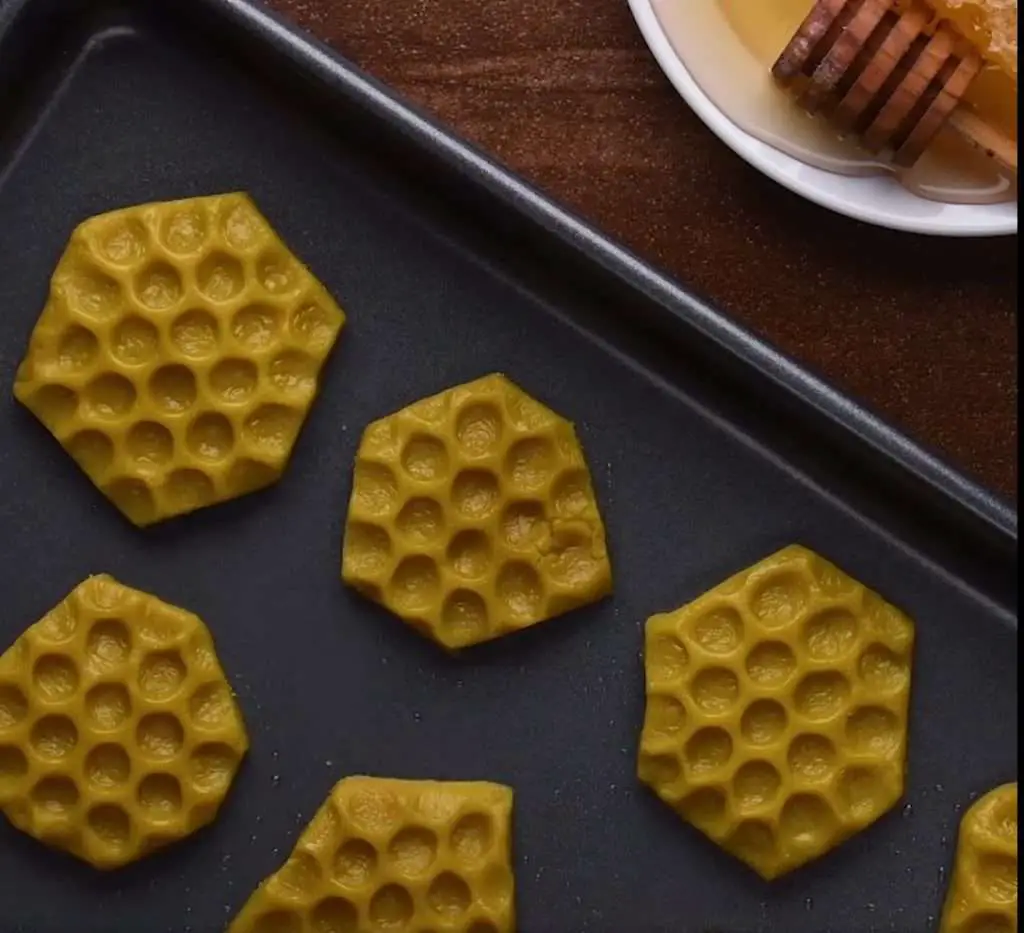
4. Honeycomb Cookies:
- Roll out your cookie dough to the desired thickness.
- Take a piece of clean bubble wrap and gently press it onto the dough’s surface.
- Use a round cookie cutter to cut out cookies with the honeycomb pattern.
- Bake the cookies as instructed in your cookie recipe.
- Once baked and cooled, you’ll have cookies with a textured honeycomb design.
6. Button Cookies:
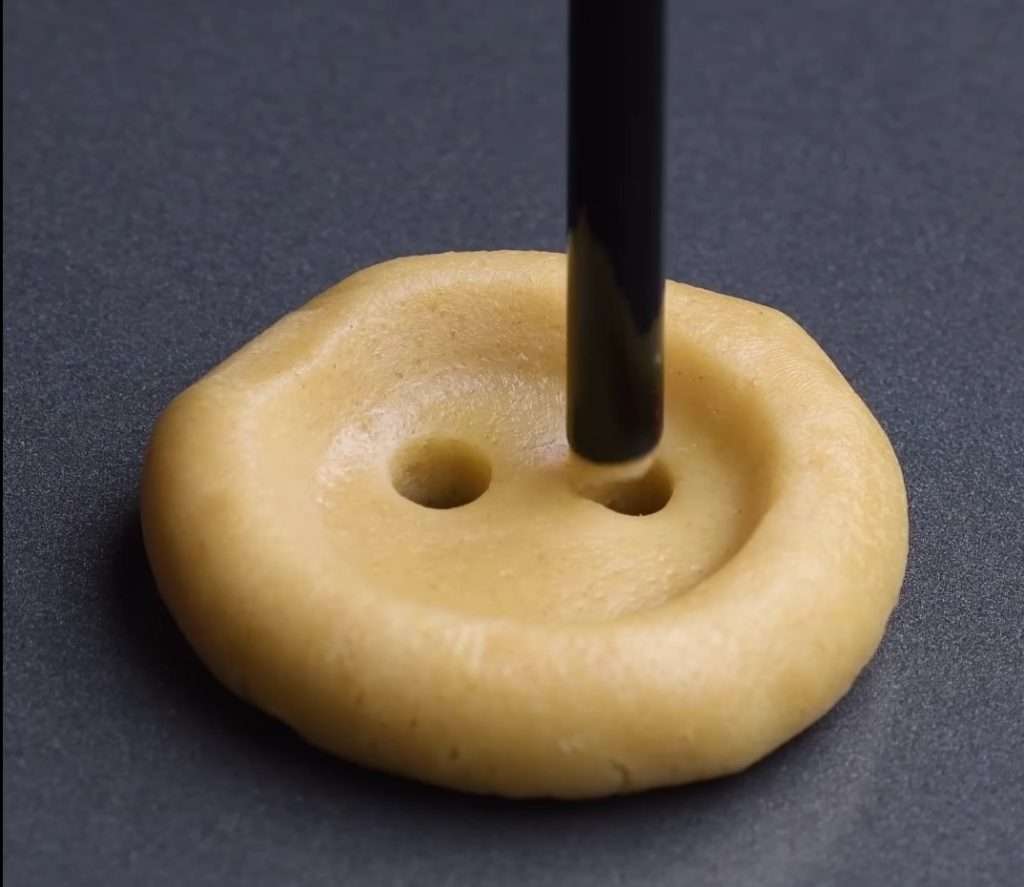
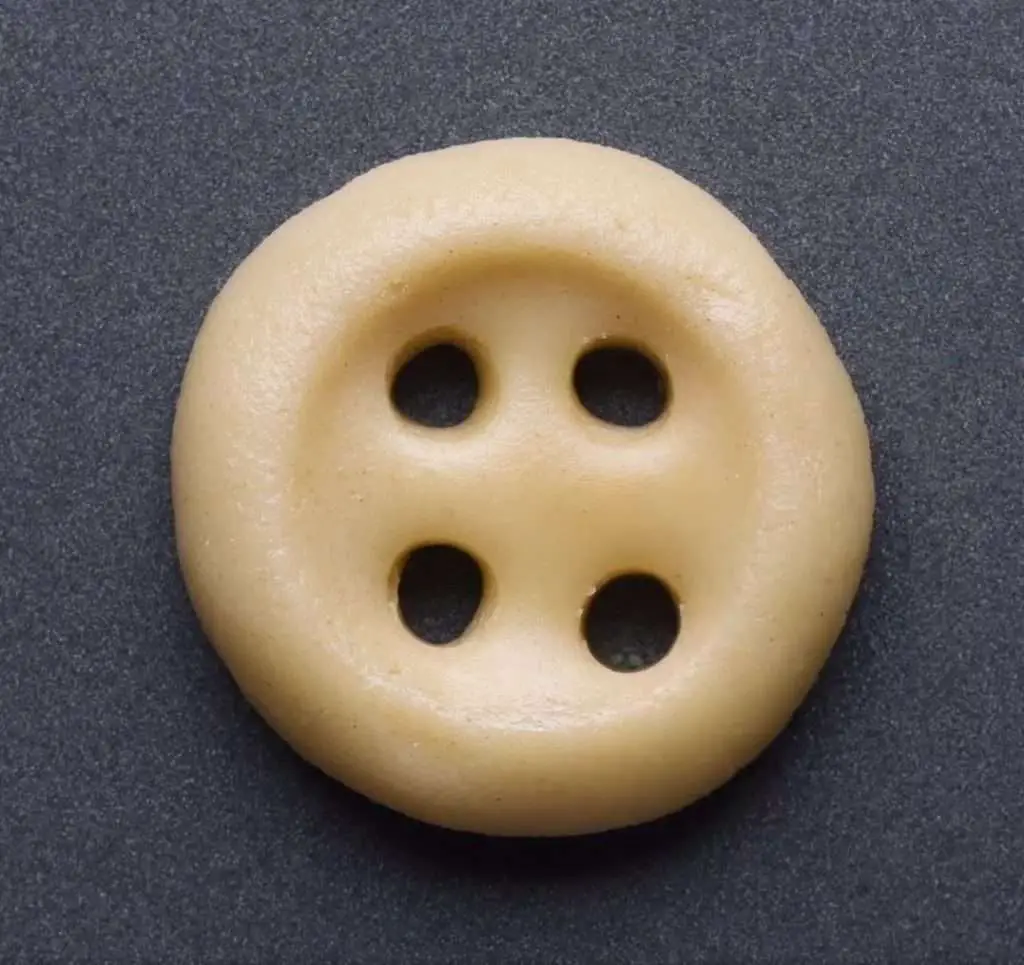
- Roll out your cookie dough and use a bottle cap (or any circular object) to press lightly into the dough, creating indentations.
- Use a straw to make a hole in the center of each cookie, resembling a button.
- Bake the cookies as directed in your cookie recipe.
- Once baked and cooled, you’ll have adorable button-shaped cookies.
Creative Cookie Baking Instructional Video
Here is an easy-to-follow instruction video

