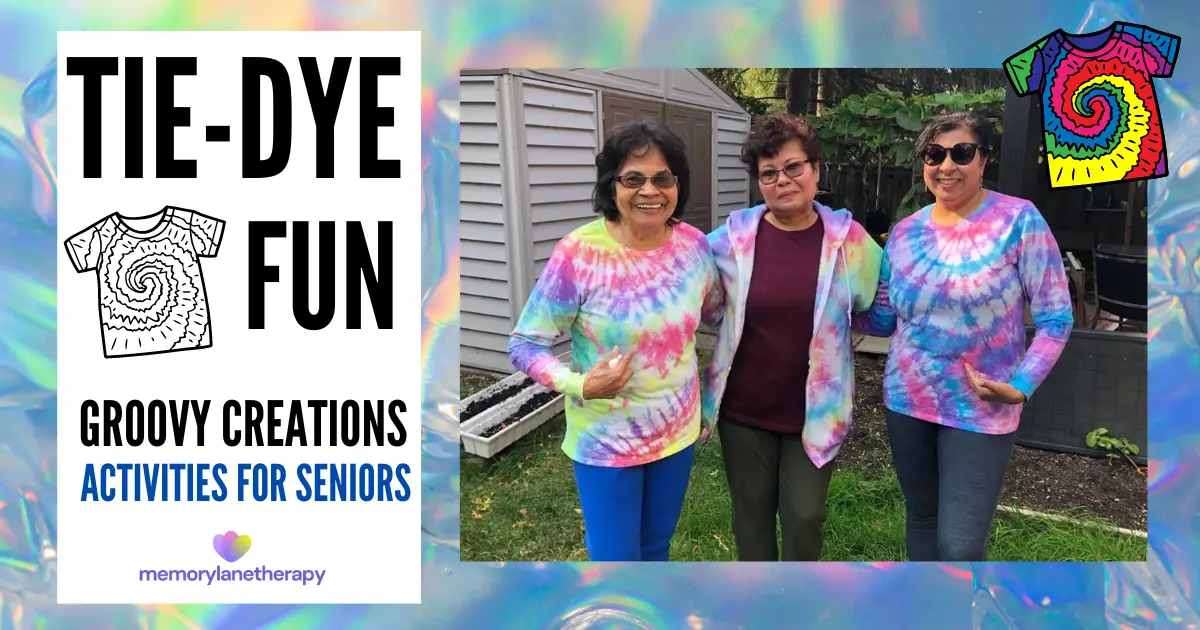
Looking for a fantastic senior activity that sparks creativity and joy? Look no further! Our Tie-Dye fun activity offers a delightful and engaging experience for seniors to create stunning tie-dye designs on white cotton t-shirts and other clothing items. With easy-to-follow steps and non-toxic fabric dyes, participants can explore various folding techniques, resulting in mesmerizing patterns.
Get ready for a burst of color and creativity with our Tie-Dye Fun Activity, a delightful activity designed for seniors to enjoy. So, let’s roll up our sleeves, put on our plastic gloves, and get ready to make some wearable art!
Click the link at the bottom of this article for the A4 printable version.
Material Needed :
- White cotton t-shirts or other clothing items (pre-washed)
- Fabric dye in various colors (easy-to-use and non-toxic)
- Rubber bands
- Fork (optional)
- Plastic gloves
- Plastic table covers or trash bags to protect the work area
Step-by-Step Guide :
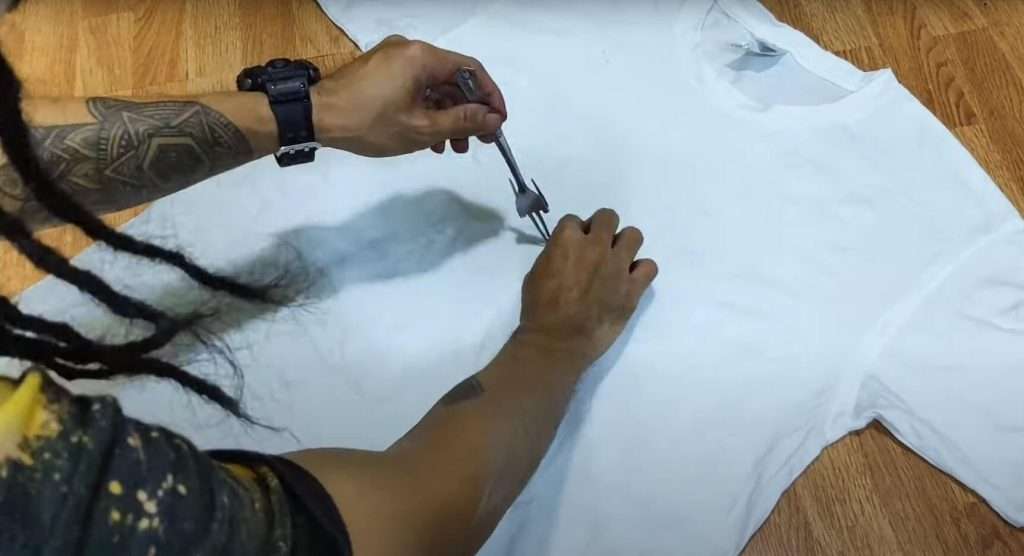
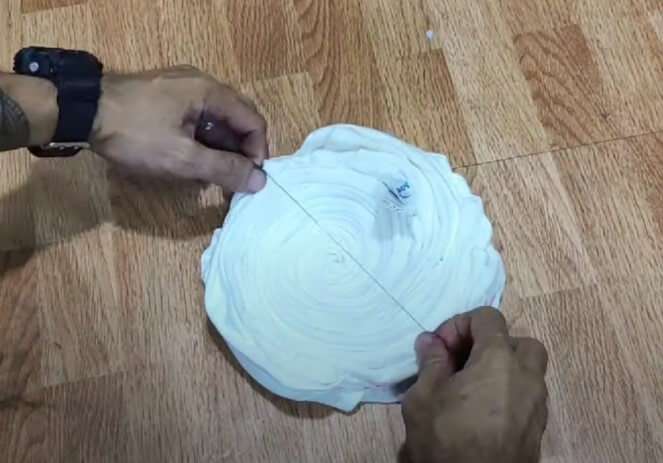
Step 1: Find the Center and Form a Circular Shape
Lay the white cotton t-shirt or clothing item flat on a table. Use the fork or Pinch the fabric at the center of the item and twist it in a circular motion. Keep twisting until the entire fabric forms a compact circular shape. The center will be the starting point for the swirl design.
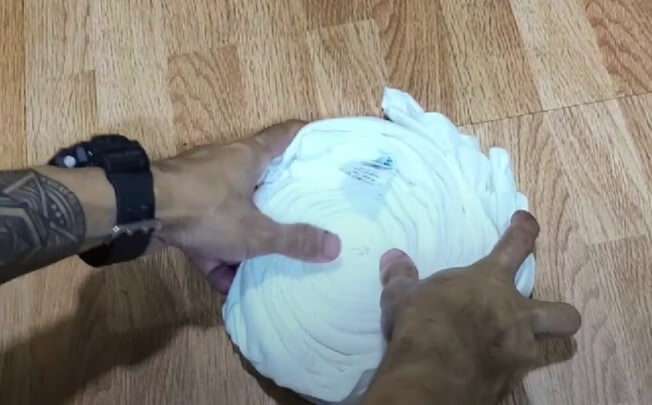
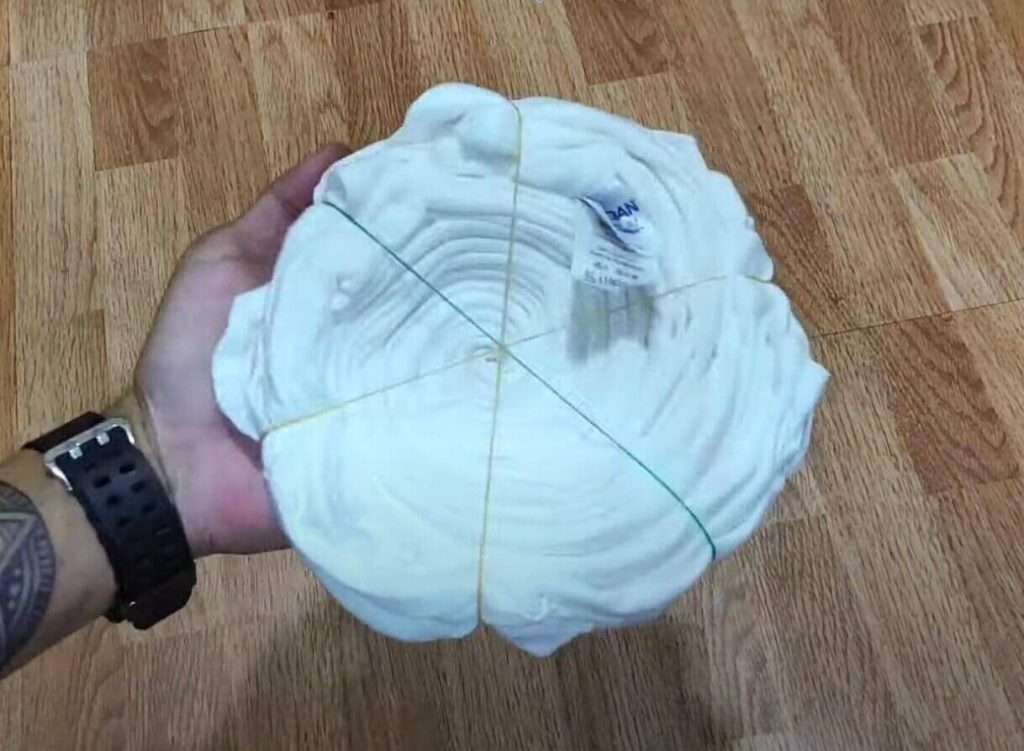
Step 2: Secure with Rubber Bands
With the circular shape in place, carefully wrap rubber bands around the fabric. The number of rubber bands used depends on the size of the clothing item and personal preference. Make sure to criss-cross the rubber bands to create sections for the dye.
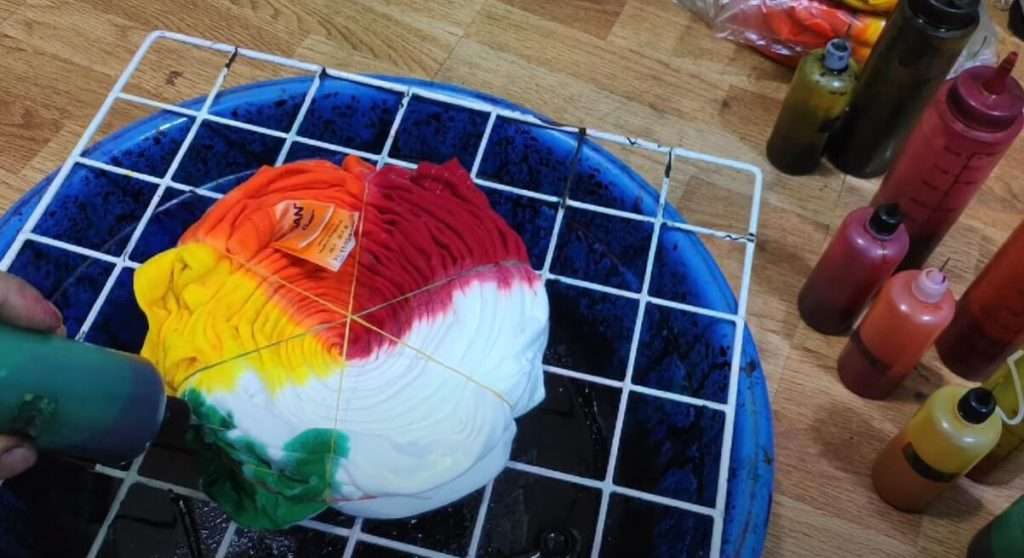
Step 3: Apply Color Dye Back and Forth
Put on plastic gloves to protect your hands. Using your desired fabric dye colors, apply the dye to the sections created by the rubber bands. Start by applying one color of dye to a section and then use another color in the adjacent section. Repeat this process, going back and forth between the colors until all sections are dyed.
Step 4: Wait for 24 Hours
Once the dye is applied, carefully place the tie-dyed clothing item in a plastic bag or wrap it in plastic wrap to prevent the dye from spreading. Allow it to sit undisturbed for 24 hours to give the dye enough time to set and create vibrant colors.
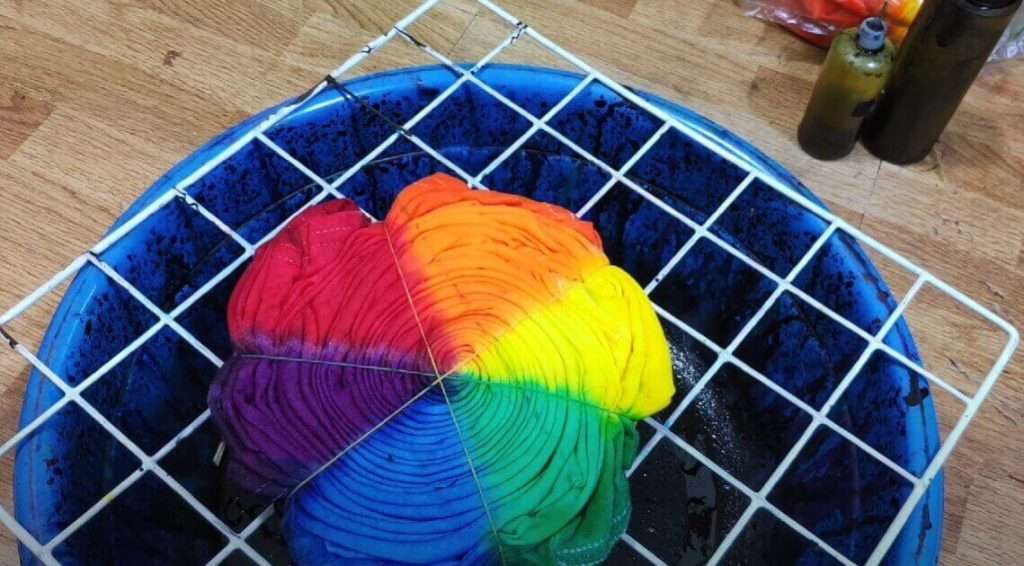
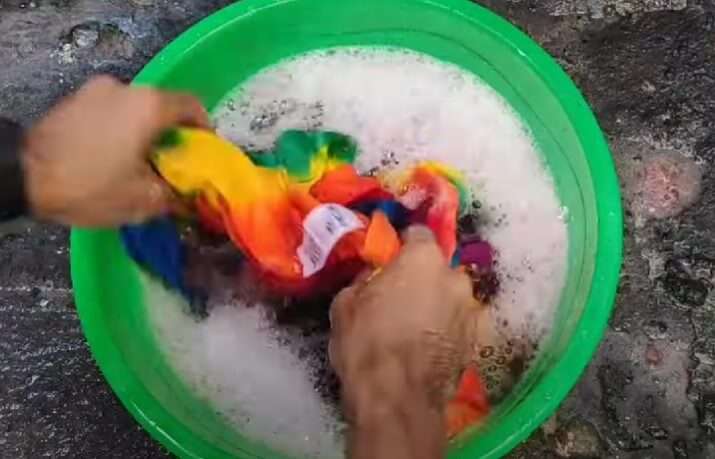
Step 5: Rinse and Reveal the Swirl
After 24 hours have passed, remove the rubber bands and unwrap the clothing item. Rinse the item under running water until the water runs clear, washing away any excess dye. As you rinse, the mesmerizing swirl design will be revealed in all its colorful glory!
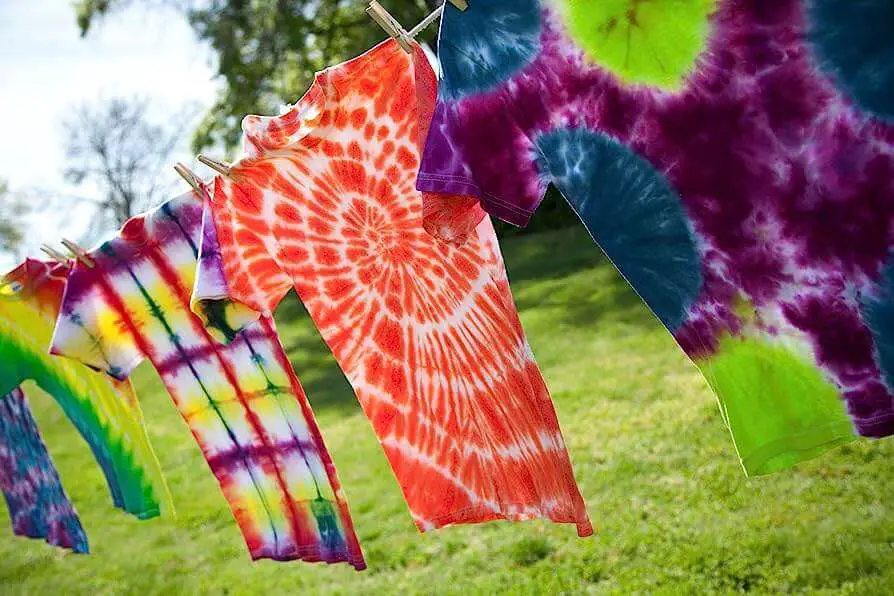
Enjoy your beautiful Swirl Tie-Dye creation! Wear it with pride, and don’t forget to show off your artistic flair to friends and family. This easy and fun activity is perfect for seniors looking to add a splash of color and creativity to their day! 🌈👕
Here are the Easy Instruction Video to follow