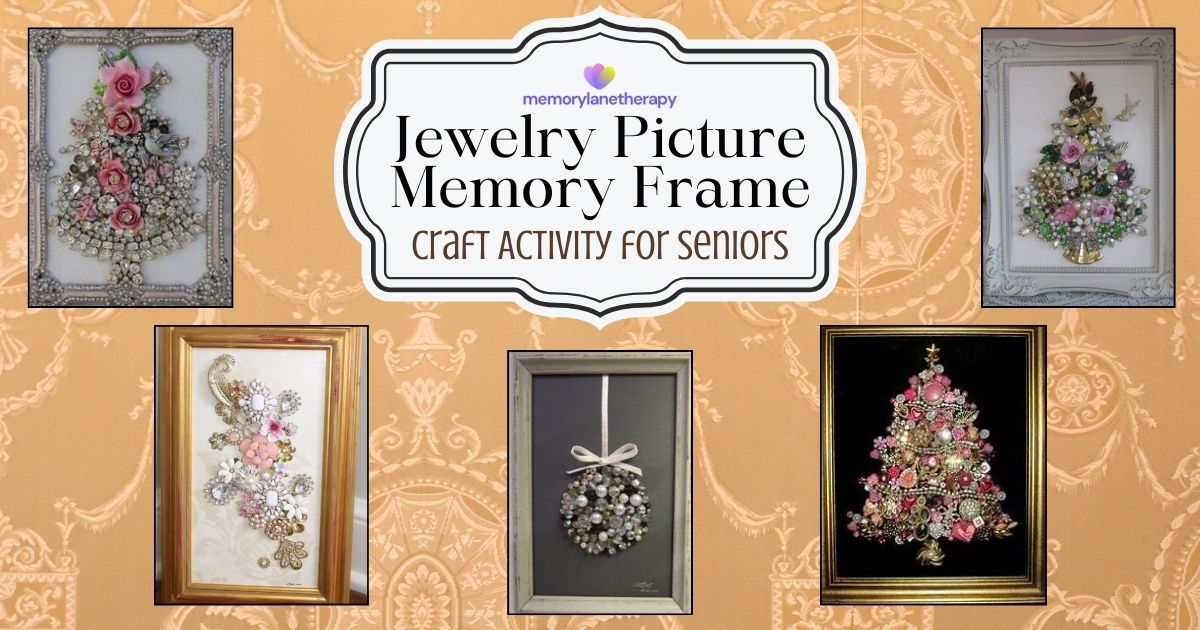
Are you looking for a heartwarming and creative activity for seniors in aged care? Introducing the Jewelry Picture Memory Frame, a beautiful craft that not only engages the elderly but also creates cherished keepsakes. This delightful activity is perfect for repurposing broken jewelry, single earrings, and even pretty buttons.
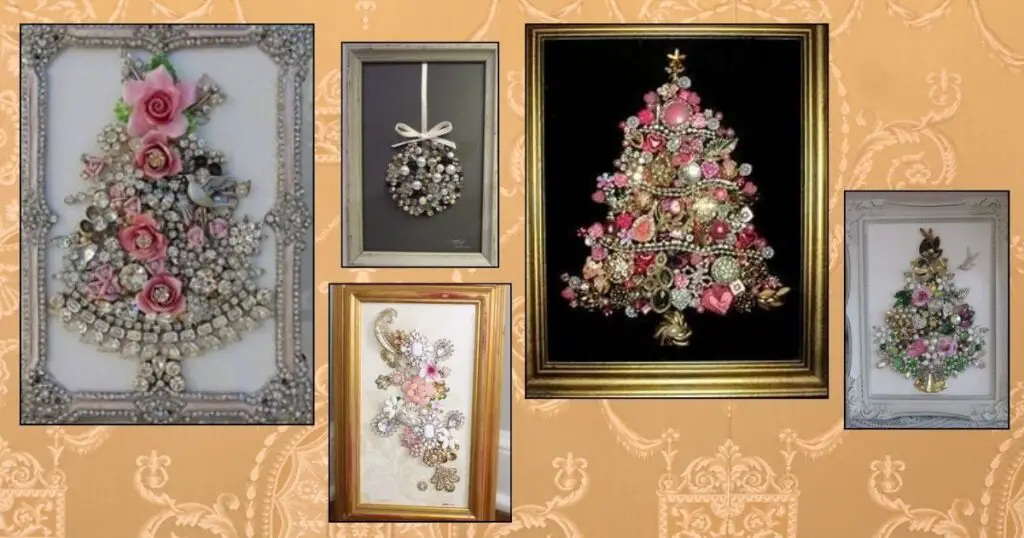
Jewelry is more than just sparkly stones. It’s a tale of memories and emotions, filled with stories waiting to be told. You know that jewelry box that’s stuffed with mismatched earrings and brooches? Imagine how much more meaningful it would be if those knick-knacks shared history with someone special, like your grandma, sister, or bestie. Instead of saying goodbye to those sentimental treasures, why not give them a new life? Turn those jewels into a framed keepsake, and you’ll have a stunning reminder of your loved ones for years to come!
A Free and Downloadable PDF of this activity is available at the bottom of this page!
Crafting the Jewelry Picture Memory Frame
Join us and experience an amazing activity while crafting memories through the Jewelry Picture Memory Frame designed for seniors in aged care. Are you ready? Let your artistic talent shine!
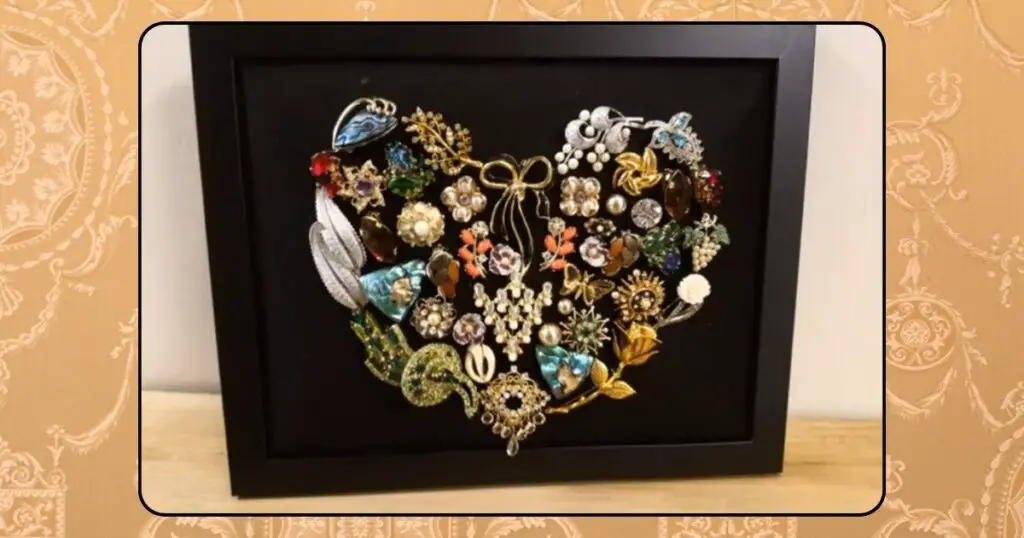
Materials Needed
The following tools are needed to craft the Jewelry Picture Memory Frame. You can find these materials at your local store, in the corners of your house, or inside the facility!
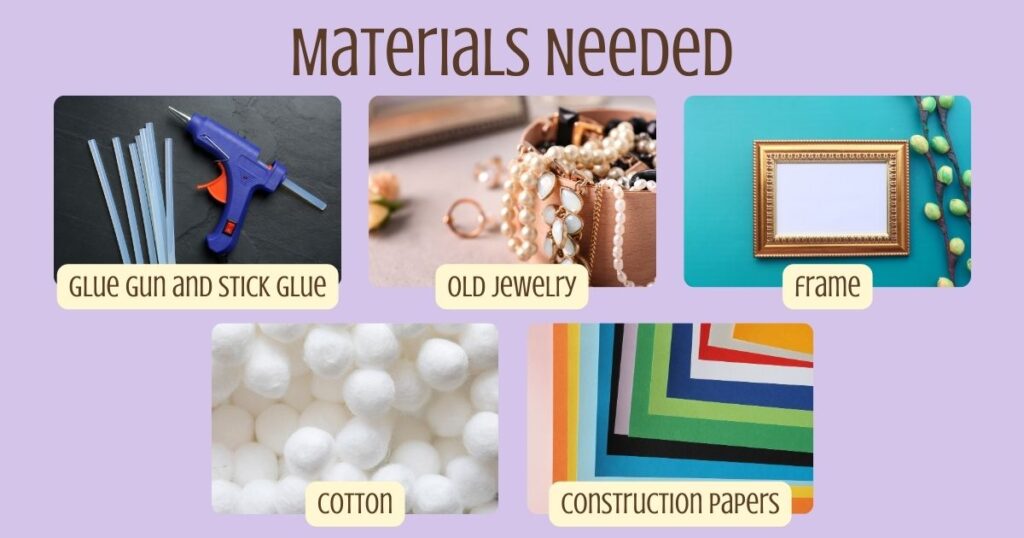
- Glue Gun and Stick Glue
- Old Jewelry
- Frame
- Cotton
- Construction Paper
Step-by-Step Procedure
1. Prepare all the materials needed in crafting the Jewelry Picture Memory Frame. You can use any frame or you may use a certificate holder for this craft.
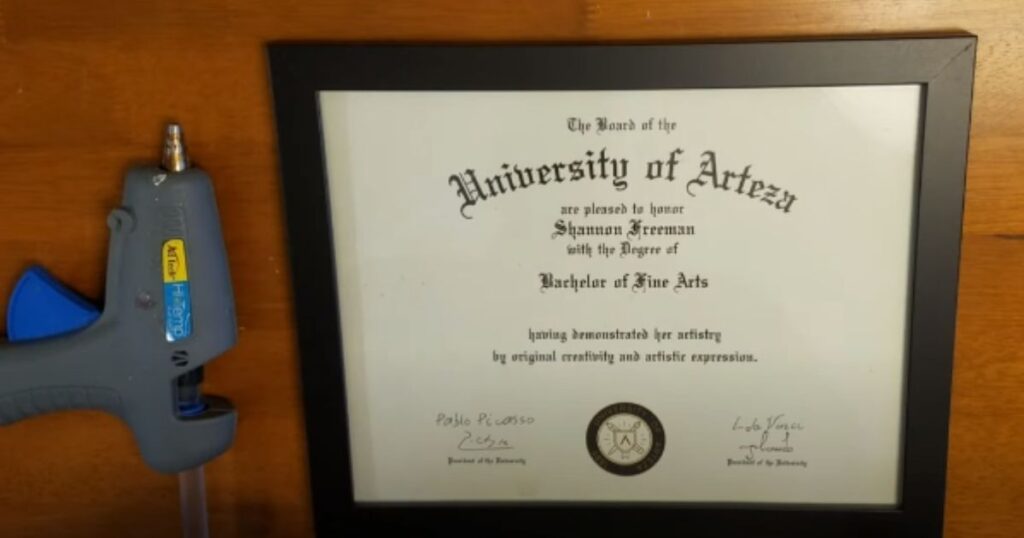
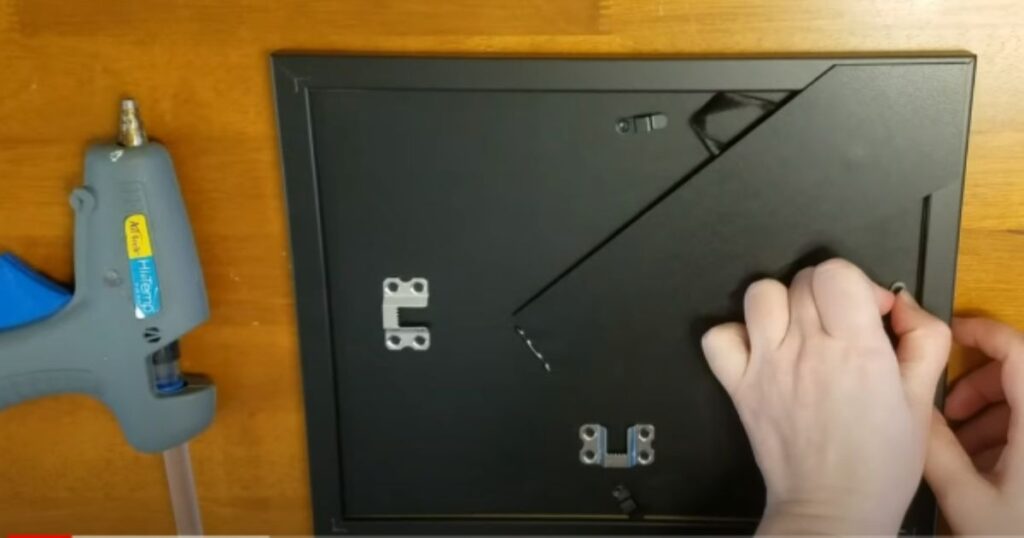
2. Take the back cover of the frame and remove anything that is attached to it.
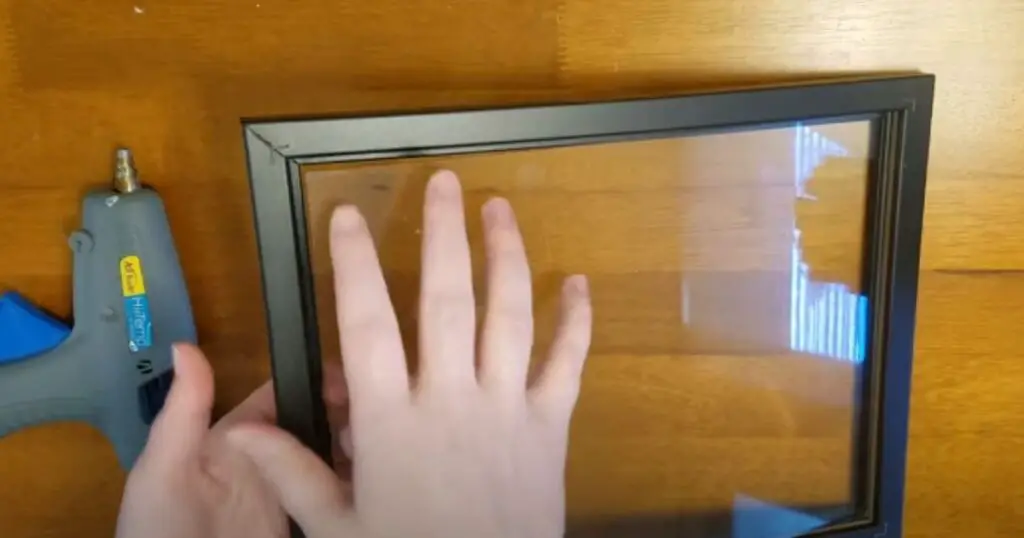
3. Detach the glass carefully from its current position. Once you have the glass in hand, procure some cotton and securely fasten it to the surface of the glass.
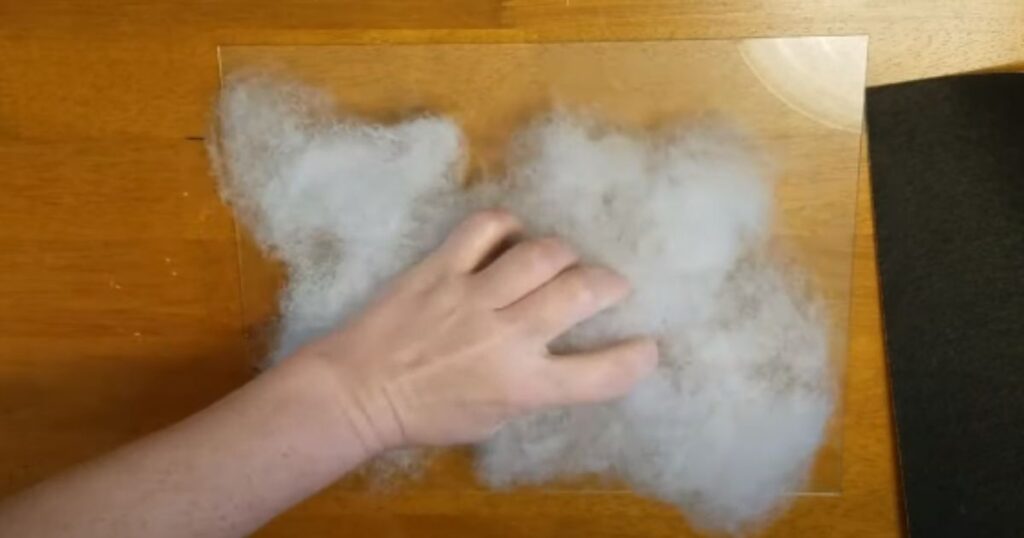
4. Acquire a suitable adhesive, such as glue, and affix the cotton securely to the glass, ensuring a firm attachment.
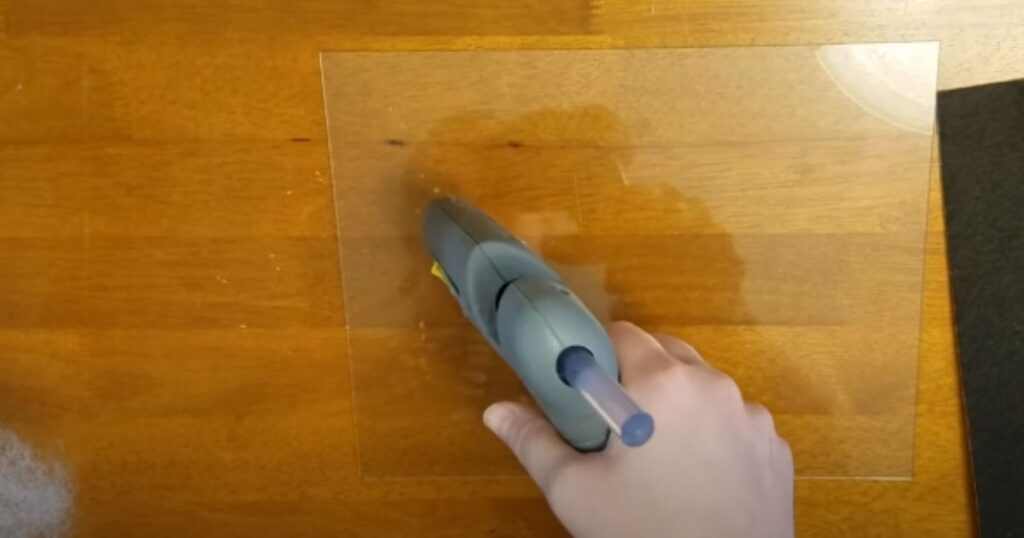
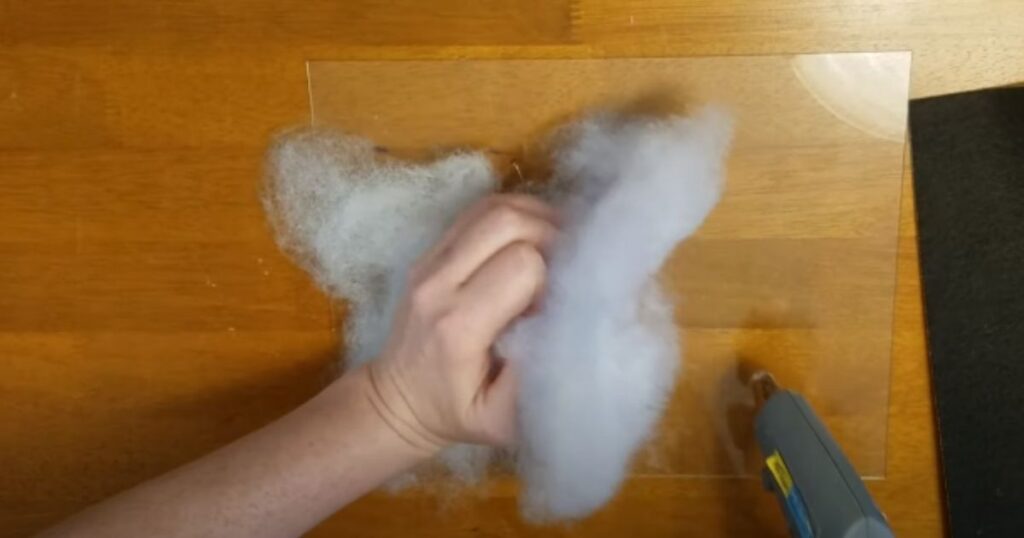
5. Procure construction paper and position it atop the cotton at the glass’s top. Apply glue to secure it, establishing a padded layer that will function as our base.
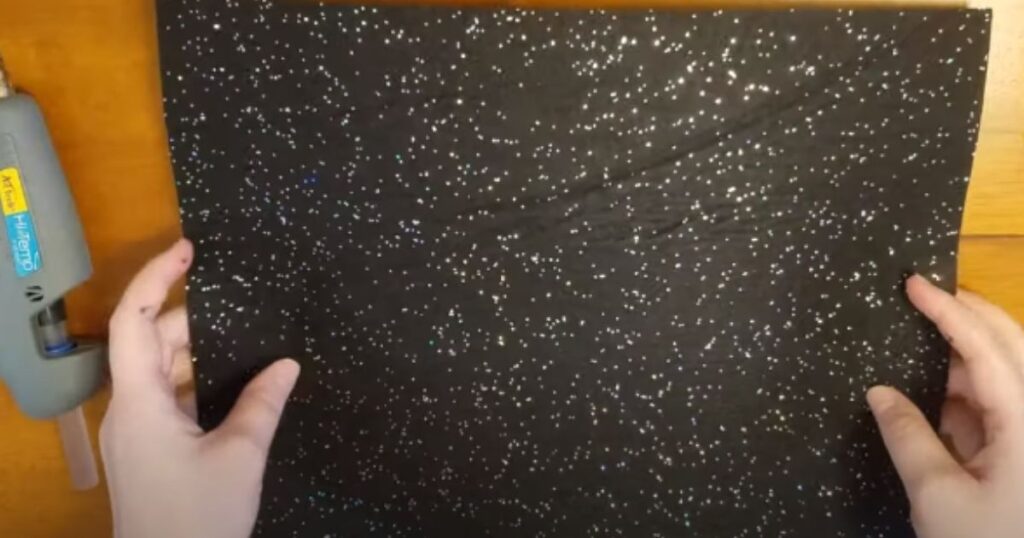
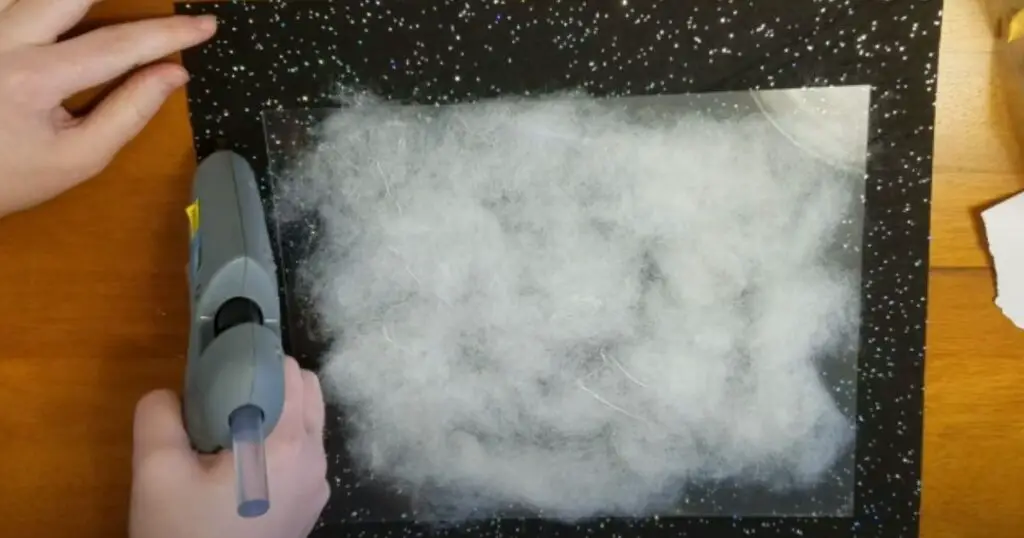
6. After the previous procedures, assemble the frame back using the hot glue.
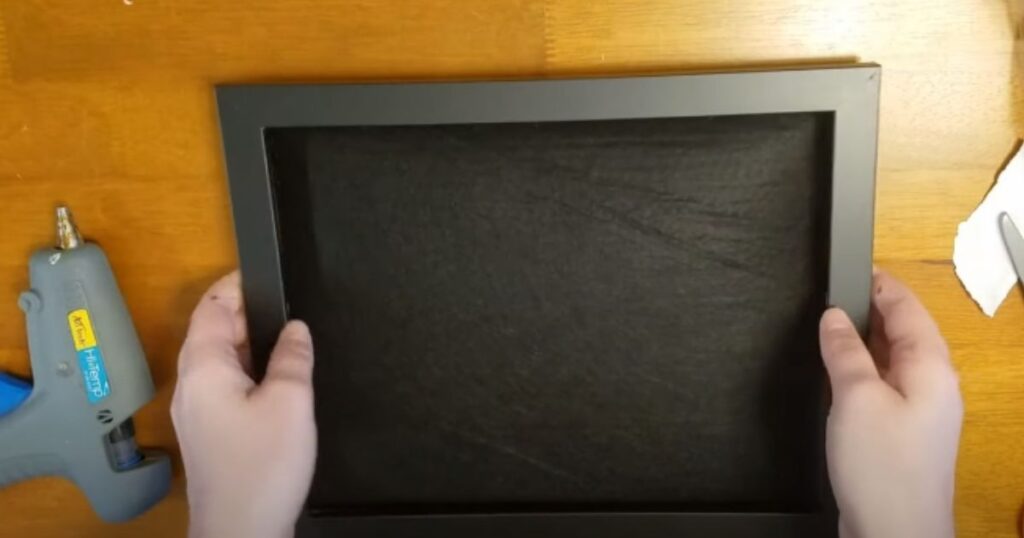
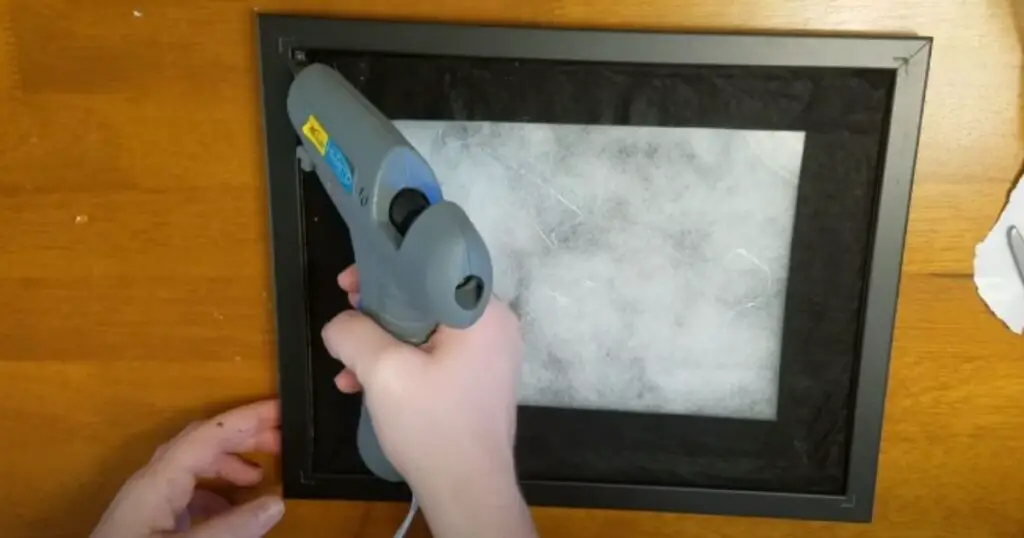
7. After the base is set, begin by outlining your old jewelry to the frame, forming your desired design and theme.
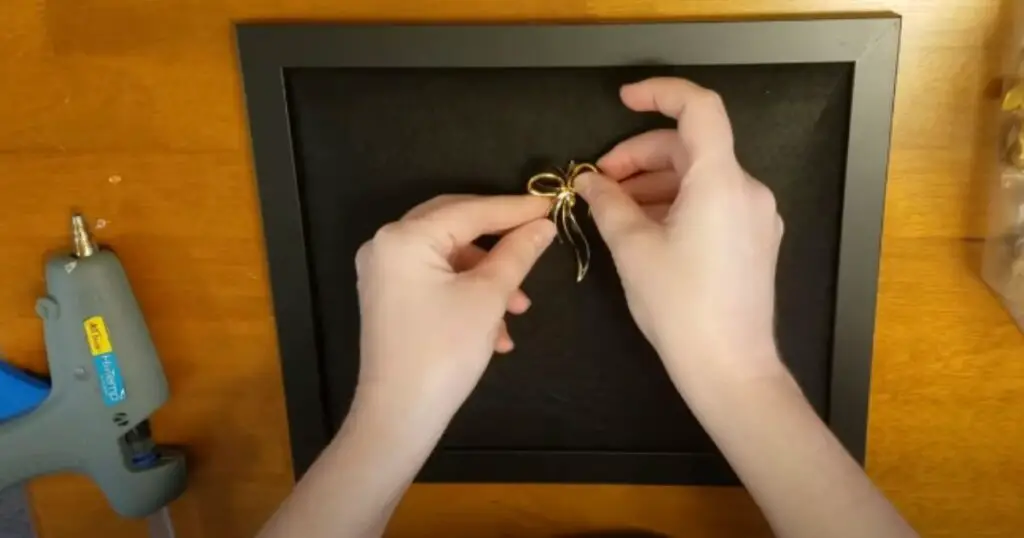
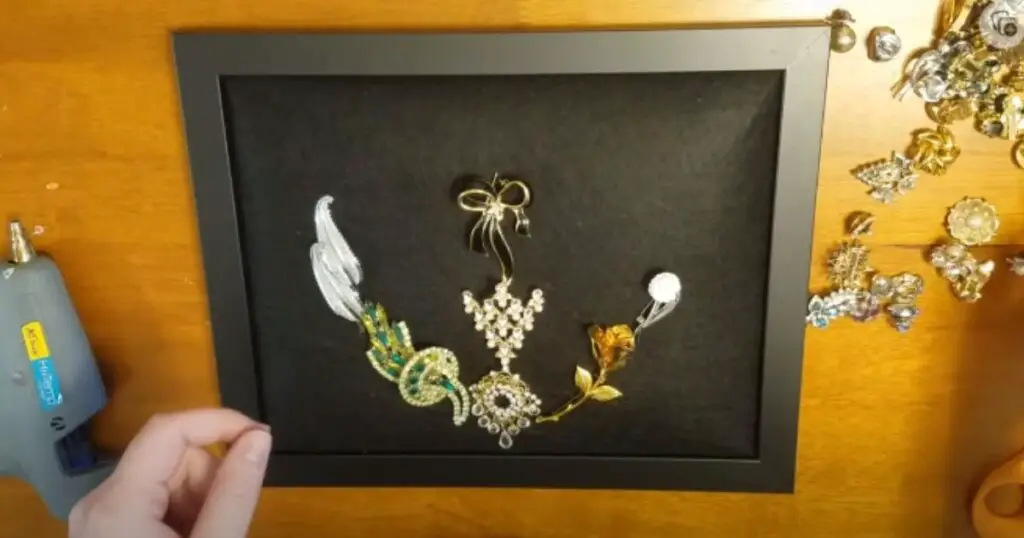
8. After forming the desired design and theme, carefully glue your old jewelry to the base of your frame.
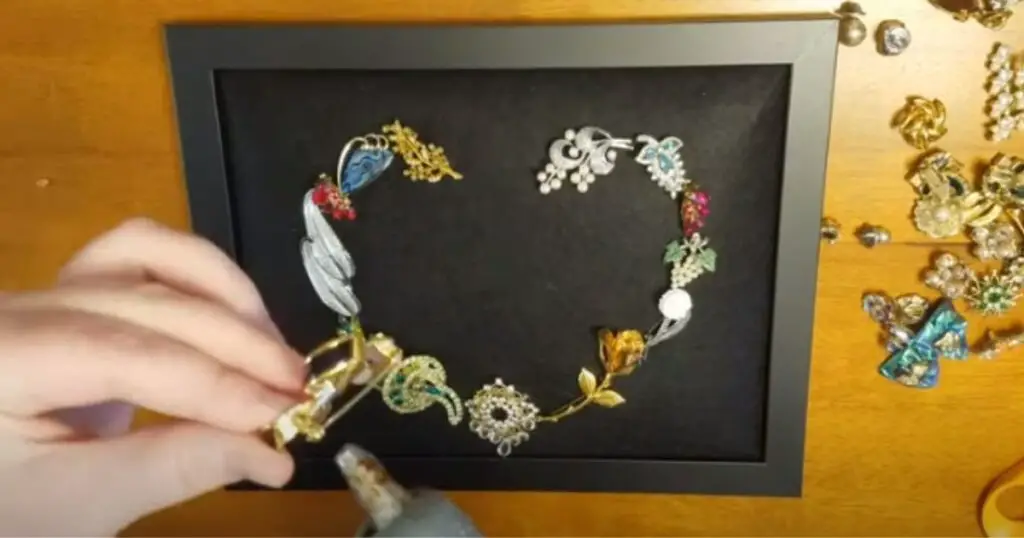
9. After the final process, showcase the final product by showing it to your friends or attaching it to a designated wall.
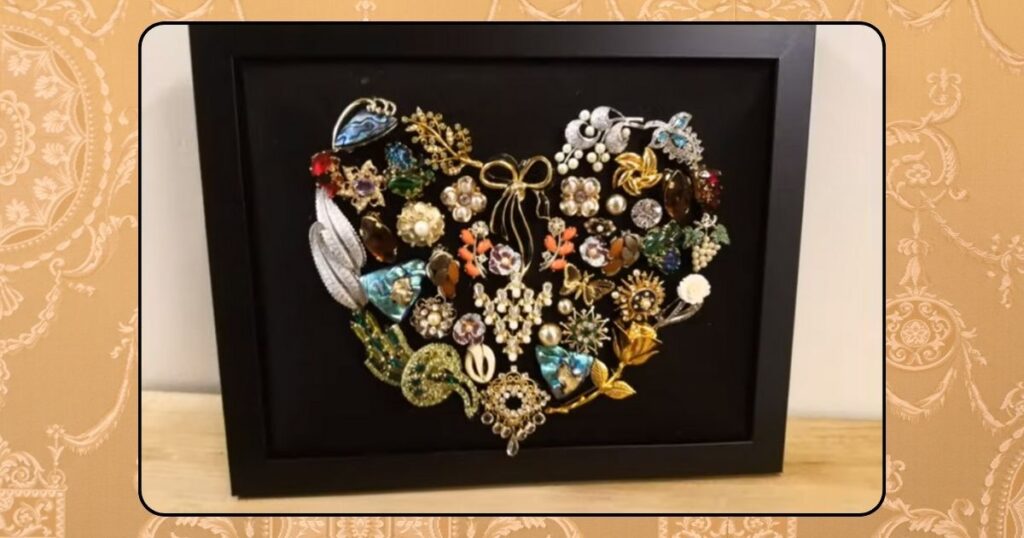
Vintage Jewelry DIY Video
Having troubles? Follow through with this video that we found just for you. It will guide you through the necessary steps while you create your own Jewelry Picture Memory Frame.
Download your printable PDF copy of Jewelry Picture Memory Frame – Craft Activity for Seniors

