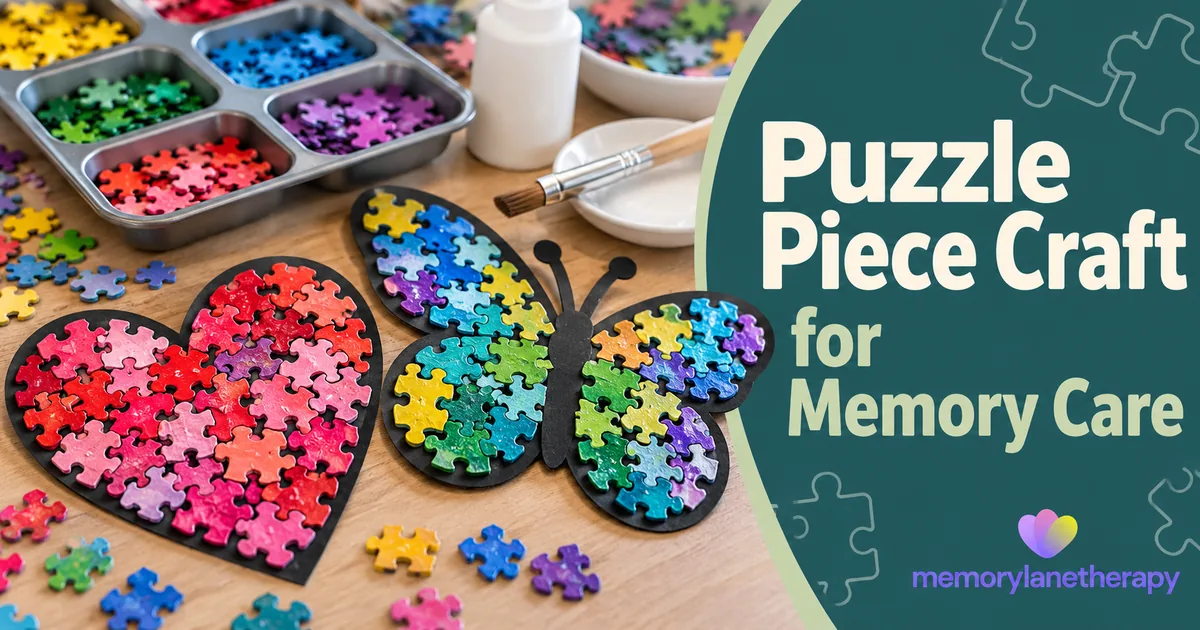

Some of the best activities I ran on the floor came from other people’s ideas, and this is one of them. One of our members shared it in our Facebook community group: old jigsaw pieces, sorted, then glued onto a card shape. It’s cheap, calm, and it works for nearly every resident at the table.
“Our Memory Care Unit worked on these. Plenty of people paint the pieces. We did sensory sort for colors, and then glued. They loved doing them.”
Shared by an aged care worker in our Facebook community group
You can make any shape you like, from a heart for Valentine’s Day to a Christmas tree in December, so it’s a craft you can pull out all year round. Residents sort the painted pieces by colour, then glue them on. There’s no right or wrong way to fill a shape, and every one turns out looking lovely.
Why this works for people living with dementia
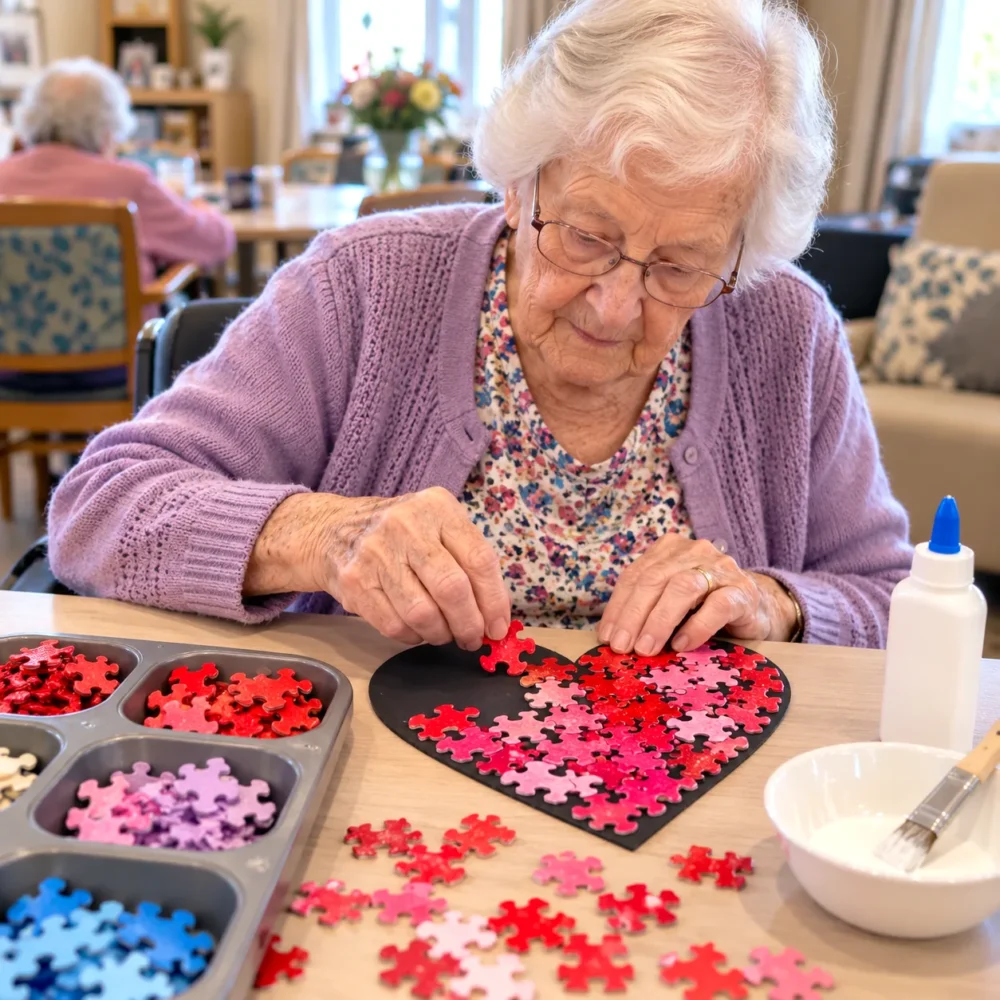
The pieces feel familiar. Most of our residents grew up doing jigsaws at the kitchen table or over the Christmas holidays. Seniors love the familiarity of holding puzzle pieces. They feel comfortable in the hand, even for someone living with memory loss or Alzheimer’s.
Sorting is a calm sensory activity. Picking up a piece, looking at it, and dropping it into the blue pile or the red pile is repetitive in a good way. I’ve watched residents who struggled to settle sit happily sorting for twenty minutes.
Colour does the work. Bright colours against black card are easy to see and easy to tell apart, which helps people with changing vision and perception.
Success doesn’t depend on memory. There are no steps to remember and nothing to get wrong. Wherever a piece lands, it’s part of the picture. People get to finish something and be proud of it.
At a glance
| Time | Staff prep: 30–60 minutes (plus paint drying time). Session: 30–45 minutes |
| Group size | 1:1, or small groups of 4–8 with a staff member or volunteer at the table |
| Ability level | Mixed, from early to late-stage dementia with support |
| Best season | Any time of year. Change the shape and colours to suit the season |
What you’ll need
- Old jigsaw puzzles (the more pieces the better; larger pieces suit more residents)
- Non-toxic acrylic craft paint or liquid tempera in a few bright colours to suit your shape
- Black or coloured card or cardstock (A4 or A3)
- Non-toxic, washable PVA or school glue, plus glue sticks, and a few brushes or glue spreaders
- Muffin tins, bowls or small trays for sorting
- A tablecloth or newspaper, wipes, and aprons
- Optional: double-sided tape or clear contact paper (sticky-back plastic) for an easier method
Where to find puzzles: Old jigsaws turn up cheaply at op shops, thrift stores and secondhand shops, or put a note out asking families and staff for donations. Missing pieces don’t matter for this craft, so it’s a great use for the puzzles nobody wants anymore.
Shape ideas
Pick a simple, chunky outline. Big, rounded shapes are easier to fill than thin, fiddly ones. A few that work well through the year:
- Heart in reds and pinks, for Valentine’s Day, Mother’s Day or just because
- Butterfly in bright mixed colours, lovely for spring
- Flower with petals in one colour and a yellow centre
- Tree with greens for summer or reds, oranges and yellows for autumn
- Autumn leaf in reds, oranges and browns
- Pumpkin in oranges and yellows for Halloween (see the variation below)
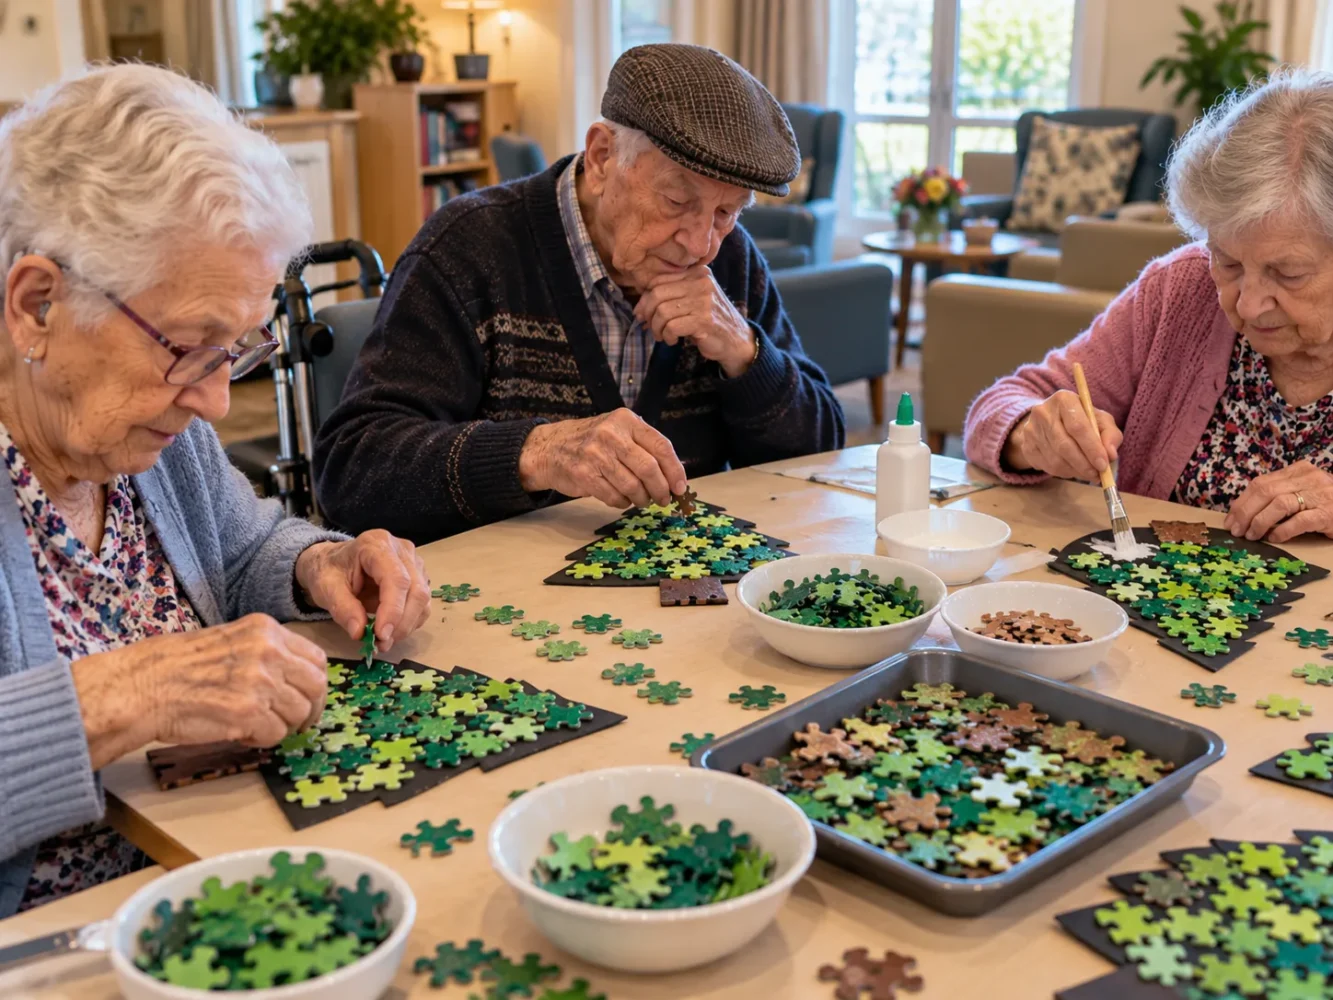
- Christmas tree or wreath in greens, with a few red or gold pieces for decorations
Black card makes bright colours pop, but coloured card works well too. Try a pale blue background behind a butterfly, or white behind a red heart.
Step by step
Staff prep (before the session)
- Paint the pieces. Spread the pieces picture-side up on newspaper and paint them in batches of the colours you need. One coat is fine; a bit of the old picture showing through adds texture. If you use spray paint, do it outdoors, well away from residents, and let it dry and air out fully before the session.
- Cut the shapes. Draw a simple outline on black or coloured card and cut it out. Make one per resident, plus a few spares.
- Set up the table. Put the painted pieces in a big mixed bowl, with a muffin tin or a few small bowls in front of each person for sorting.
The session
- Sort. Invite everyone to sort the mixed pieces by colour into the tin. Chat while you go. There’s no hurry, and if someone puts a red in the pink pile, leave it.
- Glue. Brush or spread glue over a section of the shape, then press pieces on. Working a section at a time stops the glue drying before the pieces go down. Overlapping and gaps both look great.
- Add the details. A brown piece for a tree trunk, a yellow centre for a flower, or a few red ‘baubles’ on a Christmas tree.
- Dry flat. Leave the shapes flat for a few hours or overnight before you hang them.
Debbie’s tip
Don’t throw out the sorting! On days when gluing is too much for someone, the sorting is the activity. I used to keep a tin of painted pieces in the lounge for anyone who needed something calm to do with their hands. Put the glue away and let them sort, tip it back out, and sort again.
Variation: paint each piece a different colour
Plenty of groups get residents to paint the pieces themselves, and it makes a lovely session of its own a day or two before the gluing. Each person can paint every piece a different colour, one at a time with a paintbrush, for a cheerful rainbow effect.
- Use non-toxic, washable craft paint, such as kids’ acrylic or liquid tempera.
- Give out chunky brushes, which are easier for stiff or shaky hands to hold.
- Put aprons on everyone and cover the table.
- Have people paint on a tray or a baking sheet lined with paper so the pieces (and the paint) stay in one place.
- Squeeze out only a little paint at a time, and keep paint pots and water cups away from drinks so nobody picks up the wrong one.
Halloween variation: puzzle piece pumpkins
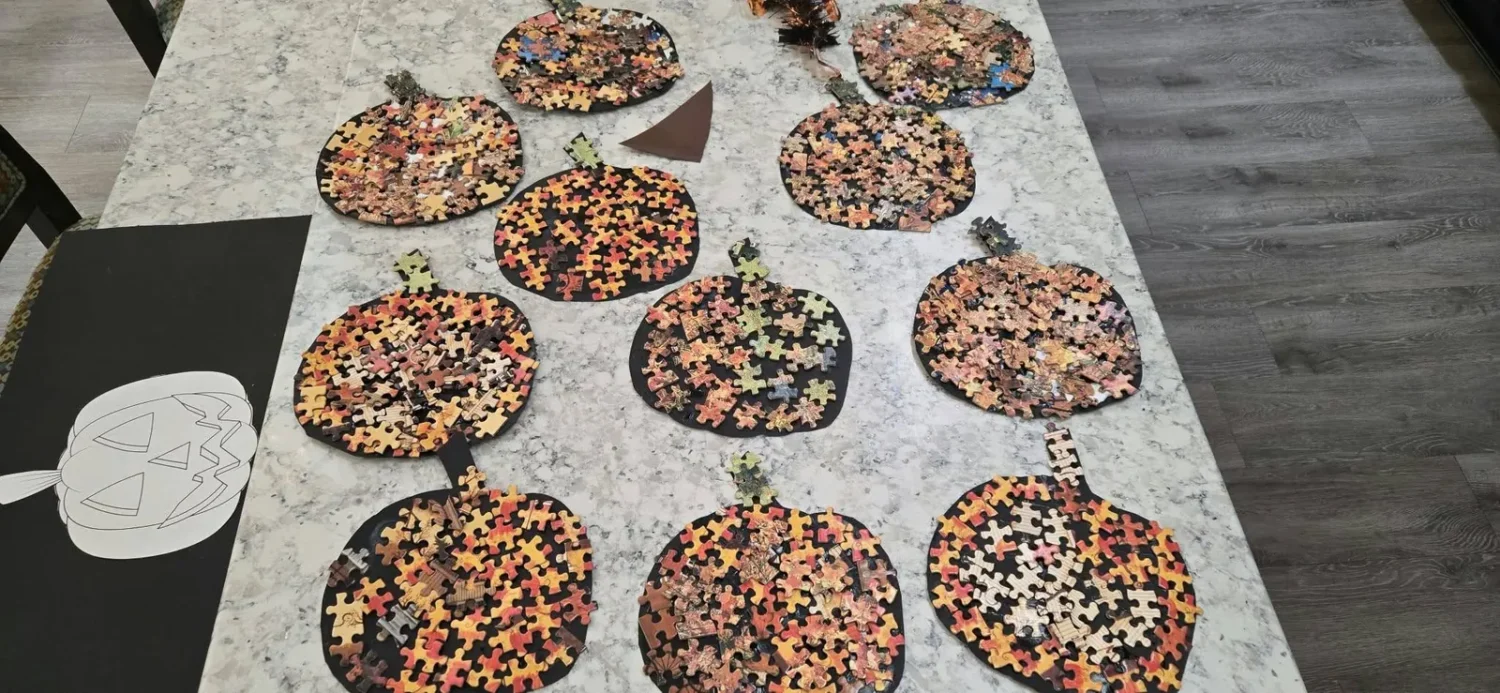
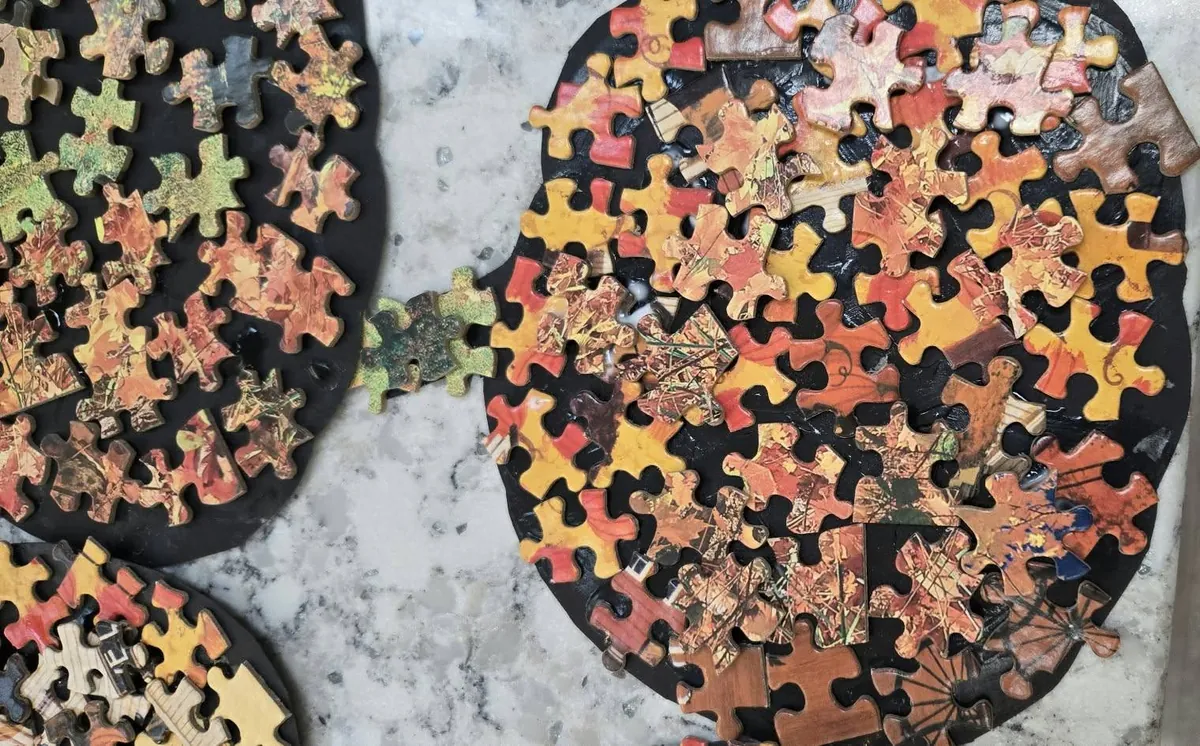
This is how our Facebook member’s group first did it, and it’s a beauty for October. Paint the pieces orange, yellow, red and brown, with a few green ones for stems. Cut a round pumpkin with a little stem from black card, fill it with the autumn pieces, and pop a green piece or two at the top. For Halloween, staff can add a cut-out black card jack-o’-lantern face on top once it’s dry.
Keeping it safe
Safety first
- Watch for mouthing and pica. Some people living with dementia put non-food items in their mouths. Jigsaw pieces are a choking risk. If someone in your group mouths objects, give them 1:1 support or use larger pieces and the contact-paper method, count pieces out and back in, and never leave the table unattended.
- Choose non-toxic, washable glue. Water-based PVA or school glue is a safe choice. It gives off no harmful fumes and washes off skin and clothes with soap and water. Glue sticks are even less messy. Look for an AP (Approved Product) seal from the Art and Creative Materials Institute or a clear ‘non-toxic’ label.
- Keep hot glue guns away from residents. They run hot enough to burn fingers badly. If you need one for a quick repair, it’s a staff-only job away from the table, and it gets unplugged straight after.
- Mod Podge works, but it isn’t needed. It’s water-based and fine for a staff-applied top coat to make finished pieces shiny, but plain PVA does the same job for the gluing.
- Fresh air. Do any spray painting outdoors, and keep the room well ventilated. Avoid solvent-based glues and strong-smelling products.
- Skin and allergies. Check care plans for skin sensitivities, use wipes as you go, and wash hands at the end.
- Taste-safe isn’t the same as safe to eat. Even non-toxic glue and paint shouldn’t be swallowed. If someone does swallow some, follow your home’s procedures and get medical advice.
Making it work for every ability
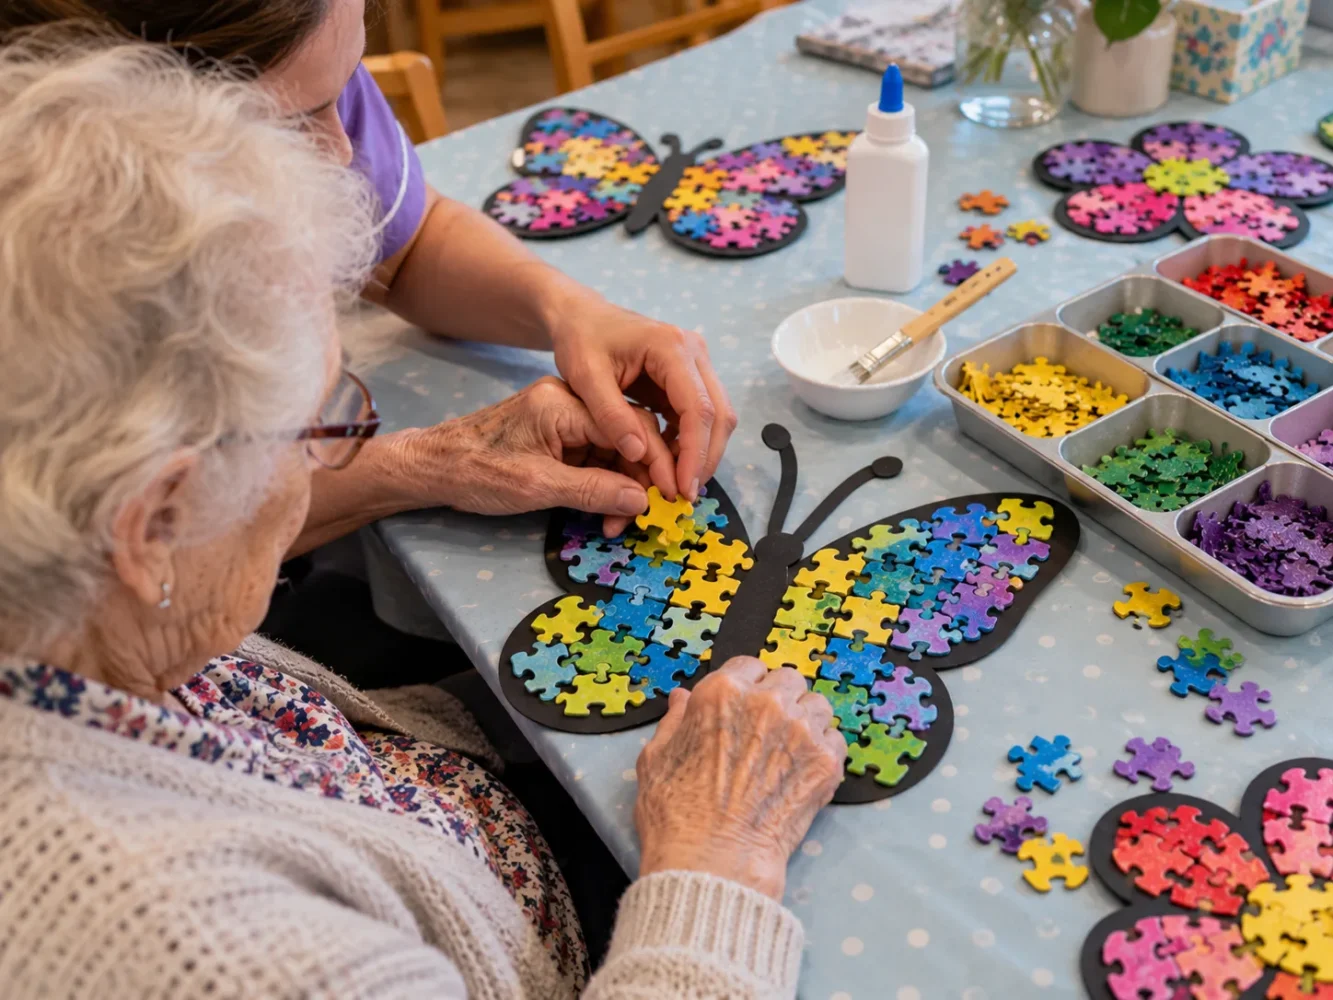
- Limited dexterity or arthritis: use bigger puzzle pieces (children’s floor puzzles are perfect), and give a chunky brush or glue spreader instead of a squeeze bottle.
- Tremor: pre-glue the card for them, or use double-sided tape so pieces stick straight away and don’t slide.
- The contact-paper method: stick clear contact paper (sticky-back plastic) sticky side up over the card shape, and residents just press pieces on. No glue, no drying, no mess.
- Low vision: black card gives strong contrast. Good lighting helps too, and so does sorting into a white muffin tin.
- Later-stage dementia: try hand-under-hand assistance, where your hand sits under theirs so they lead the movement. Offer one piece at a time and talk about the colour and feel.
- Short attention or tiredness: keep sessions to 15–20 minutes and finish the shape over a few days.
- No wrong way: a heart with every piece in one corner is still a heart. Praise the effort, never correct it.
Conversation prompts
- Did your family do jigsaws together? Where did you set them up?
- What’s your favourite colour? Has it always been?
- What’s your favourite time of year, and why?
- Did you have a garden? What flowers or trees did you grow?
- How did your family decorate for Christmas?
- At Halloween: did you ever grow pumpkins, or cook pumpkin soup or scones?
Follow where the conversation goes. If someone just wants to sort quietly, that’s fine too.
Display ideas
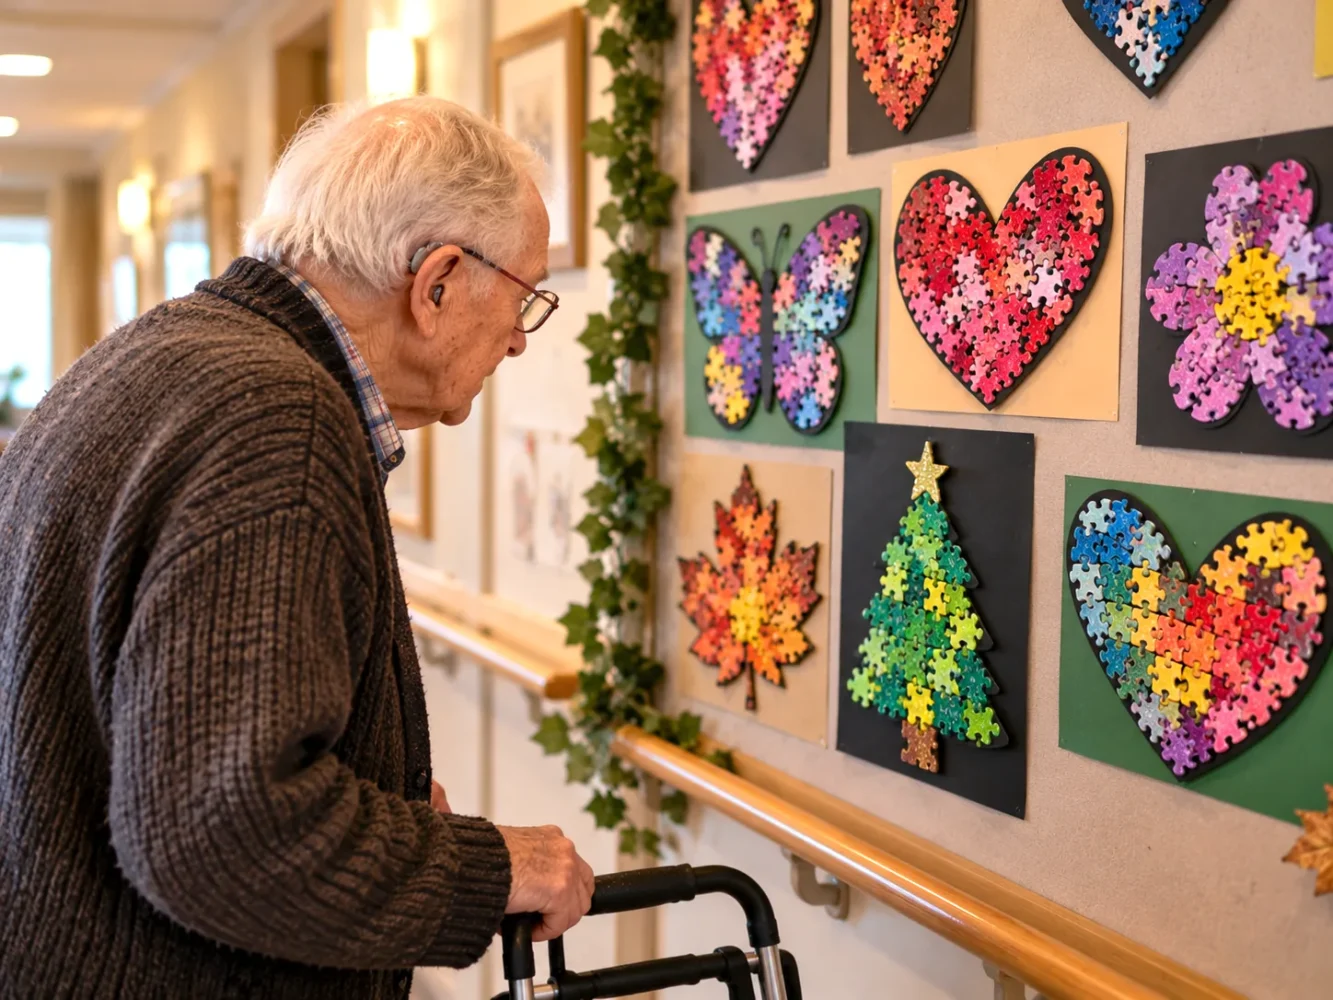
- Make a seasonal wall along a corridor, swapping shapes as the year goes on.
- Hang finished pieces on residents’ doors.
- Put a few on easels at reception for families to see.
- Group hearts, flowers or butterflies into one big shared display.
- Take photos of residents with their work (with consent) to share with families.
Looking for more sort-and-stick ideas? Try our mosaic art for seniors, or for the pumpkin version, browse the Halloween activities calendar.